How does the SiteW editor work?
Before discovering how our features and blocks work, let’s remember the functioning of the editor.
SiteW is like a construction set. We will later present its elements. SiteW is easy to use and offers a professional result without technical skills.
But which technologies are used to make your job easier? 🔍
Just click on a block to drag and drop it where you want on your page to start its configuration.
The block will be immediately working and customized.
When you edit your website, you don’t need to think about saving your work.
A single internet connection enables you to modify your website without loosing everything.
You can customize each element of your website. You can change colours, shapes, links, position… Thus, you will have a custom website without programming it by yourself.
If you are interested in web design, you know that user experience is essential on mobile devices and for your SEO.
SiteW enables you to choose a mobile configuration which automatically adapts, or build your own mobile version as easily as the desktop version.
Do you like shortcuts? If it is, it’s a good thing, as they enable you to create your website more quickly. You can delete elements thanks to the Delete key and duplicate them with the Ctrl+C / Ctrl+V commands.
You will become an efficient and quick-to-react web designer!
Now you know the overall functioning of the SiteW editor, let’s discover all its features to use the tool perfectly.
The Pages tab
Here is the first element you see when you arrive at the editor: the Pages tab.
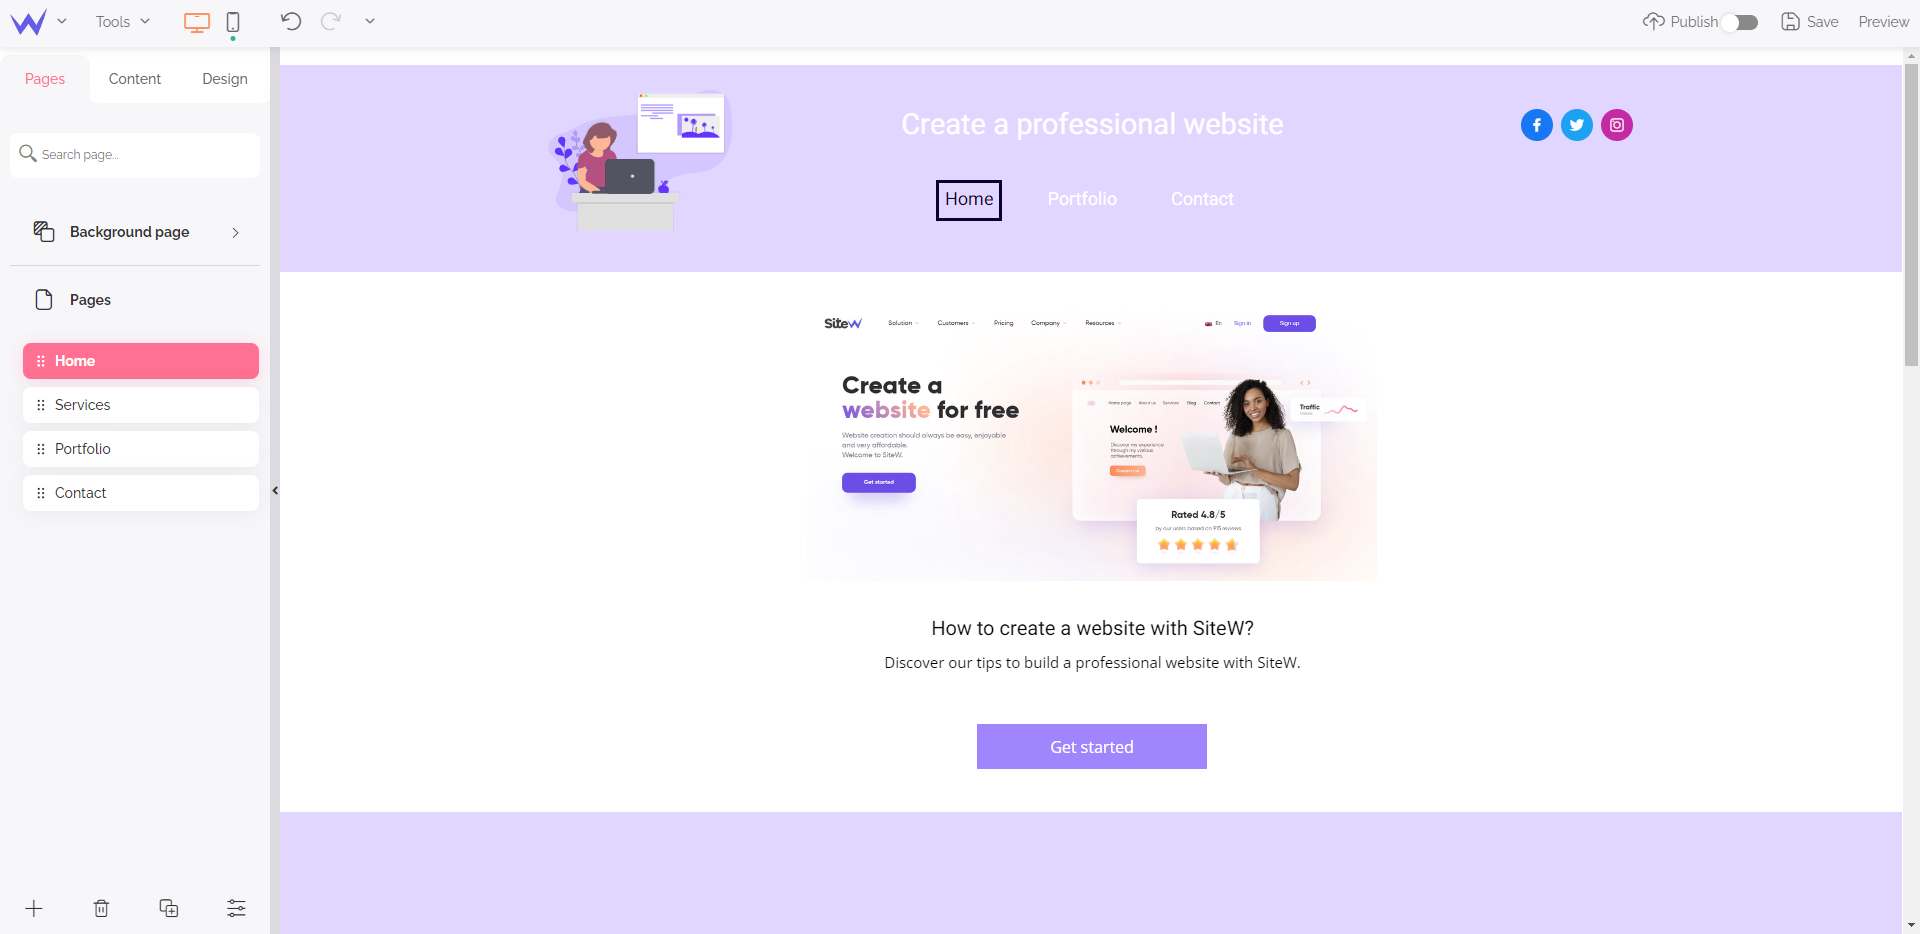
This orange category enables you to manage all your website pages.
From this part of the editor, you can implement the following actions:
Add and delete pages
The editor enables you to manage your pages easily, and it’s essential for the proper functioning of your website structure.
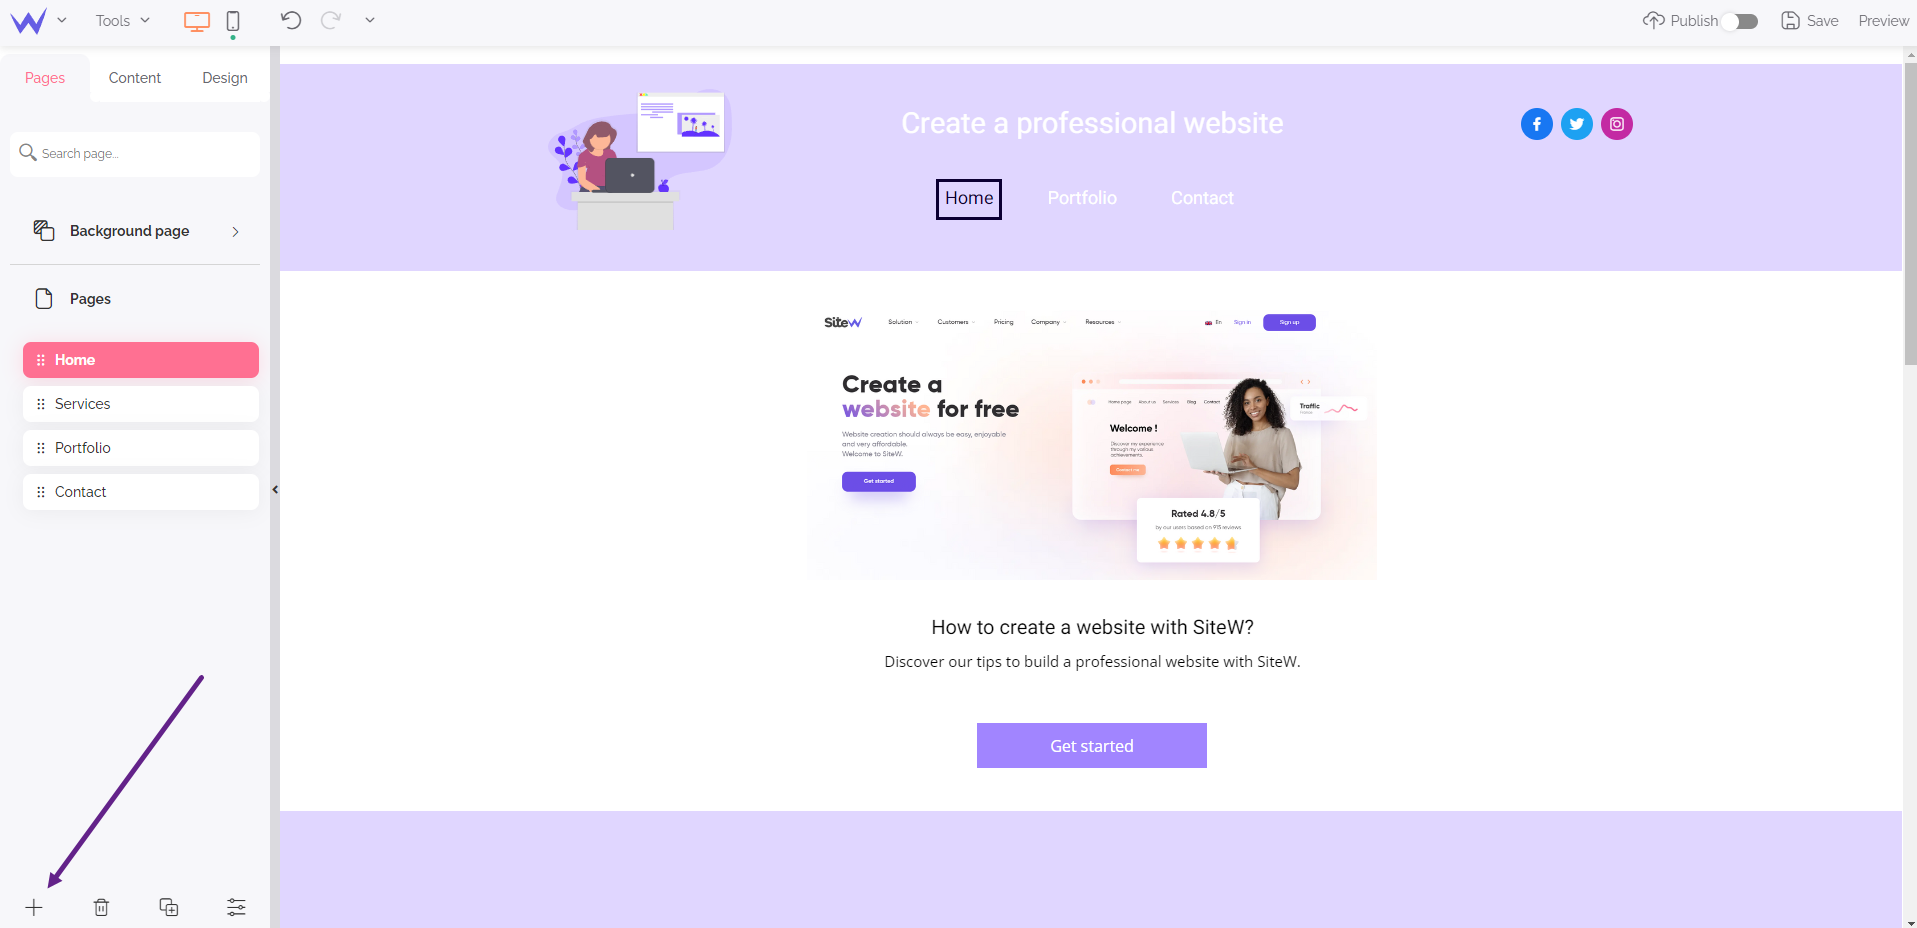
The “+” button enables you to add a page. This page will be automatically displayed at the top of the Pages tab with the other current ones.
Next to “+”, you will find the “🗑️” button to delete a page and its whole content.
You can also delete all the subpages of a page by placing your cursor on “Pages and subpages”.
You will also find the feature for page duplication. This feature allows you to structure your different pages very well.
“And what’s about the last button of this section? What is it for?”
Optimize your pages SEO
From this part of the editor, you can easily edit the settings of your pages, especially tags and descriptions.
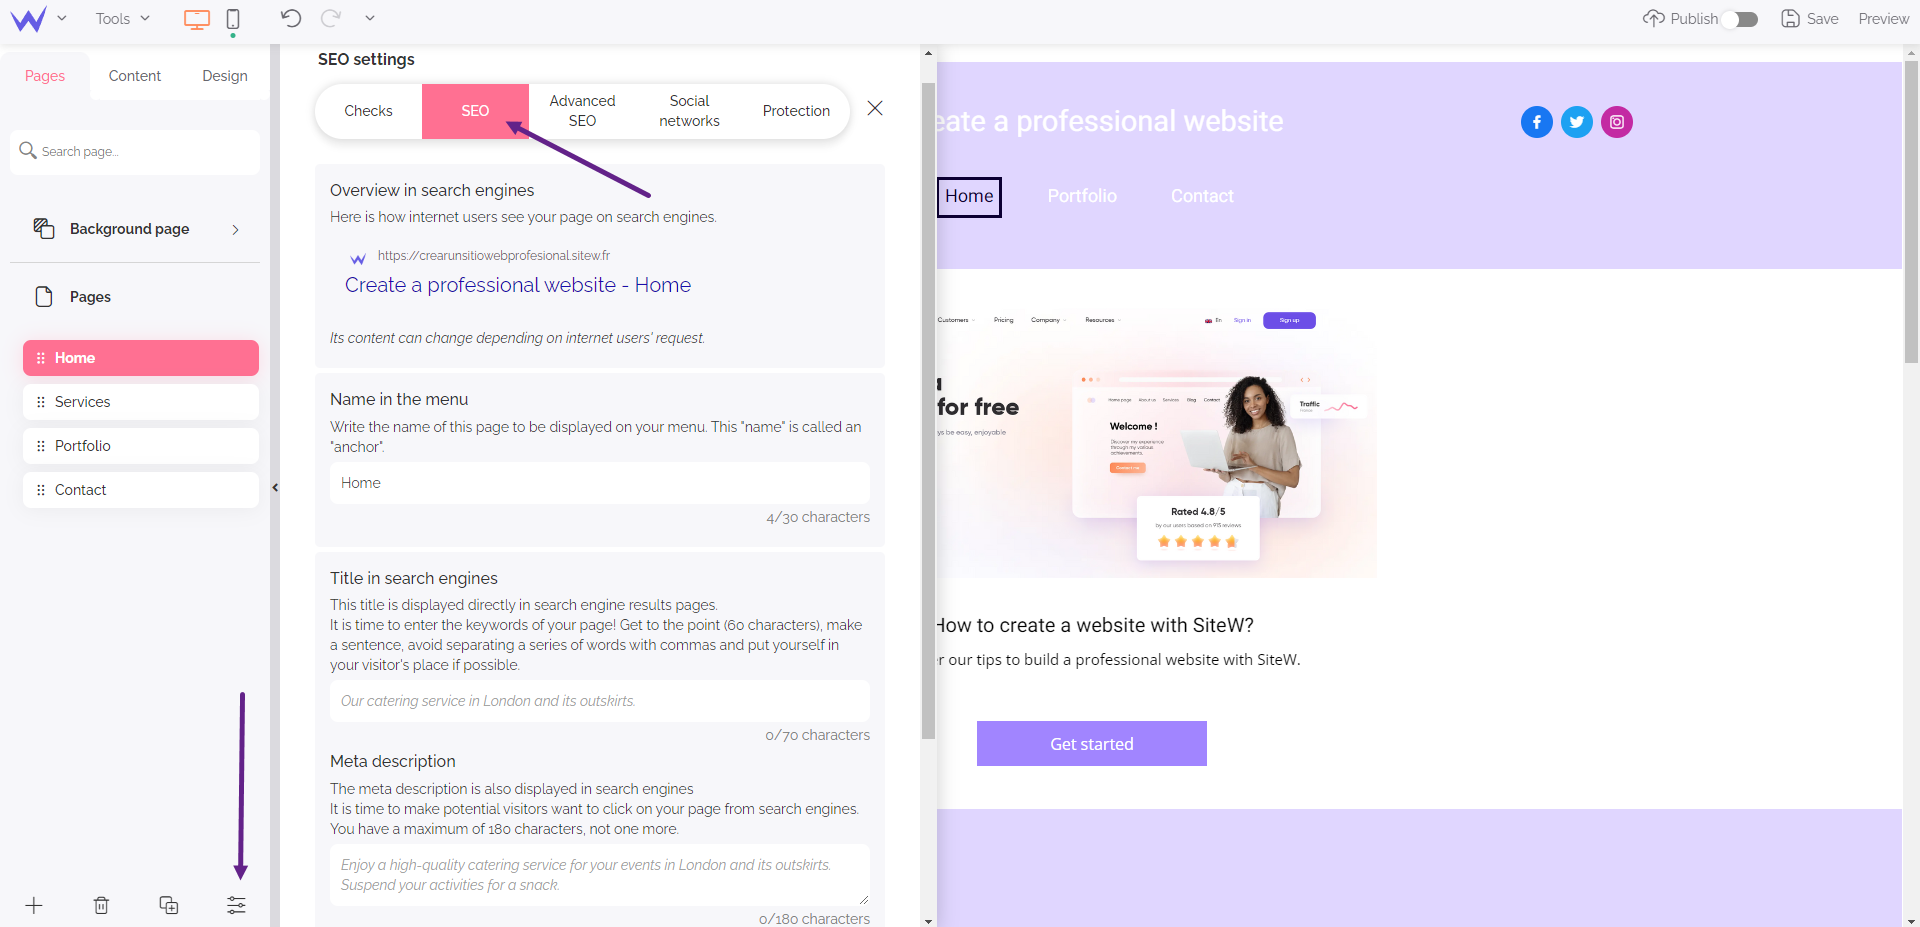
In the editor, this feature enables you to optimize your SEO easily or without changing your website code. It also allows you to change the name of your page directly in your menu so that its title be even more relevant to users.
So, you can achieve the following elements:
-
the optimized title and description of your page,
-
the keywords of your URL,
-
the HTML tags
-
the language of the search engine, which is automatic by default.
💡 To go faster, you can double-click on the page list when you arrive at this section to enable this window directly.
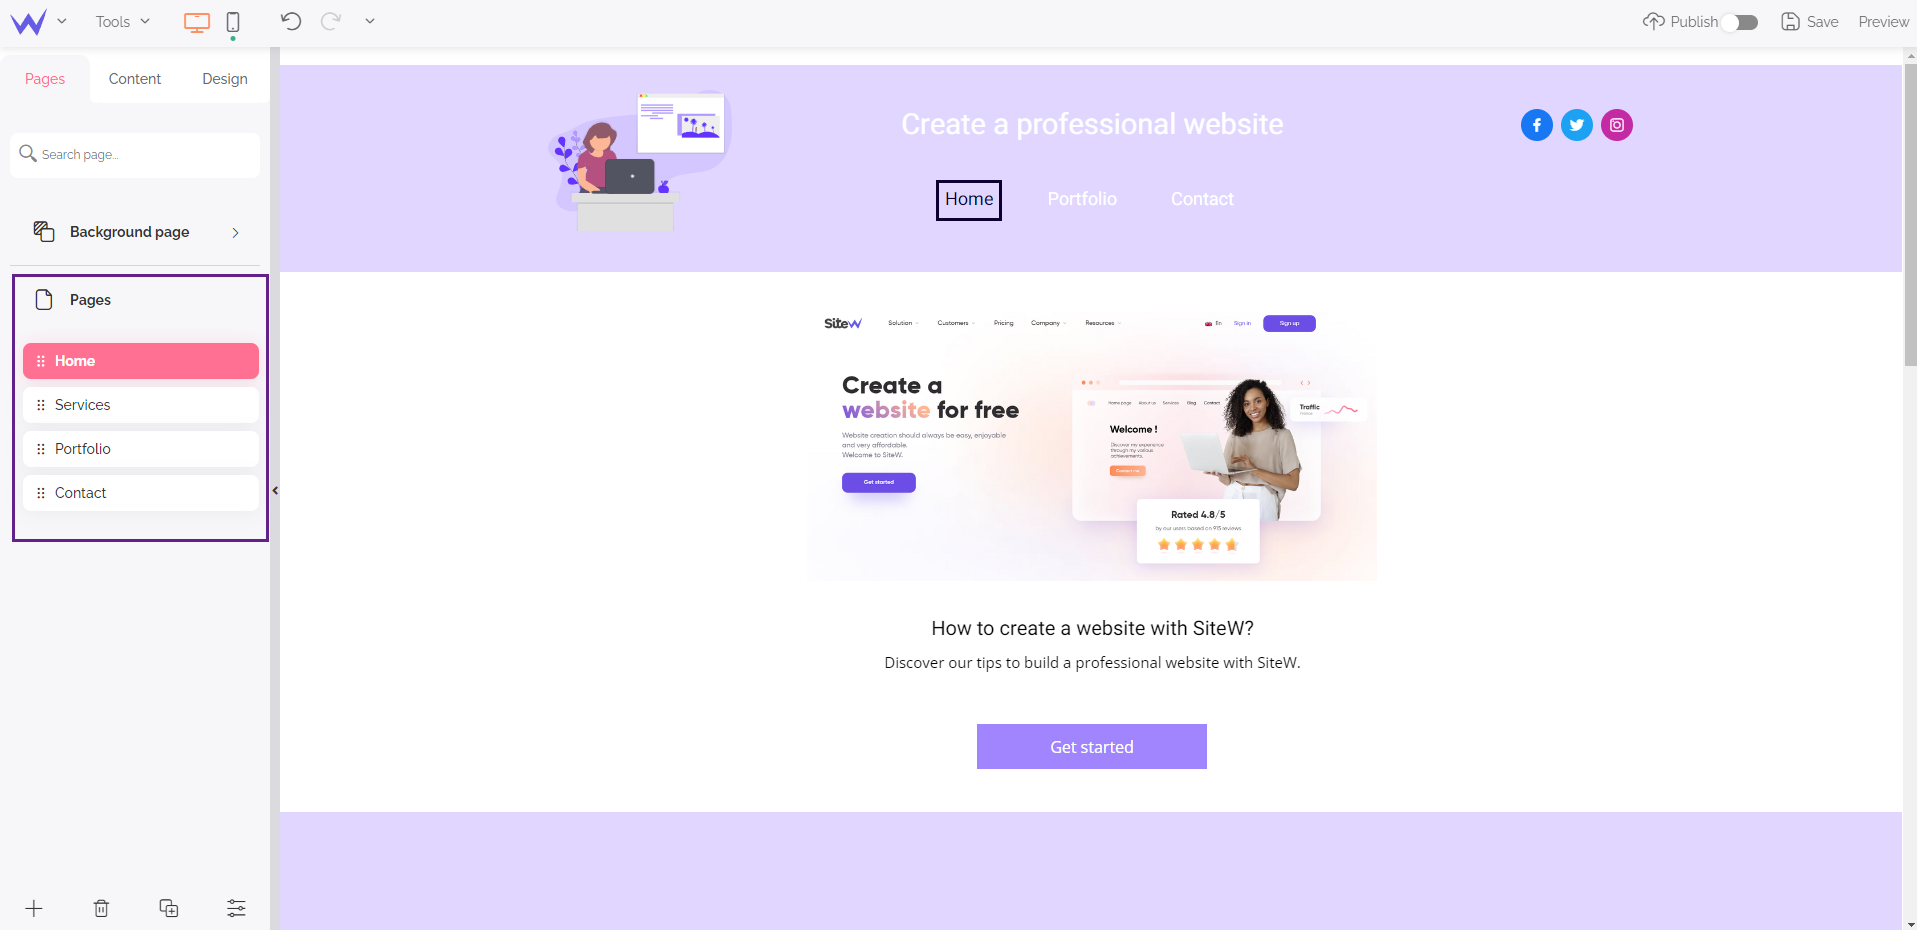
You know all the features and secrets of the Pages tab in a few minutes.
Let’s move on to the content.
The Content tab
The Content tab is heavy and complete to enable you to create custom and optimized content.
This tab is divided into several sections, we will discover to understand the SiteW editor in all its aspects.
Add content
First, add content.
This step is the first one that is displayed in the Content tab. Here are its different features:
This feature will enable you to add some text.
Text fields are in the form of a title, a paragraph, or both.
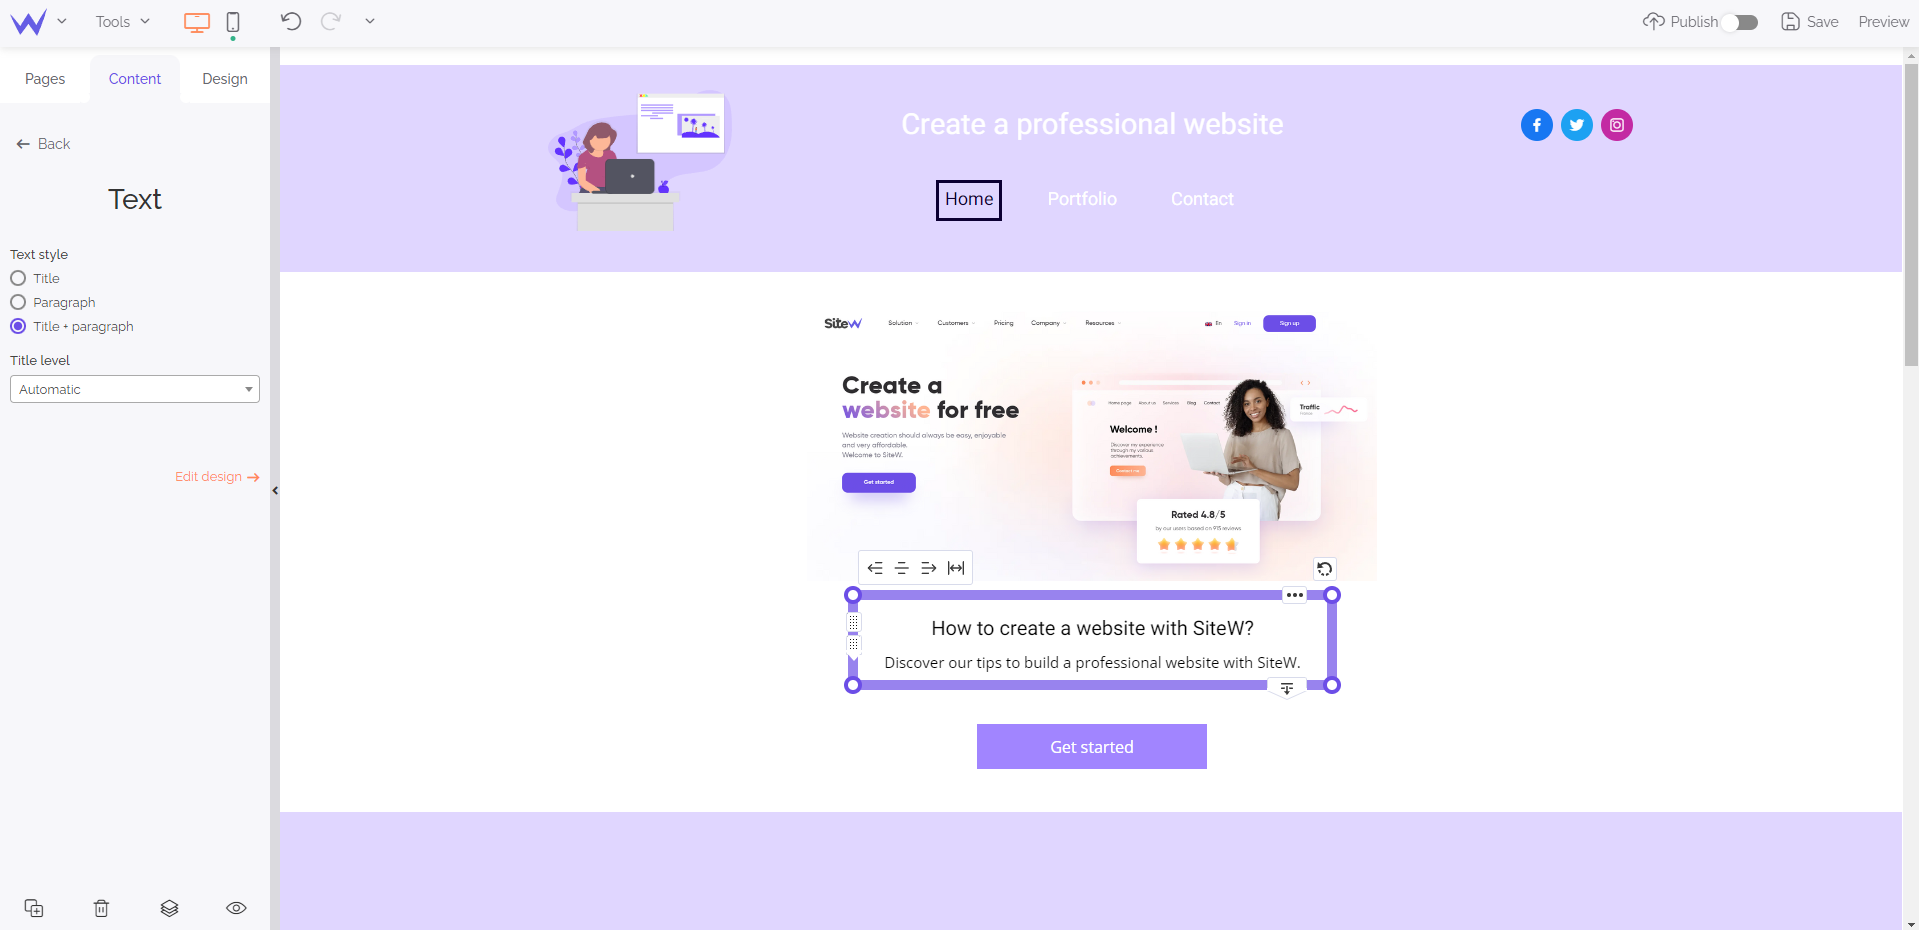
When you add text, you can modify all the settings of the horizontal bar to create a custom design.
It’s possible to customize your fonts, line height, special characters, indent size…
This block is essential for an optimized user experience. You must pay attention to this element, your menu.
When you add a menu to your website, you will be able to change the name of its pages, as well as its design directly.
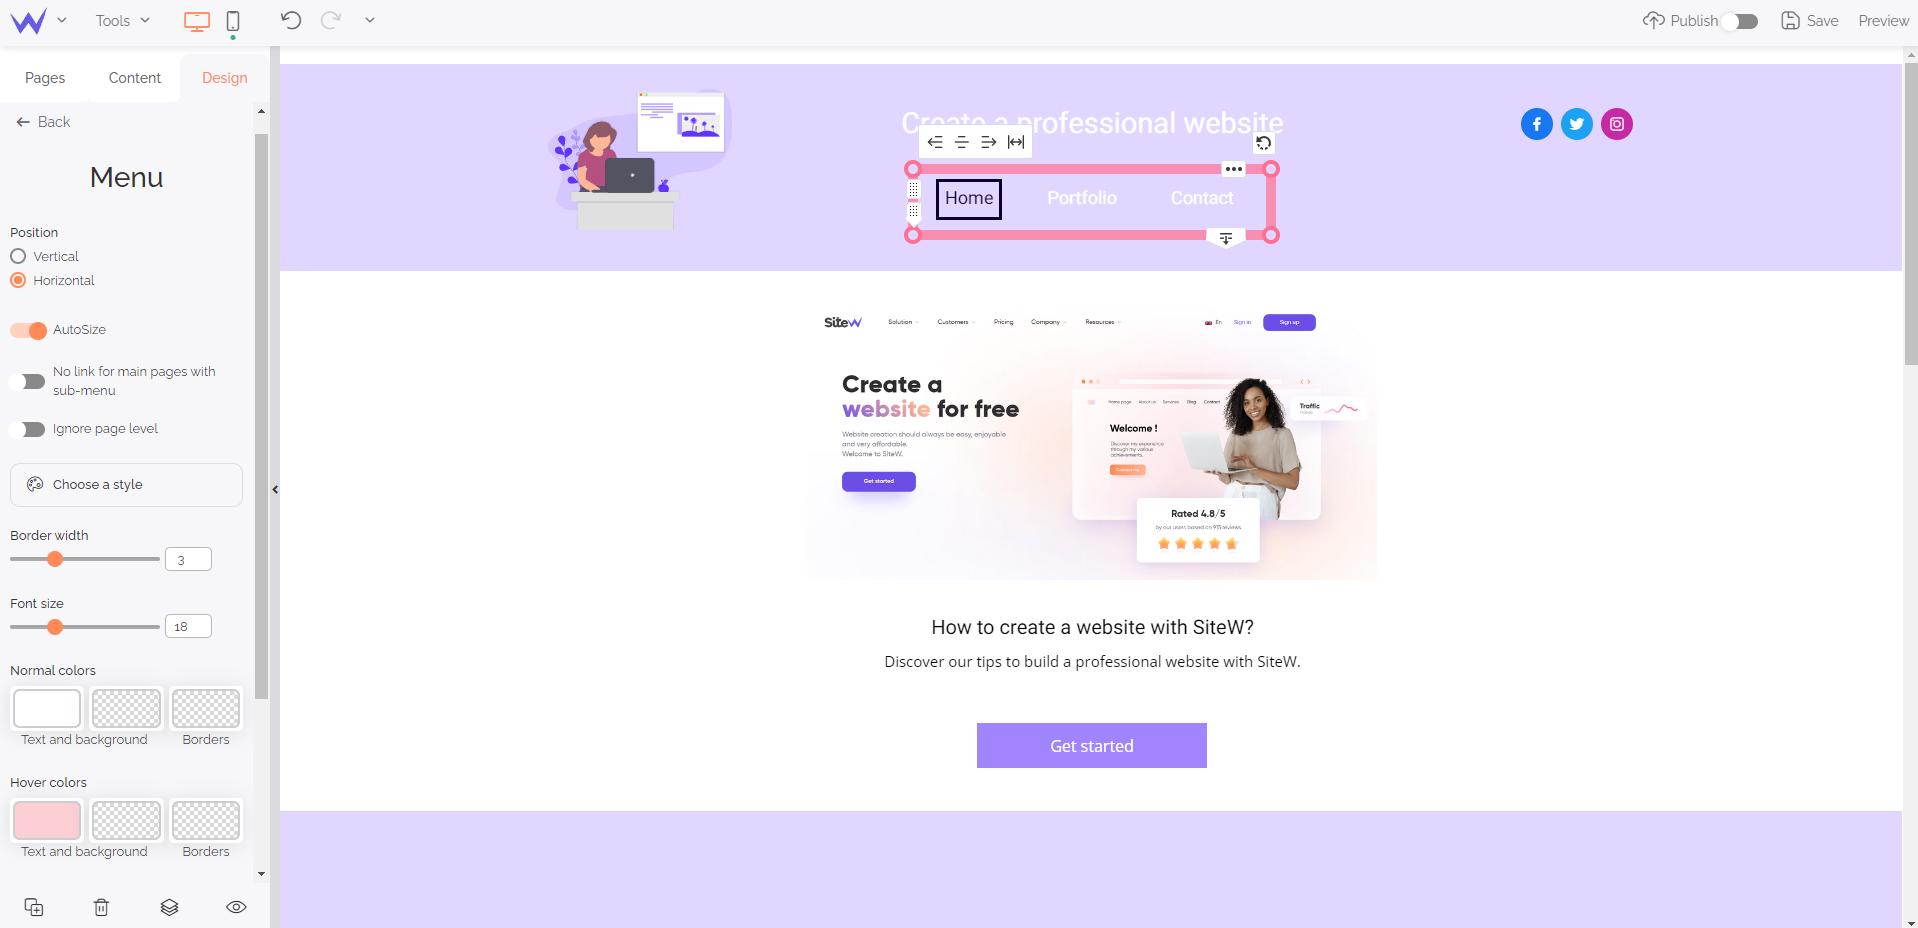
In the Content tab, you will find a button that allows you to go directly to the Design tab.
It’s also possible to customize the design of your menu (colours, fonts, position, colour on mouseover…).
You have all the necessary elements to adapt your menu to your graphic charter.
It enables you to offer the download of a file on your website as an option.
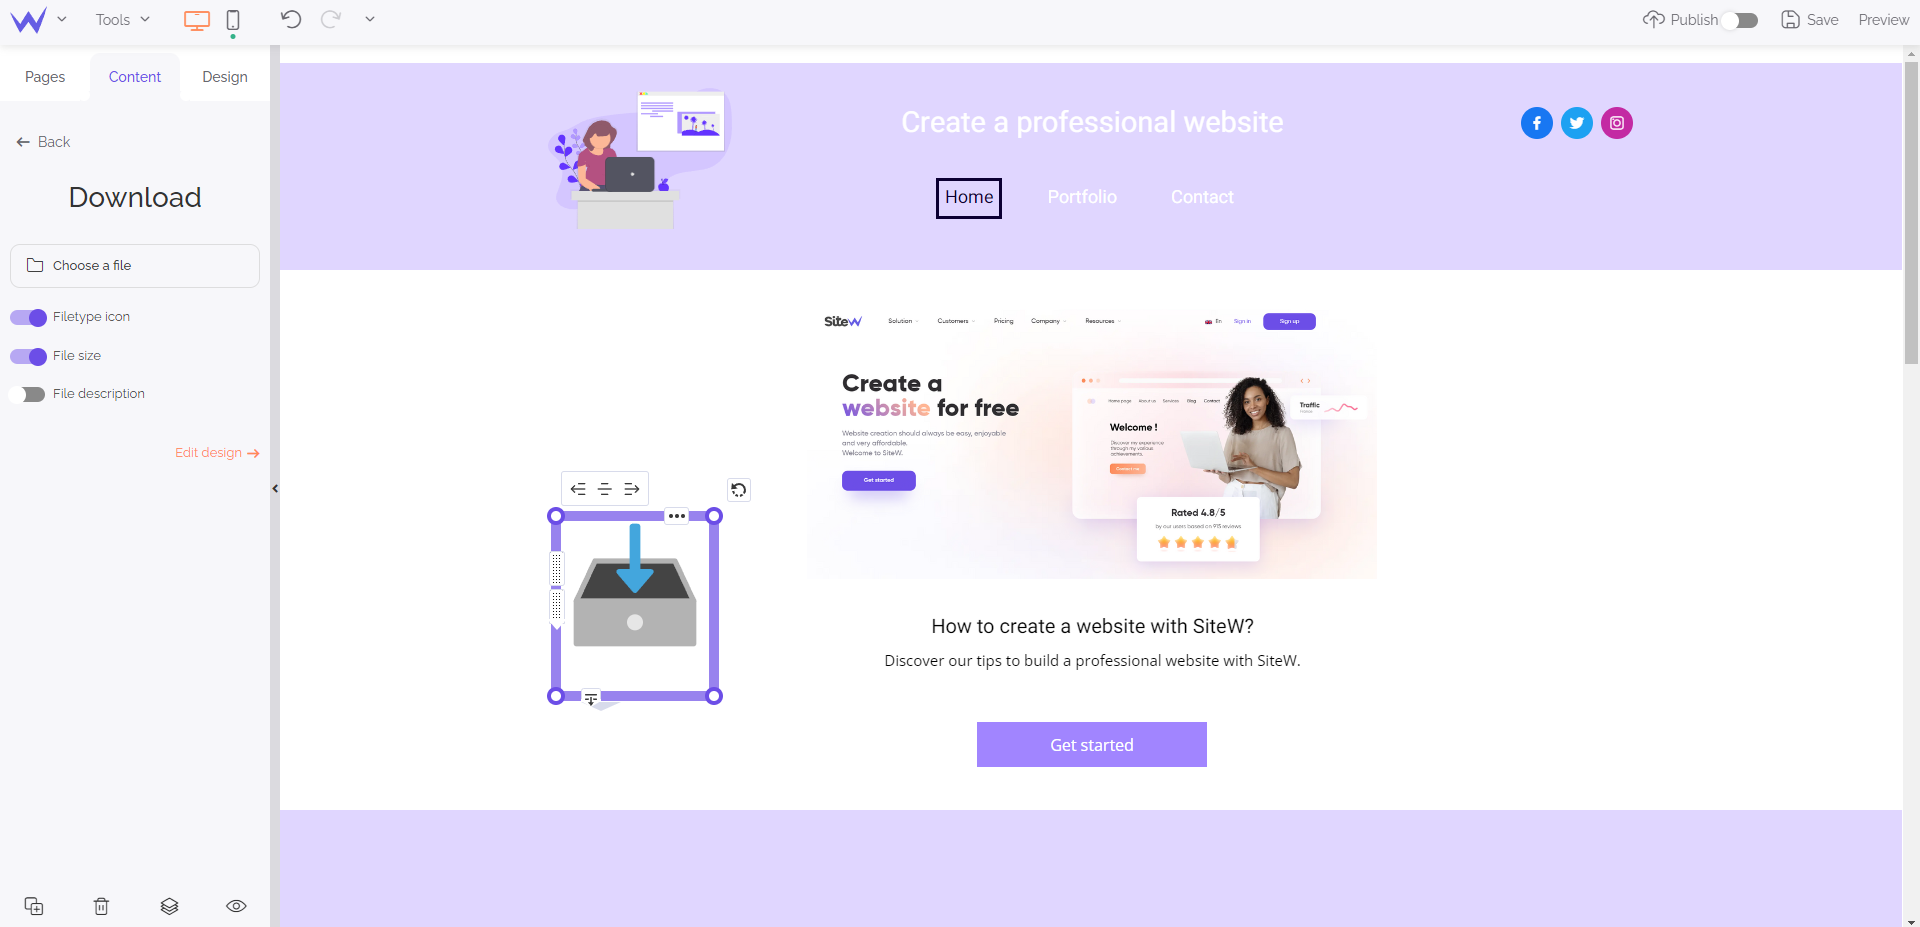
If you create a website for an organization, an online store or a blog, this feature may be useful under any circumstances.
Users indeed like downloading a PDF document to have content at any time or get the technical features of a product easily.
If you manage a physical establishment, you should use the Map block.
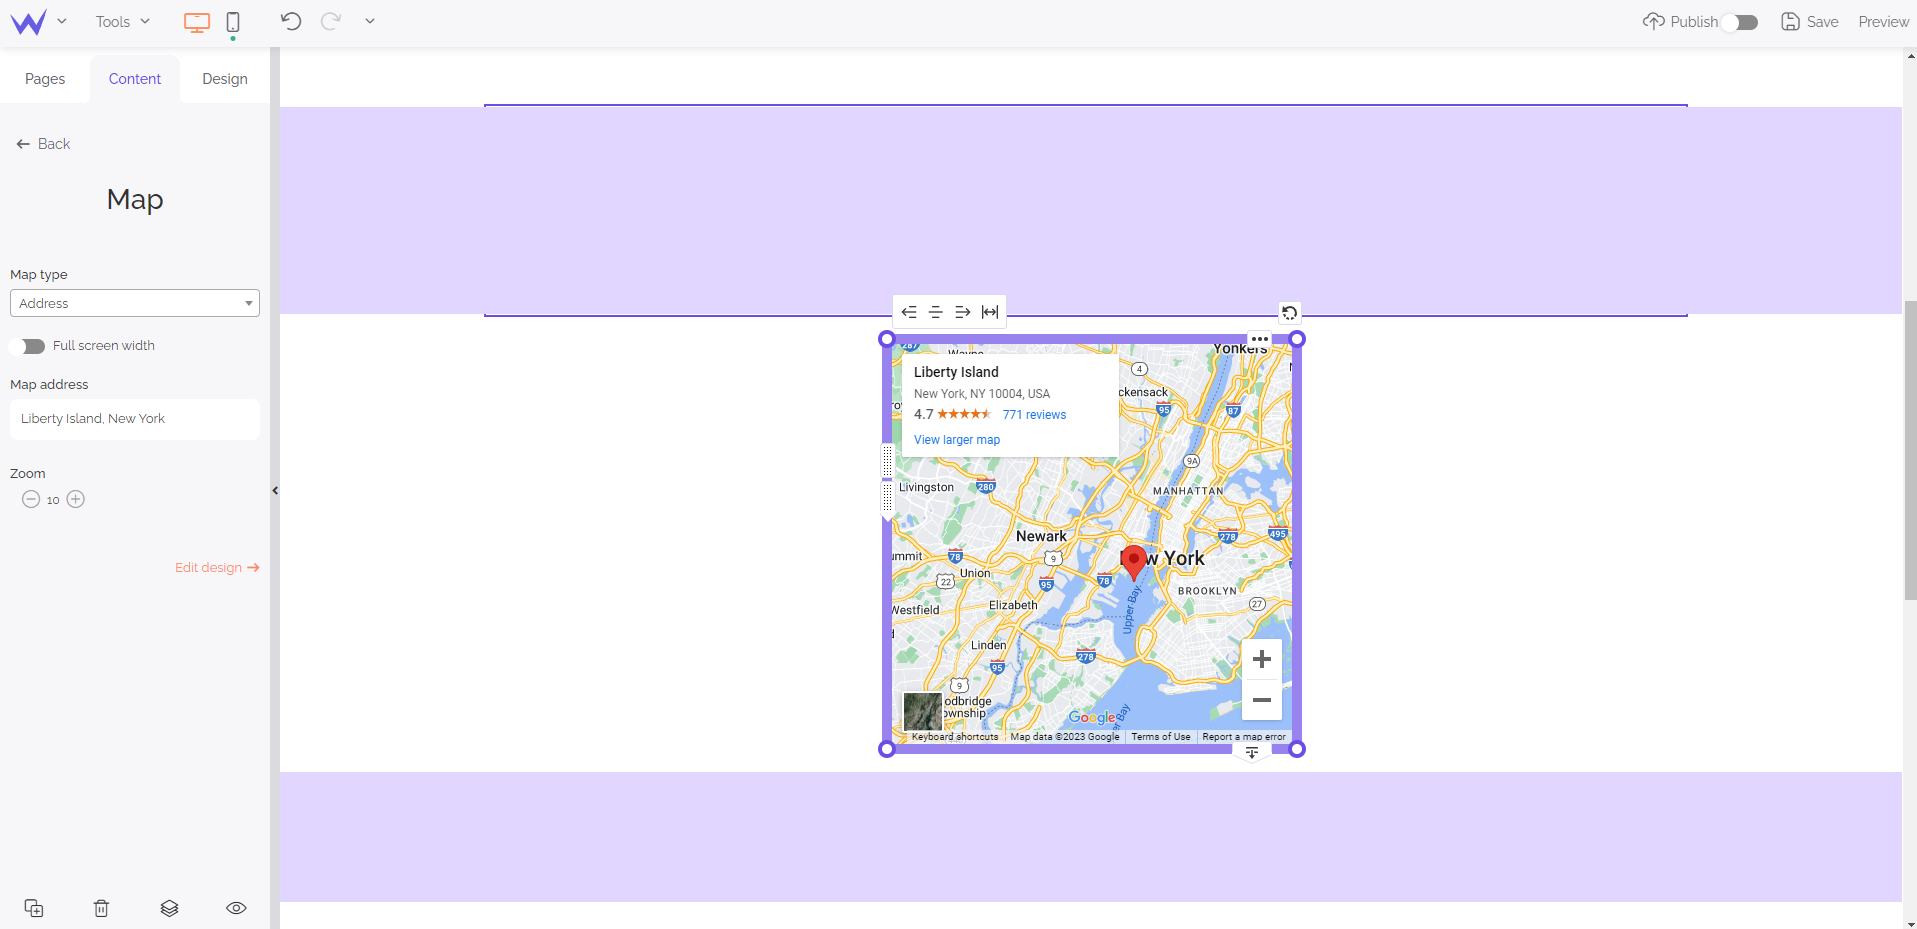
Users like maps on websites to localize a store or a sign. These maps are more visual than a simple line, and they are synchronized with Google Maps. They enable users to know quickly the travel time to come and see you.
Your map can have different forms, and you can zoom in to be more precise.
You can add the Blog block to any type of website, whether it be an online store or a portfolio.
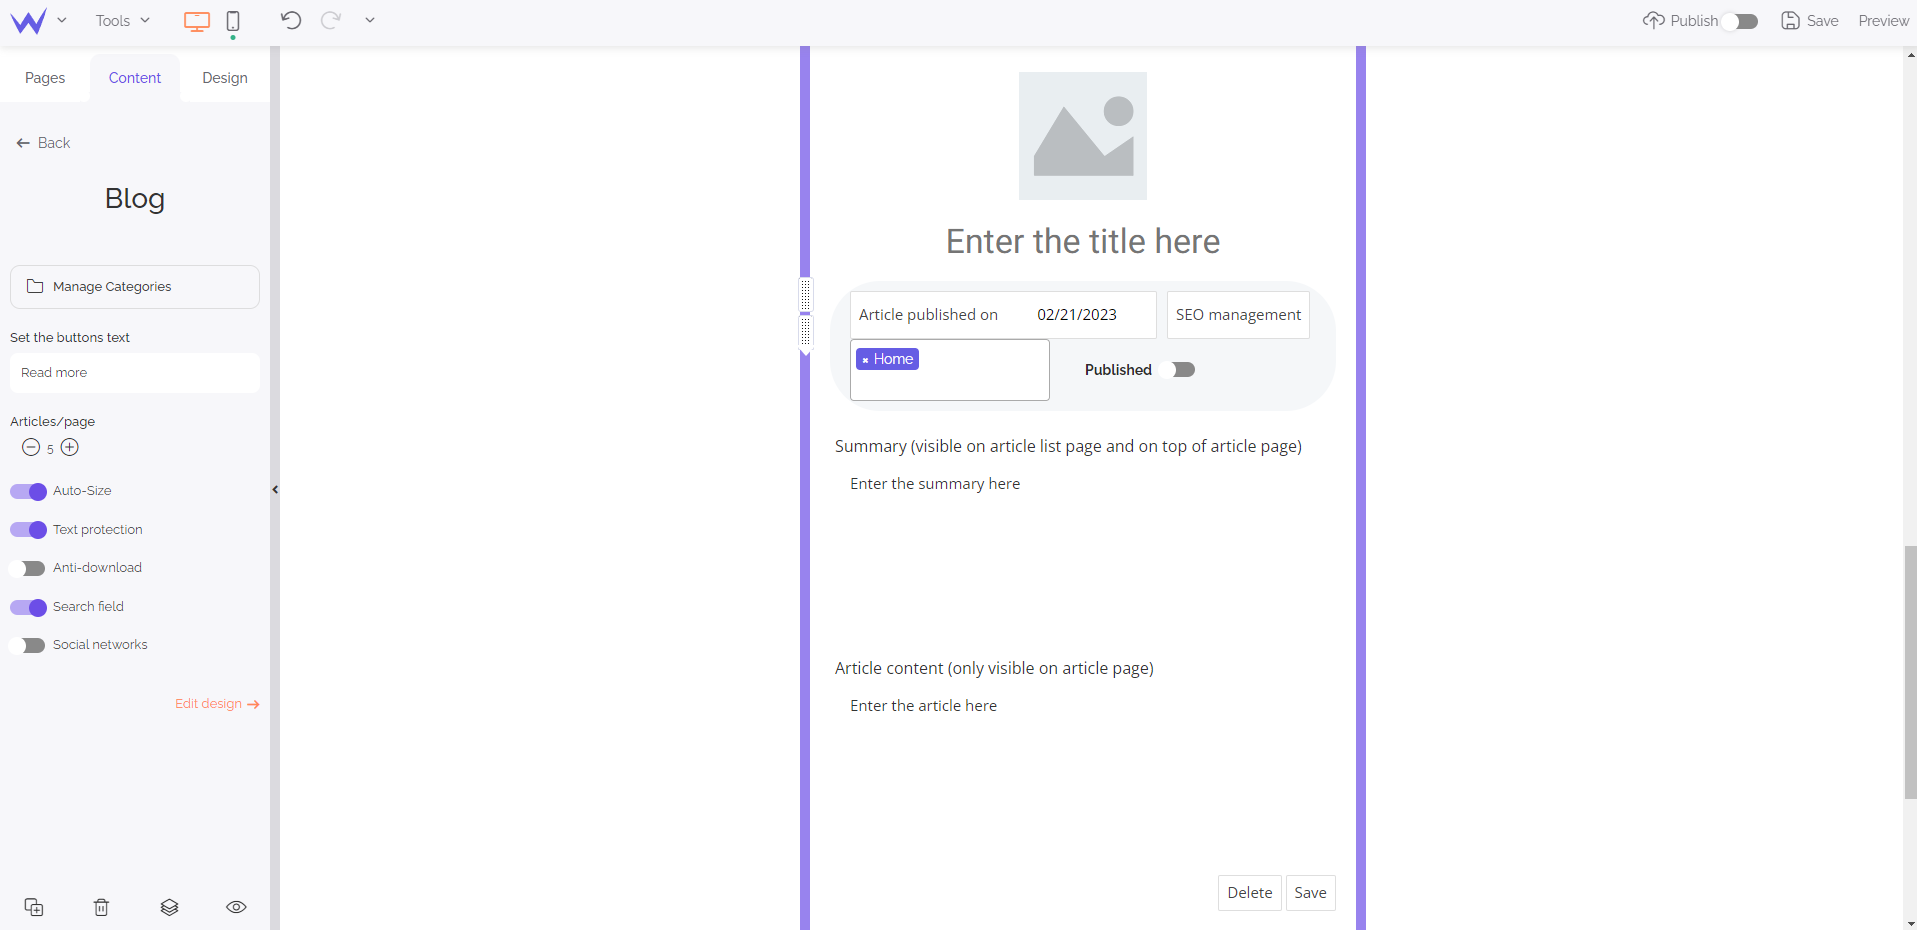
This block enables you to use a complete redaction editor to write your articles, add call-to-action buttons, and optimize your tags. You can also add illustrations directly in the editor.
When you add this bock, a search bar will be immediately displayed. This bar will enable users to quickly access the articles that interest them thanks to keywords.
Specific feature for paid packages
If you want to use the Blog block, you will have to
subscribe to an Essential Showcase package, or any other upper package.
Do you organize an event? You can add the Calendar block in a few clicks to inform users about the dates and hours of the event.
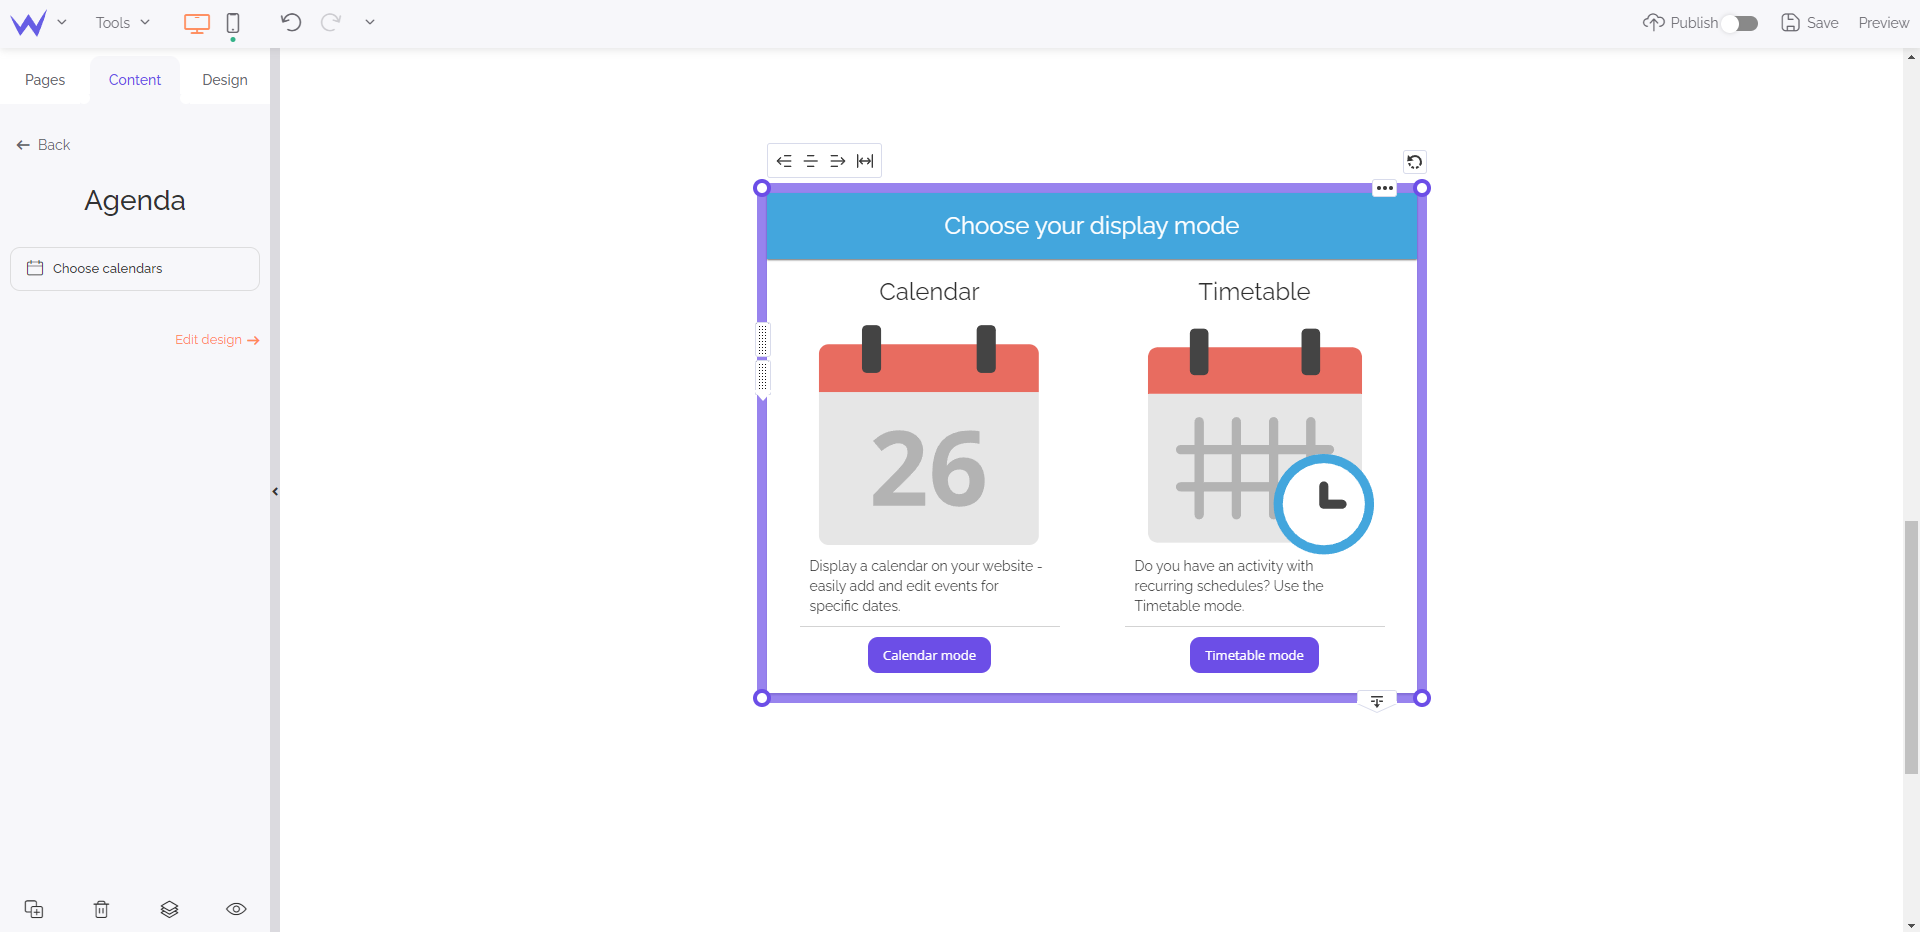
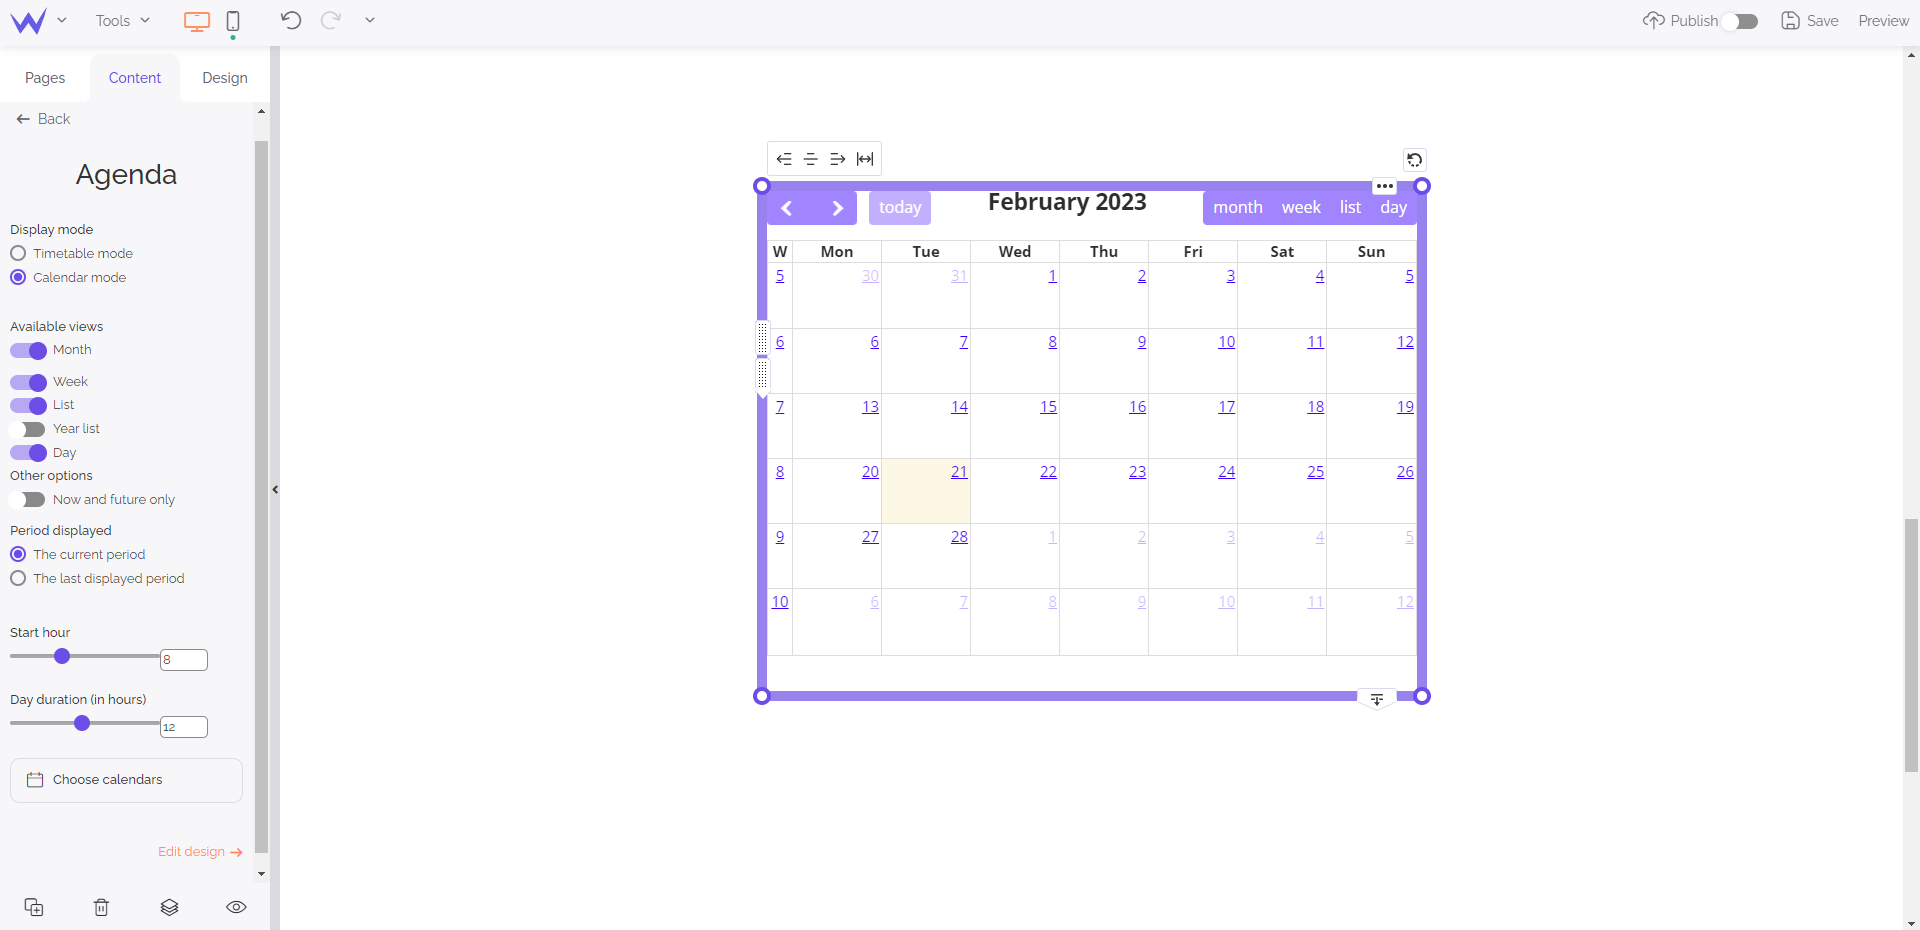
The Agenda block offers two modes: the Calendar mode and the Timetable mode.
The Calendar mode offers a vision within a complete month to prevent users over time.
The Timetable mode enables you to organize a day of events.
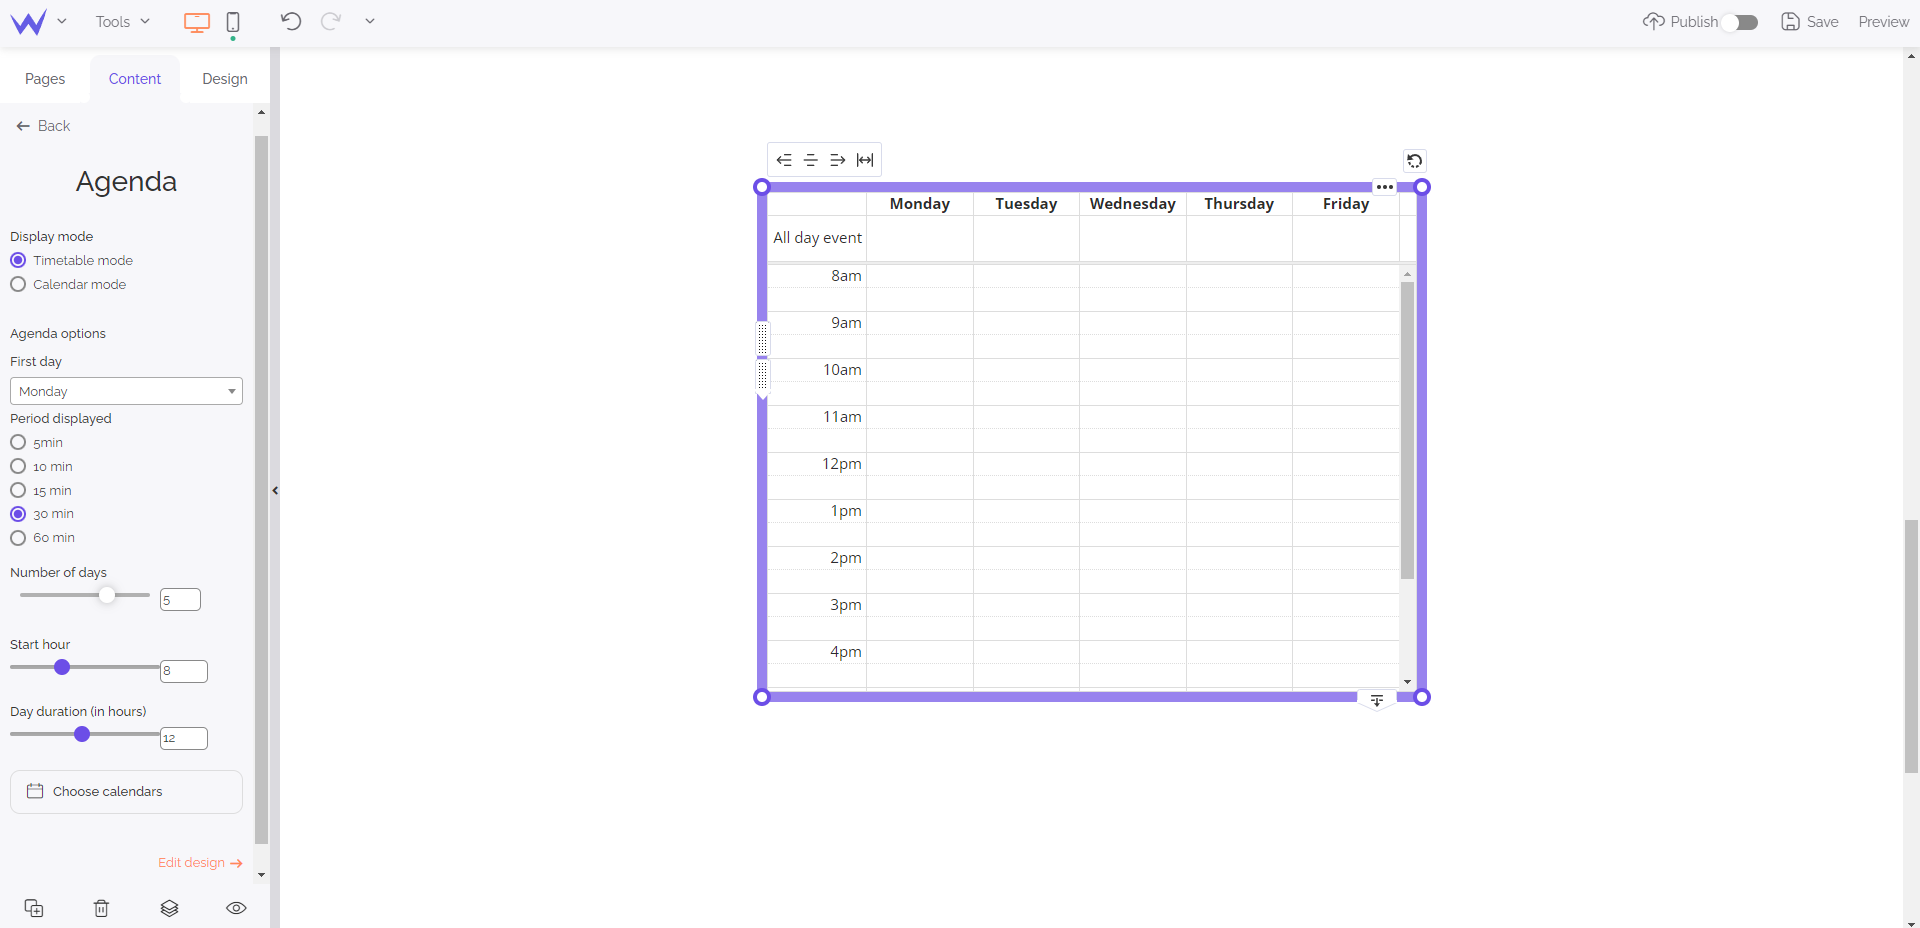
It’s possible to customize, adapt and delete these blocks in a few minutes. It’s useful when you want to communicate about your future event!
Specific feature for Advanced Showcase or upper packages
If you want to use the Agenda block, you will have to
subscribe to an Advanced Showcase package, or any other upper package.
The Widget block is for customizing your website at best.
This block enables you to embed HTML code, a back-to-top button, as well as a countdown timer for an event.
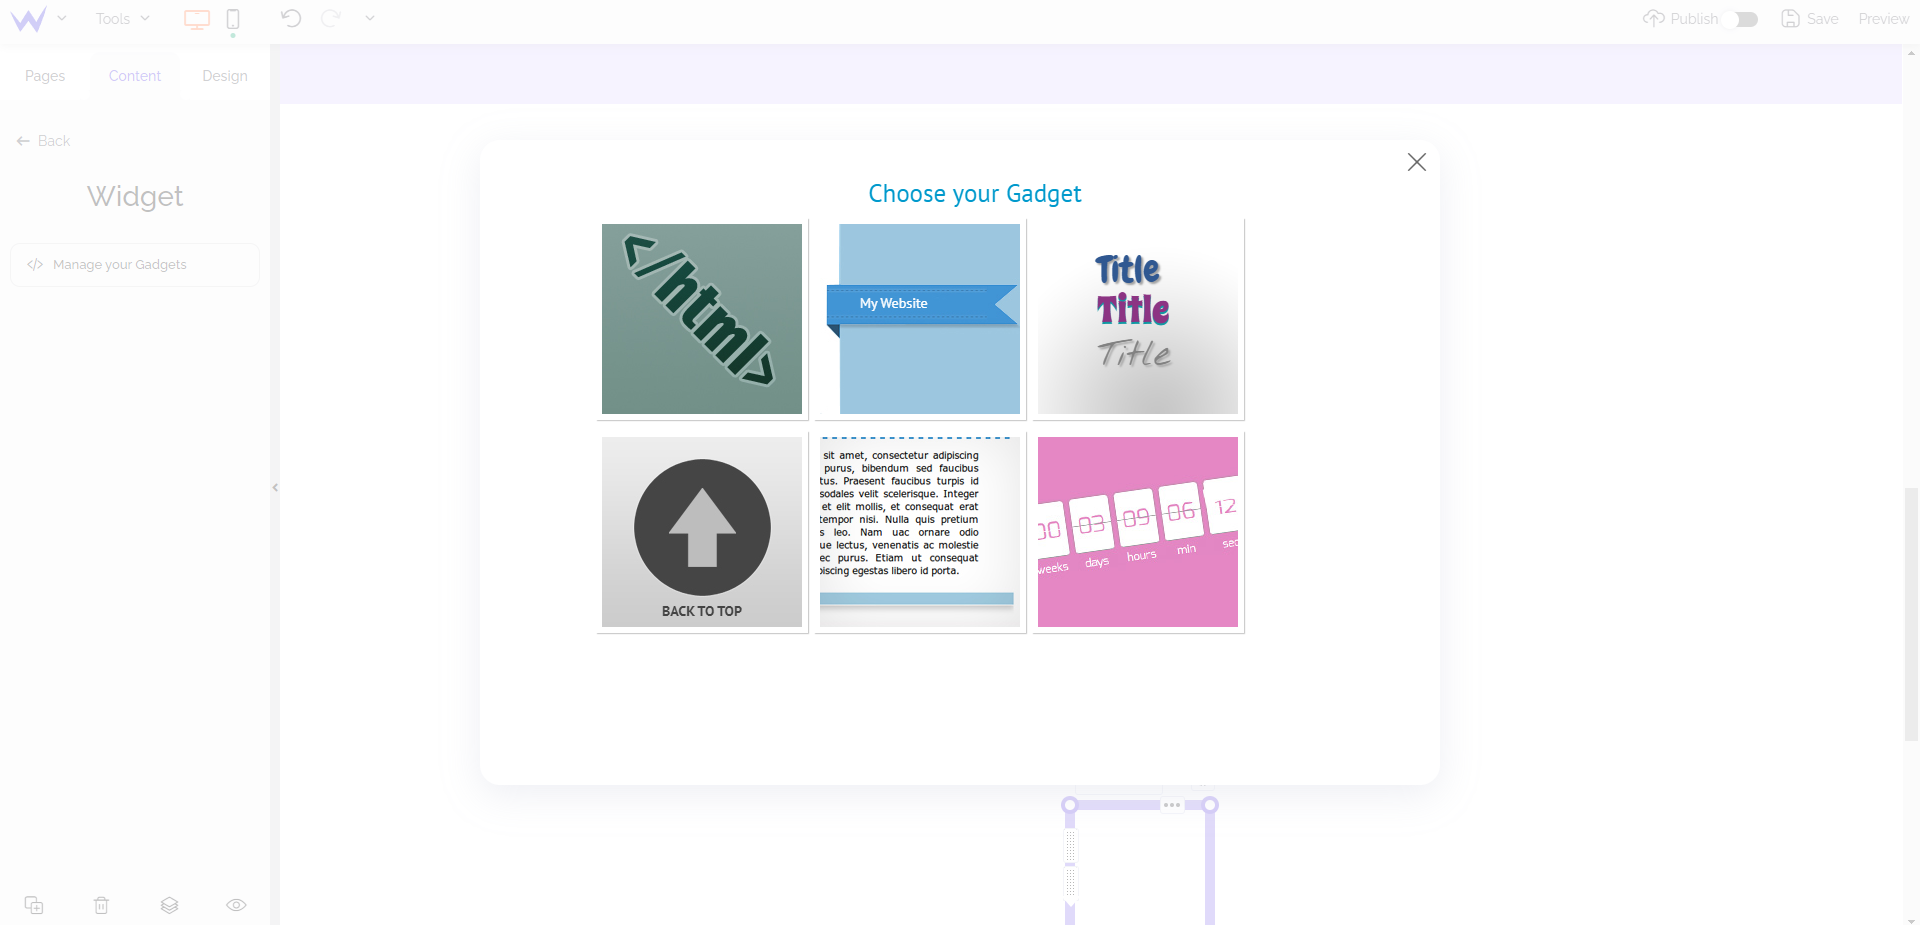
Thanks to the Widget block, you can also create effects for your titles, such as separators or ribbons.
Watch out
If you want to add a basic widget (ribbon, countdown timer…), it’s possible with any package. However, if you want to embed external services with an HTML code, you will have to subscribe to an Advanced Showcase package or any other upper package.
To optimize your user experience, it’s better to use the search bar.
Such as for all the other blocks of SiteW, you can customize the design of this search bar and the categories of your website the bar takes into account.
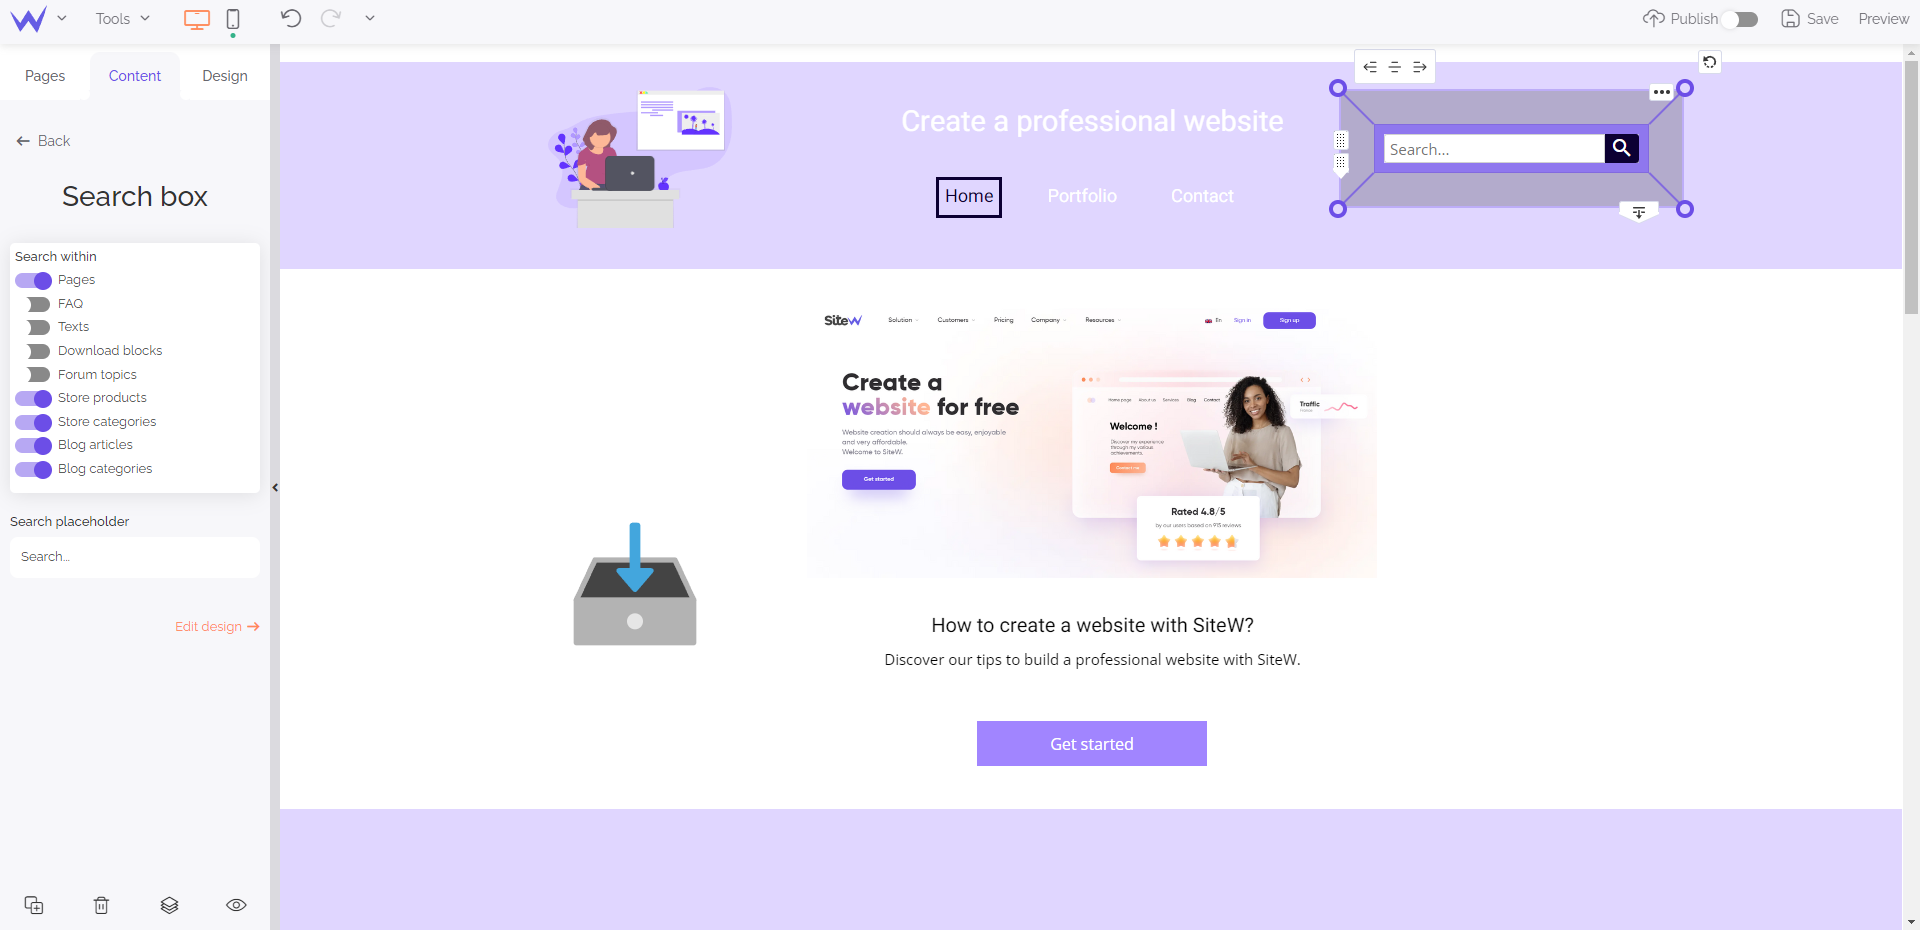
You can choose the sections where your visitors can use the search bar to offer the most relevant results. The search bar is displayed at the top of your home page and is an essential landmark for your visitors.
Specific feature for paid packages
To use the Search block, you will have to
subscribe to an Advanced Showcase package or any other upper package.
If you have a physical store or a phone service, you need to display your hours on your website.
Creating a template which is perfectly aligned and adapted may be time-consuming.
Fortunately, the Hours block makes your job easier.
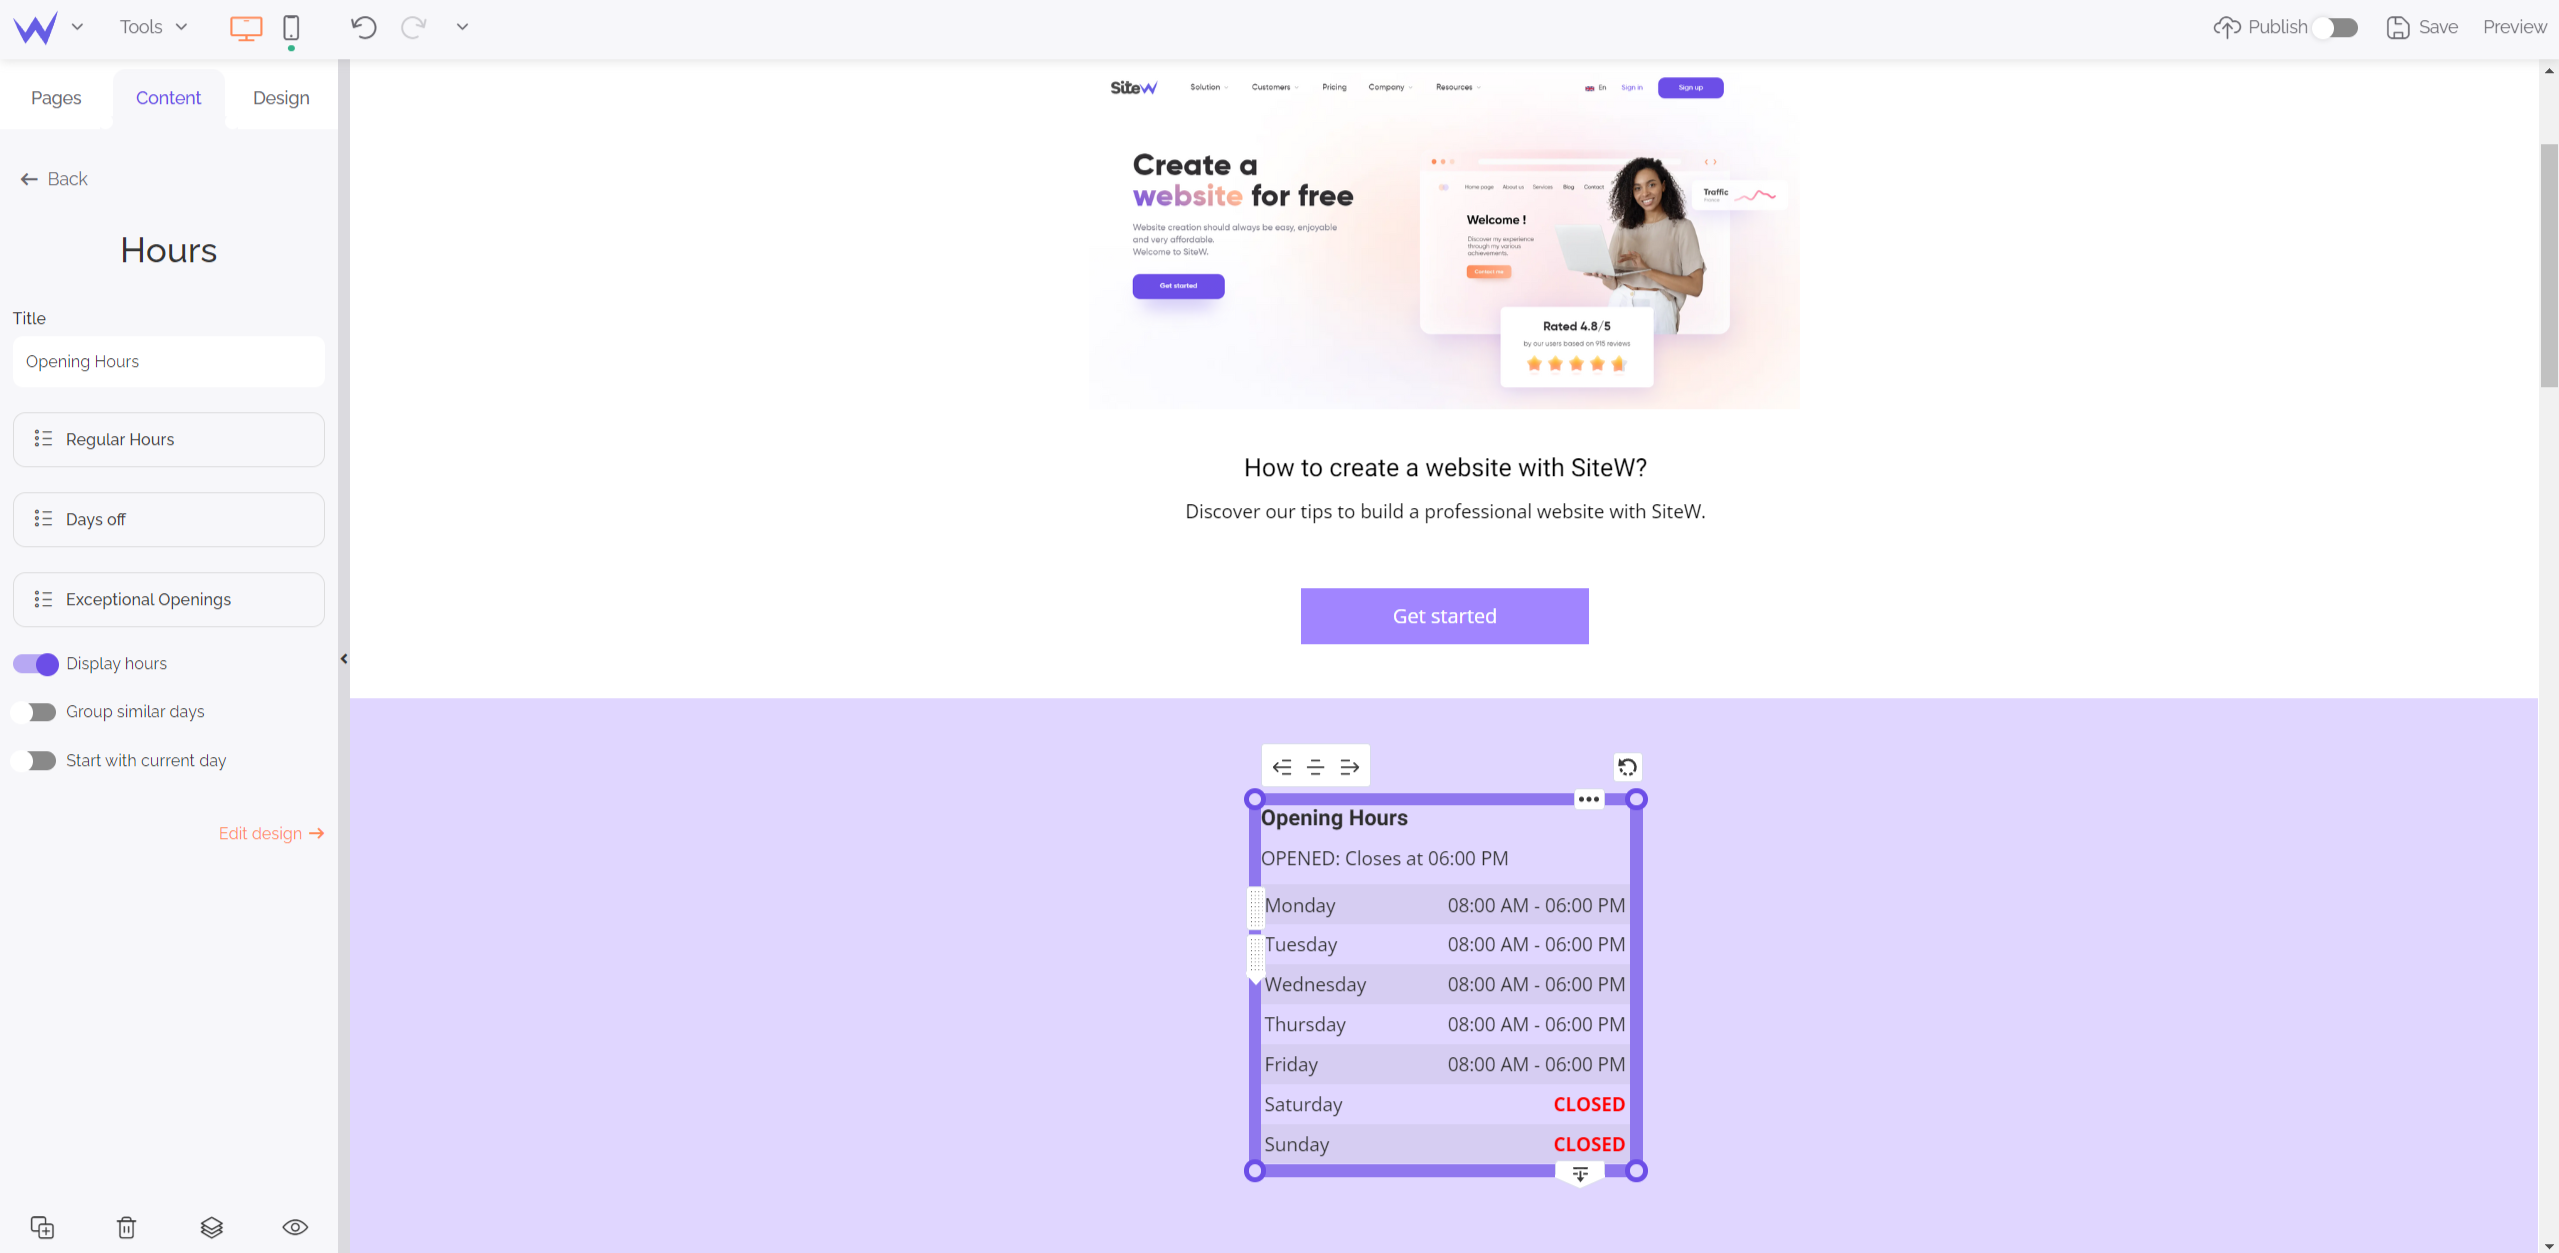
Depending on your case, you can customize and edit this block quickly. Thus, your hours are always updated whatever the time of year.
You will also find the Multimedia section in the Content panel.
All the multimedia elements are in the Content panel in the form of blocks. You just need to drag and drop these basic and effective blocks anywhere on your website.
The Image block enables you to add quality images without losing the technical performances of your website.
To add images, you can directly download yours.
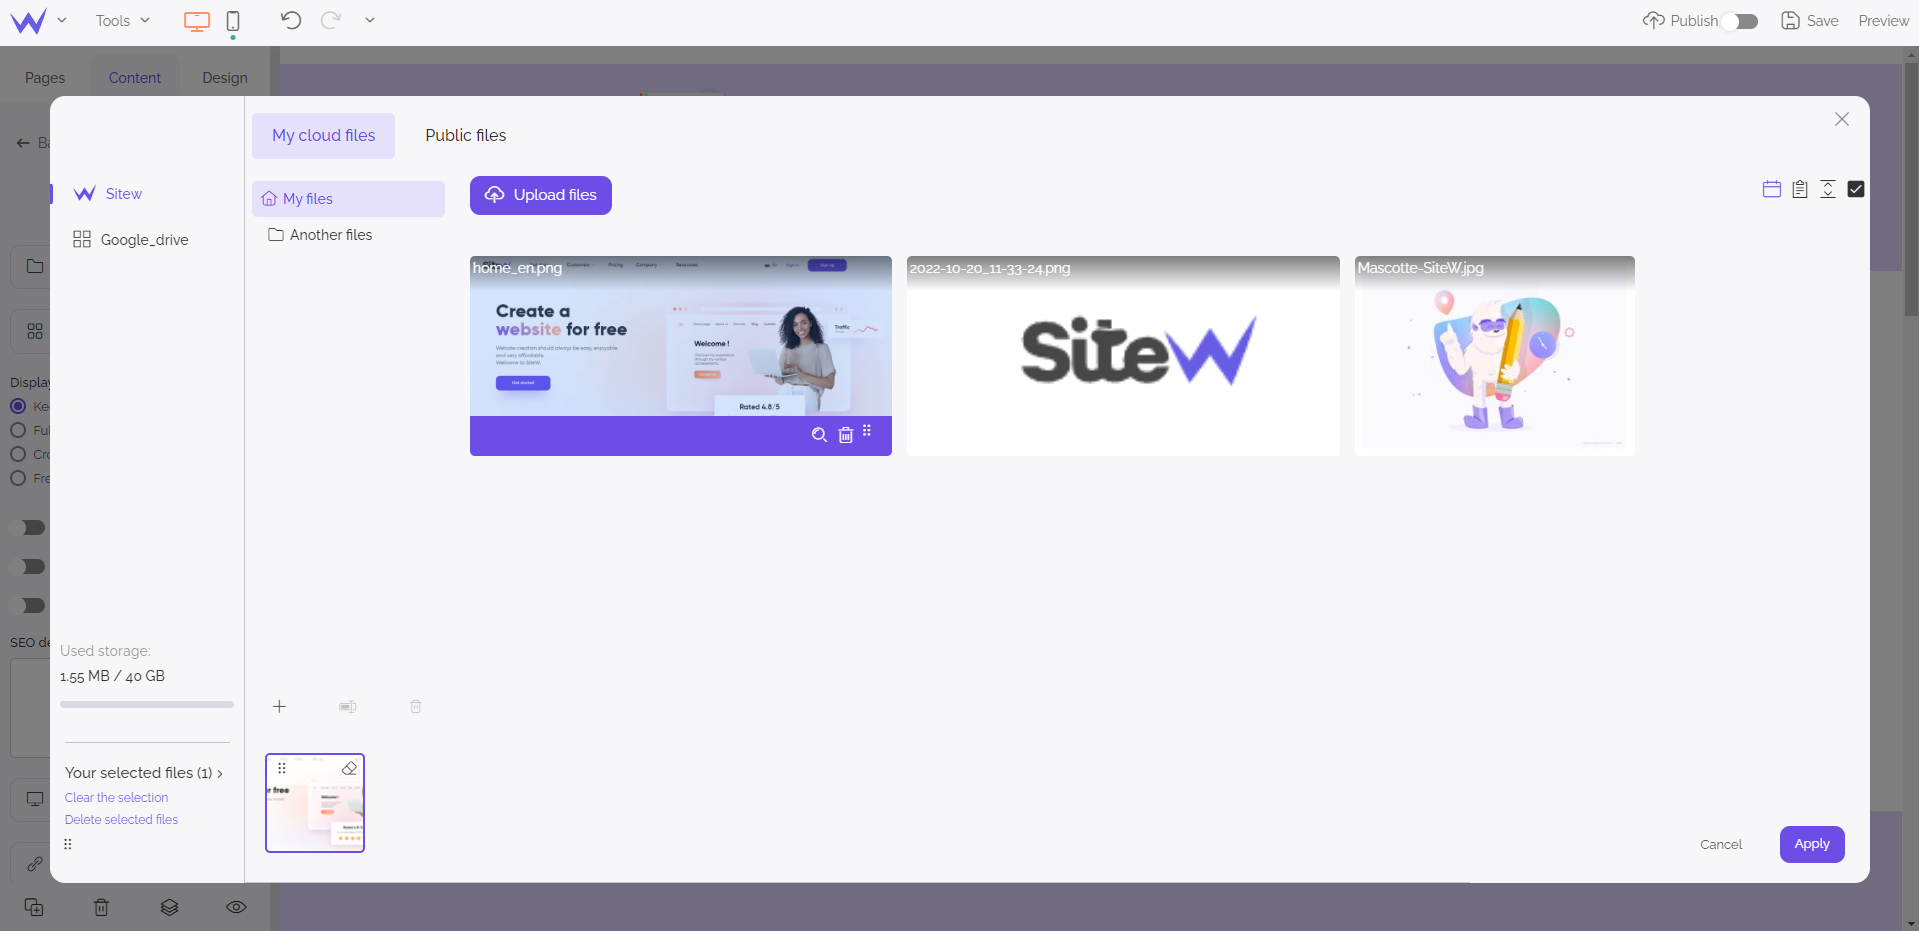
You can also retrieve images from the royalty-free image bank, which is available by clicking Public files.
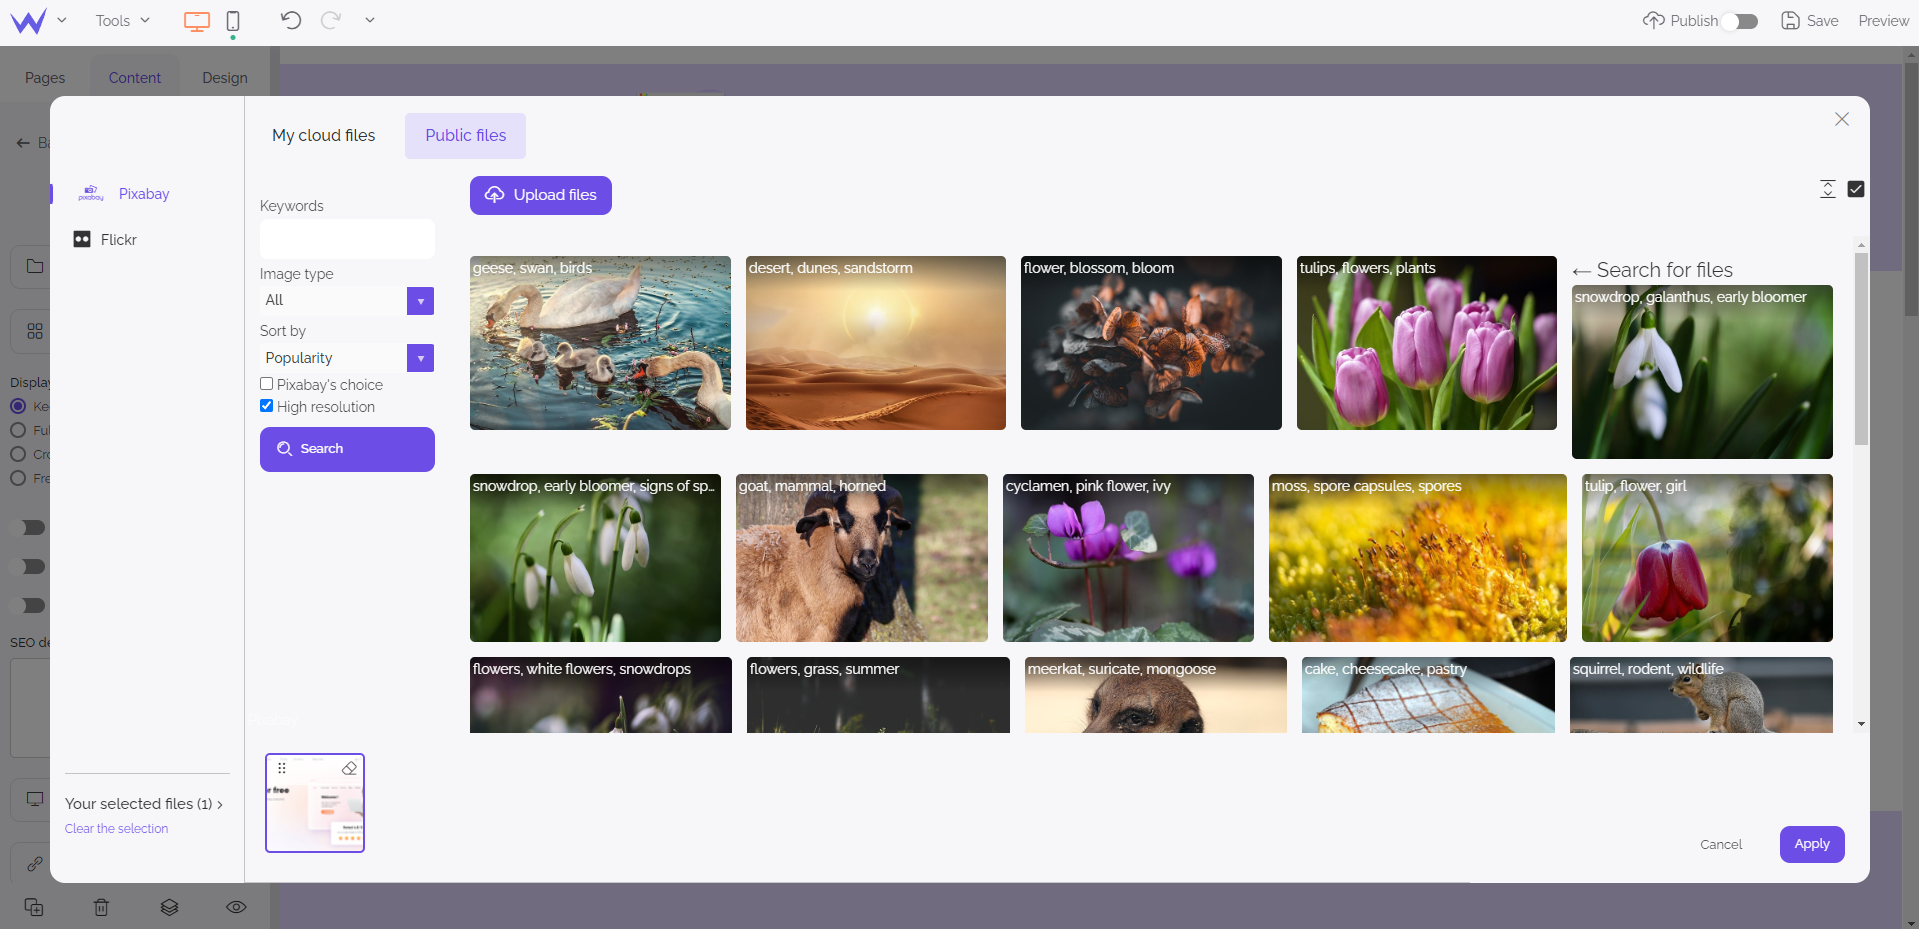
Once you have selected your images, you can easily optimize them by embedding SEO tags and descriptions. This might seem optional, but it can make a difference in your SEO.
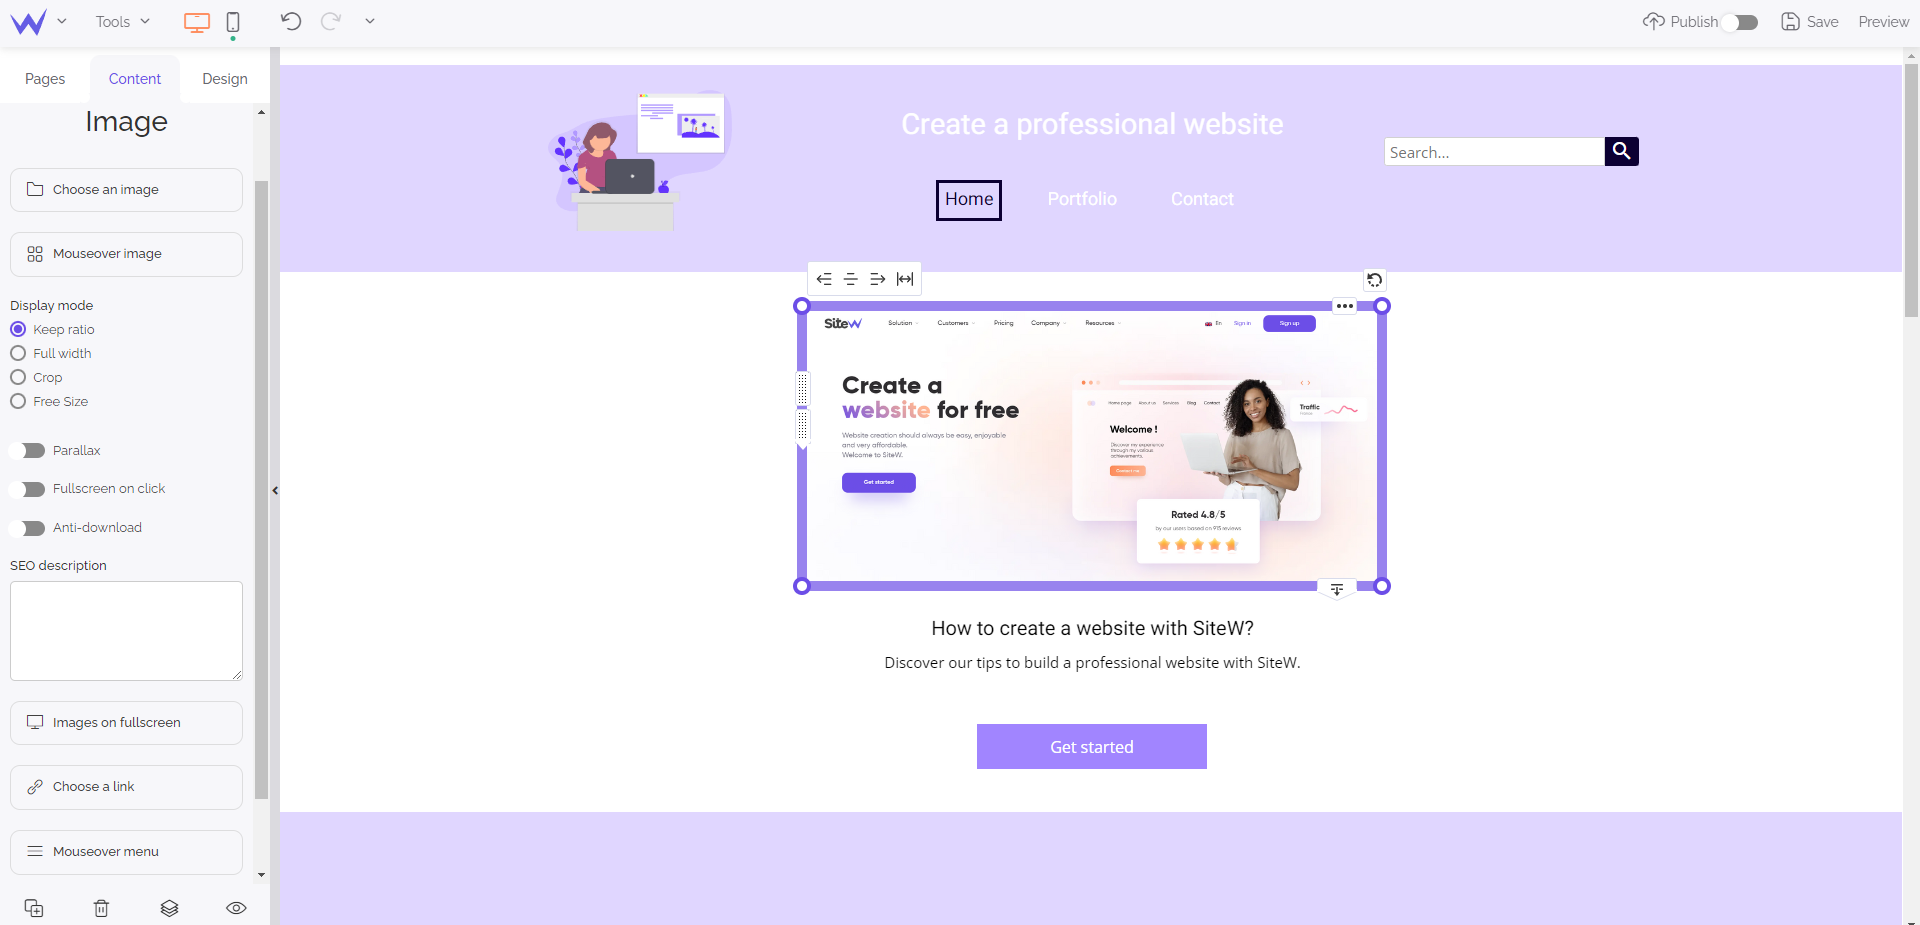
💡 You can add a link to your image to create a subtler backlink strategy. Thus, you will be able to exploit your images at best.
Now it’s time to speak about the Gallery block.
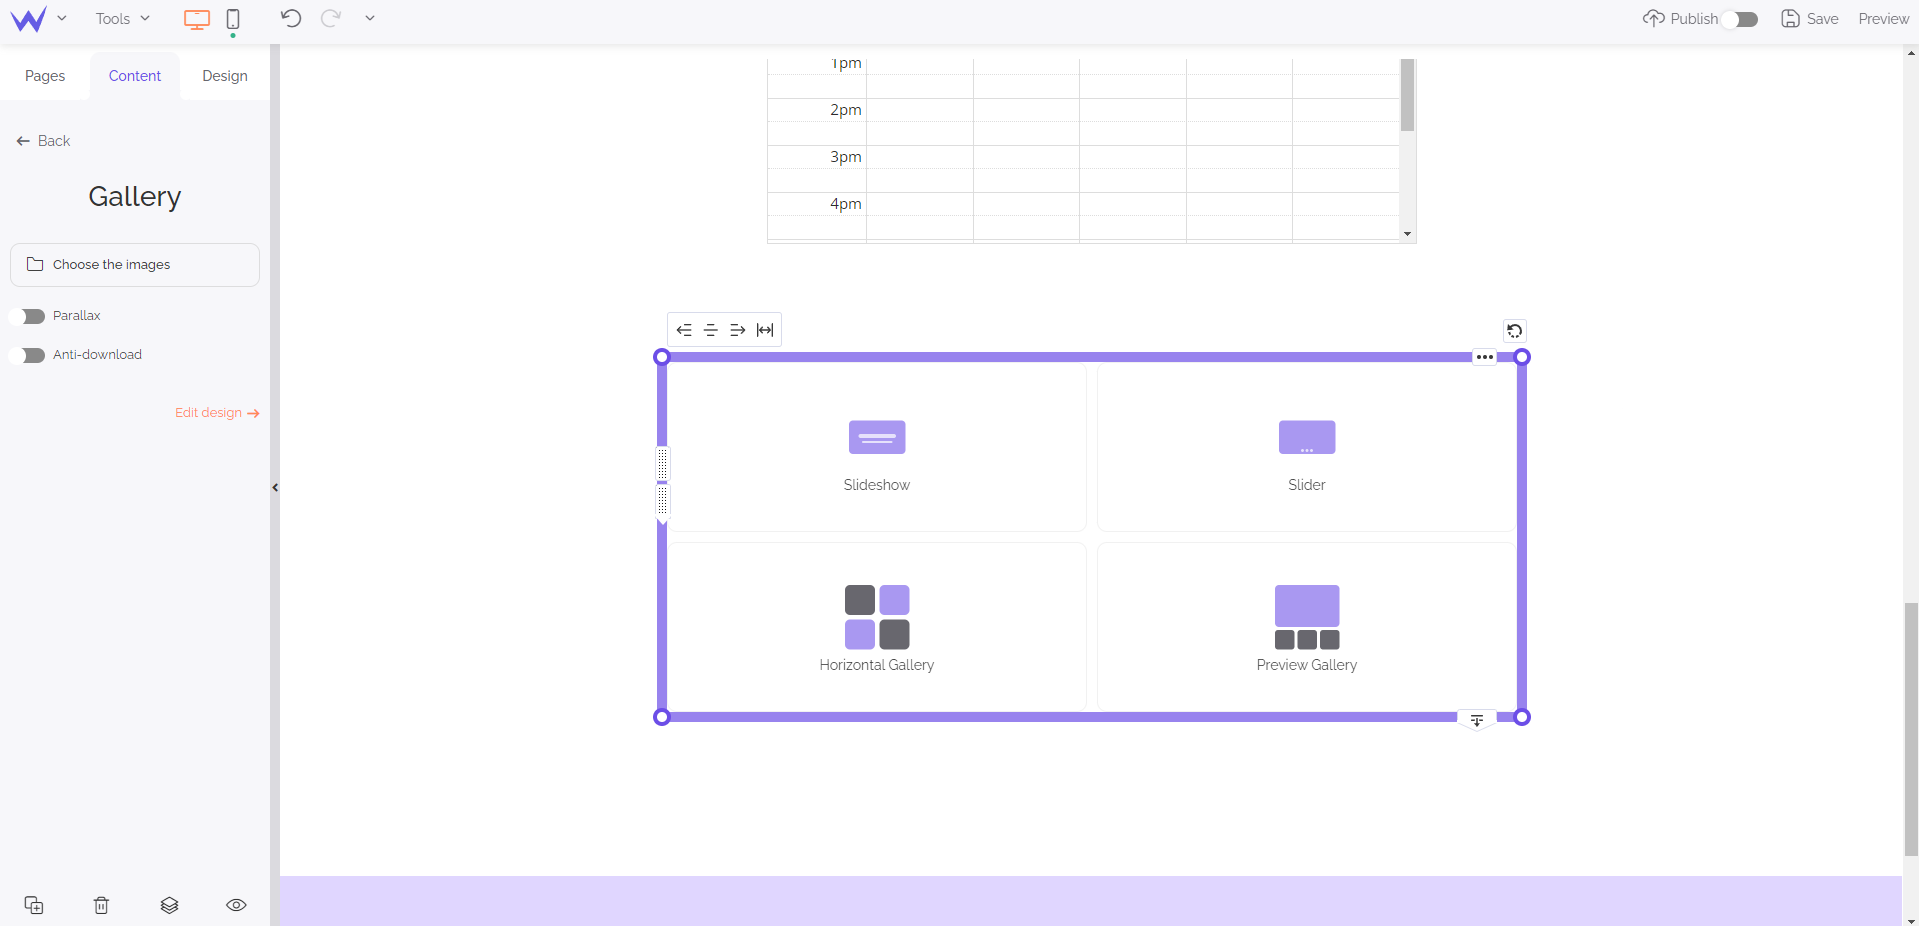
You can choose between different format of galleries to fit all your needs. You just need to choose your favourite format and add your images, such as for the previous block.
For your videos, it’s the same principle as your photos.
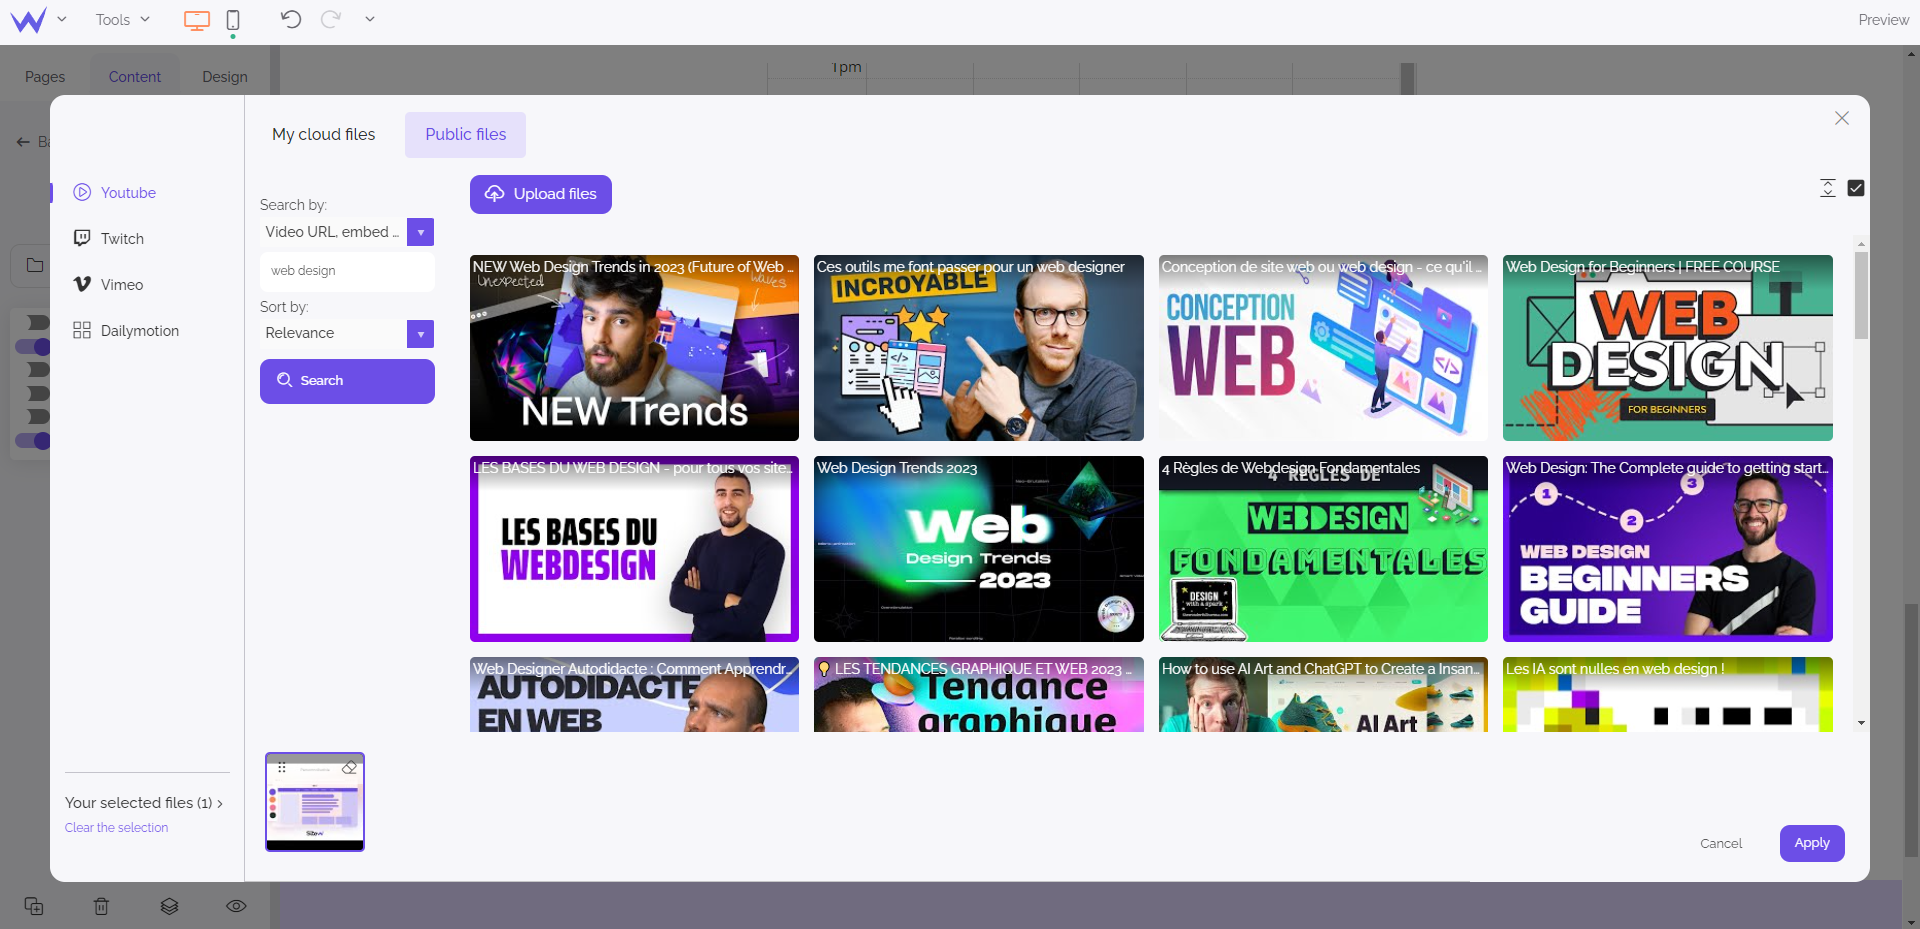
You can easily download your videos on your private library of SiteW and add them to your pages.
However, if you publish your videos on a platform like SiteW or Twitch, you can also add them thanks to keywords or URL.
It’s your turn now
Videos have a record commitment rate on the Internet. Don’t hesitate to use it.
Music is less common on a website, but it is original and immersive. That’ why you can add music to your pages thanks to this block.
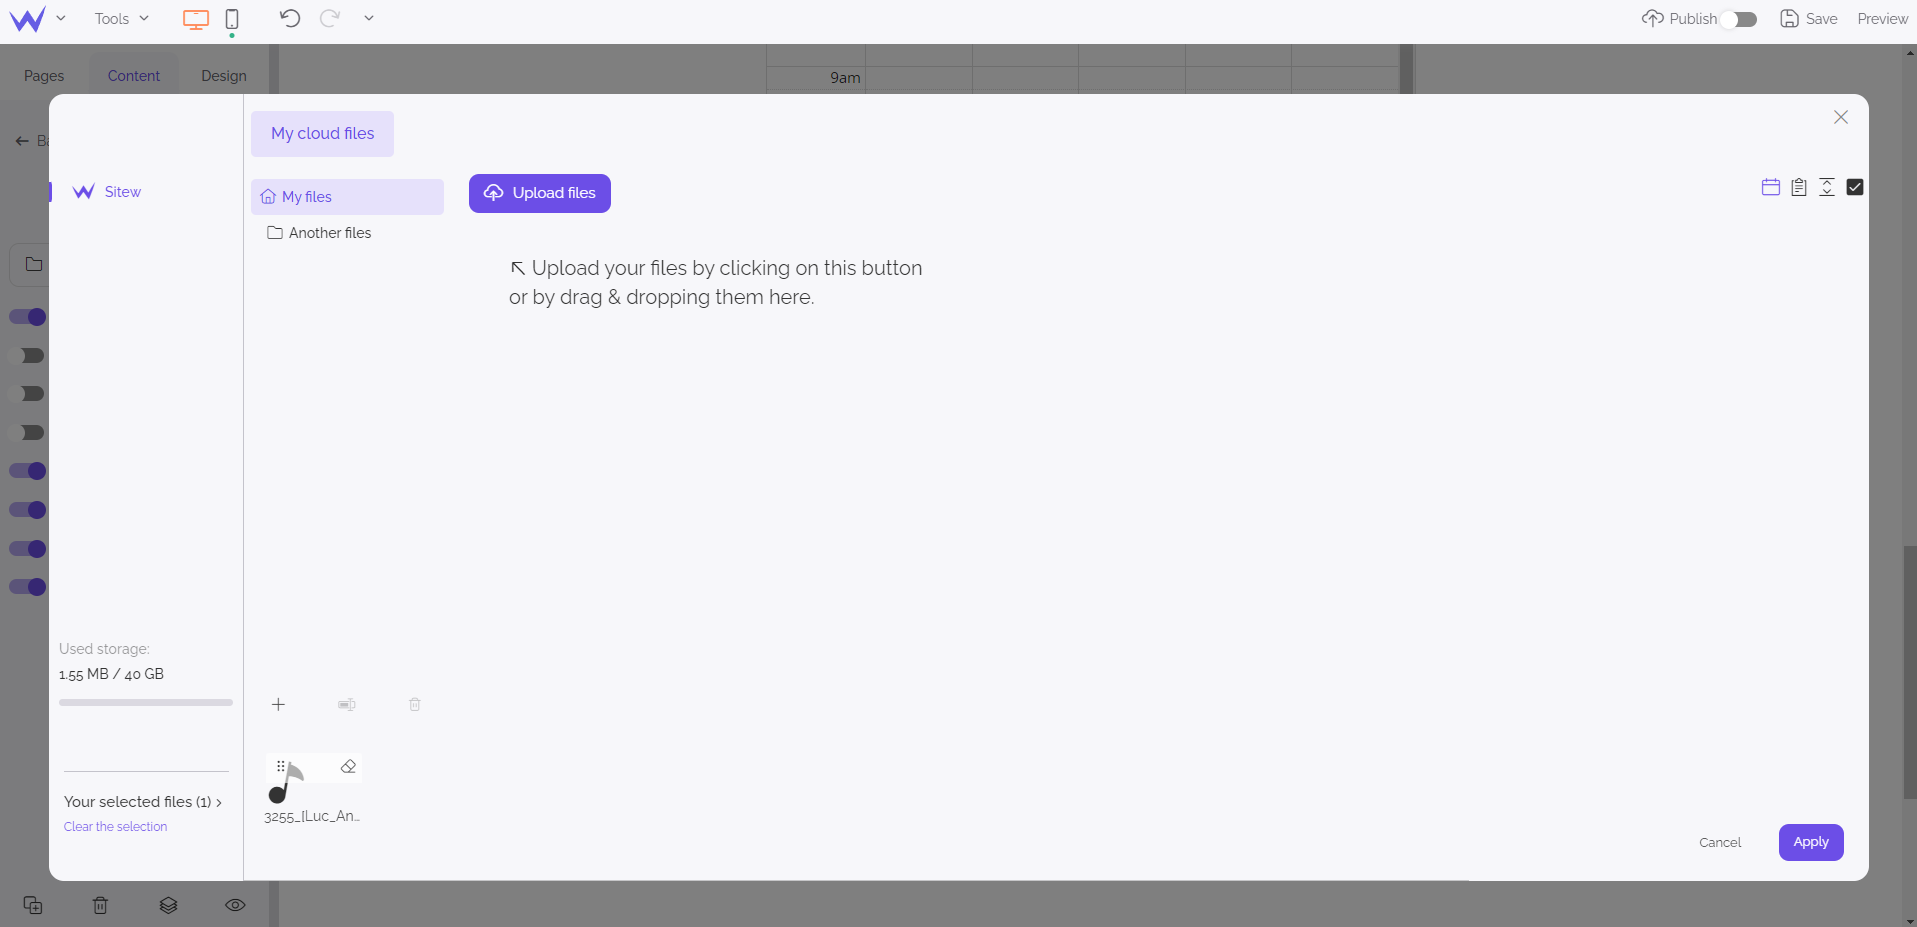
Such as for photos and videos, you can use a free content bank to animate your website thanks to music.
Specific feature for Advanced Showcase or upper packages
If you want to use the Music block, you will have to
subscribe to an Advanced Showcase package or any other upper package.
Call-to-action buttons make part of your SEO strategy and are essential elements. They must be customized and relevant to boost your commitment rate.
On the SiteW editor, it’s easy and quick to implement them.
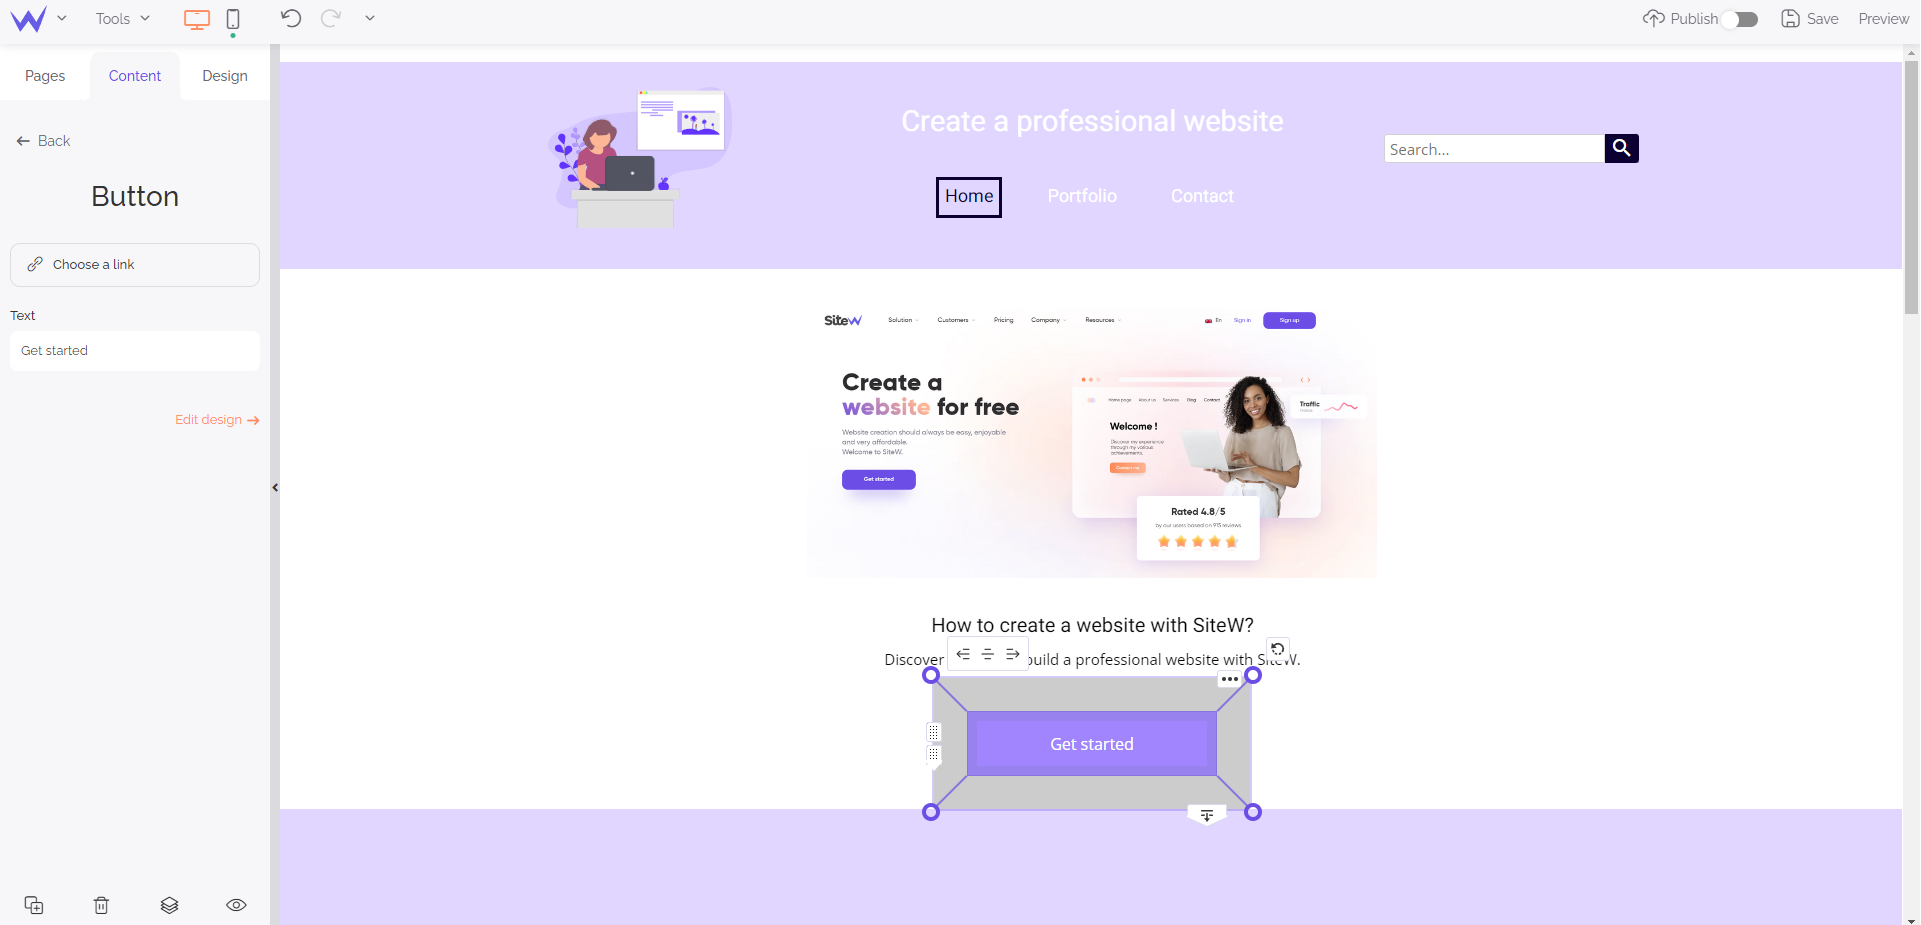
In the Content section, you can easily change its text and add a link, to which users will be redirected.
You will also find a shortcut to the Design section to change its colour, its font, or its form.
To go further
Call-to-action buttons can be immediately identified on your website. So, remember to use a complementary or different colour for your buttons to differentiate them from your website background and be more readable.
The design of your website
In this part of the Content section, you will find all the necessary tools to refine the graphic charter of your website.
Pictograms, social media icons… In the SiteW editor, you will find everything you need to improve your website in detail.
If you want to add graphic elements to your website, add shapes.
They can easily coat your website subtly.
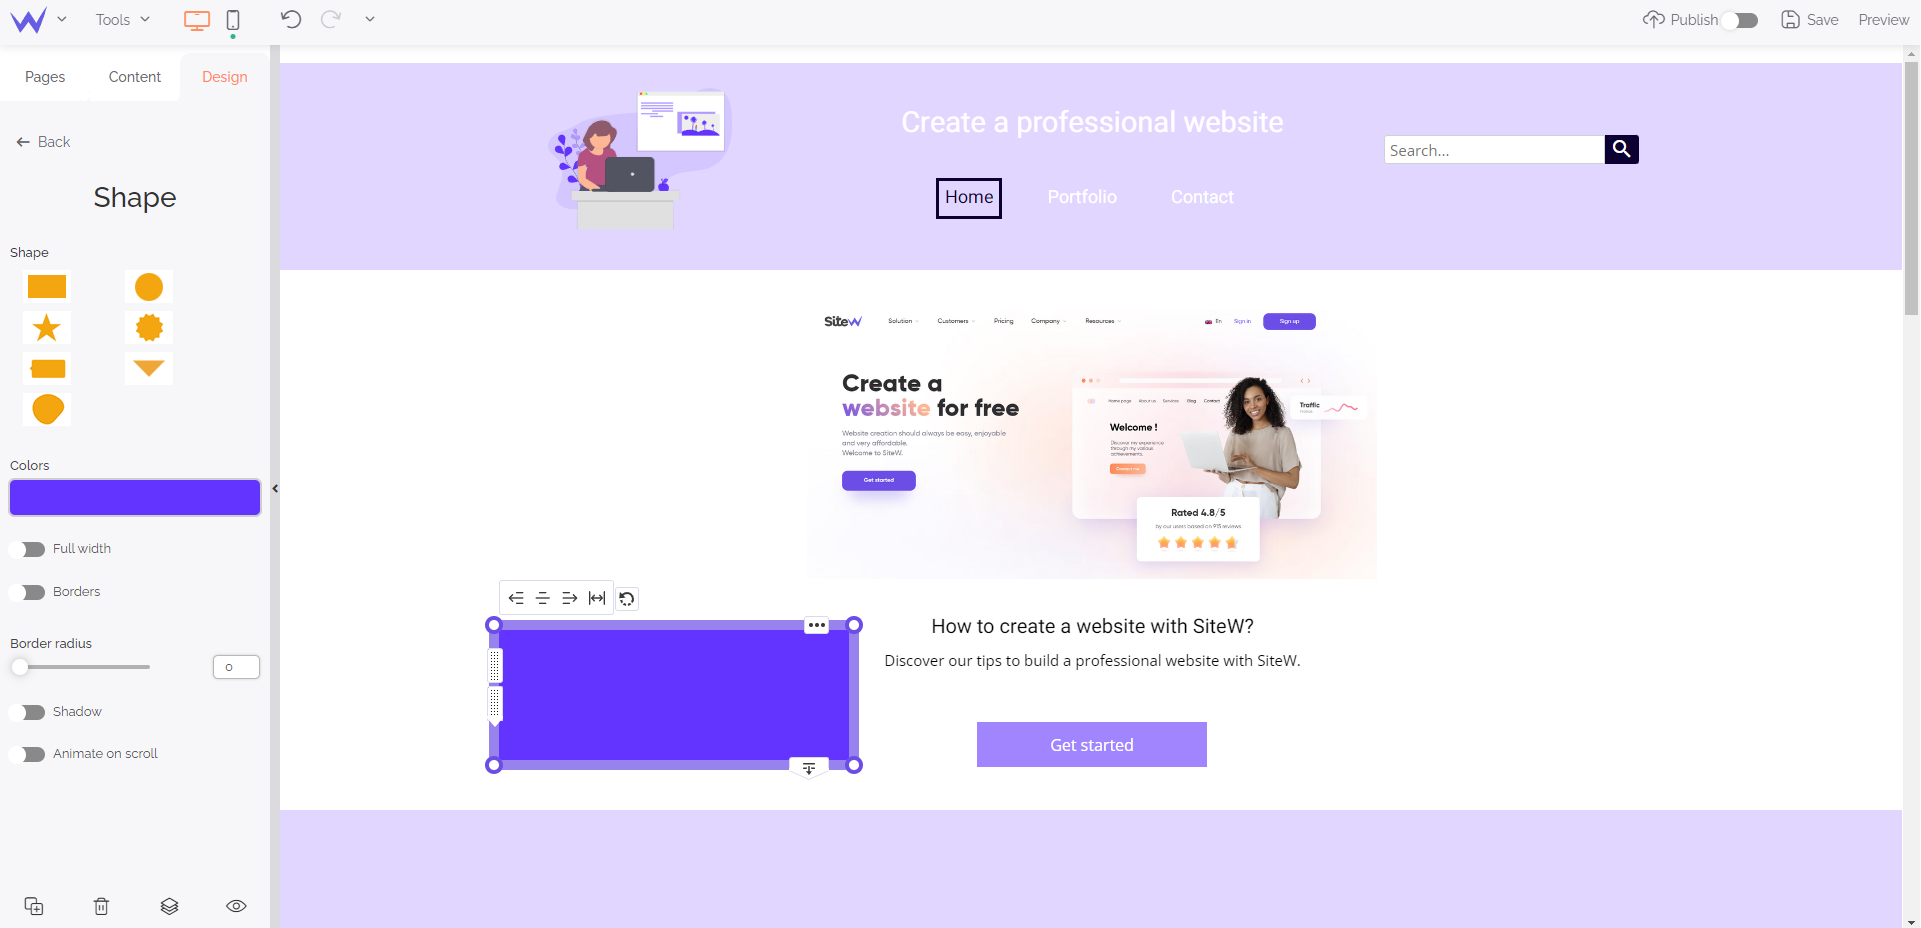
You can change the form, colour, volume, or border of your shape. By duplicating them, you will easily create a beautiful graphic coherence.
If you add icons to your website, you can create original buttons and illustrate your categories easily.
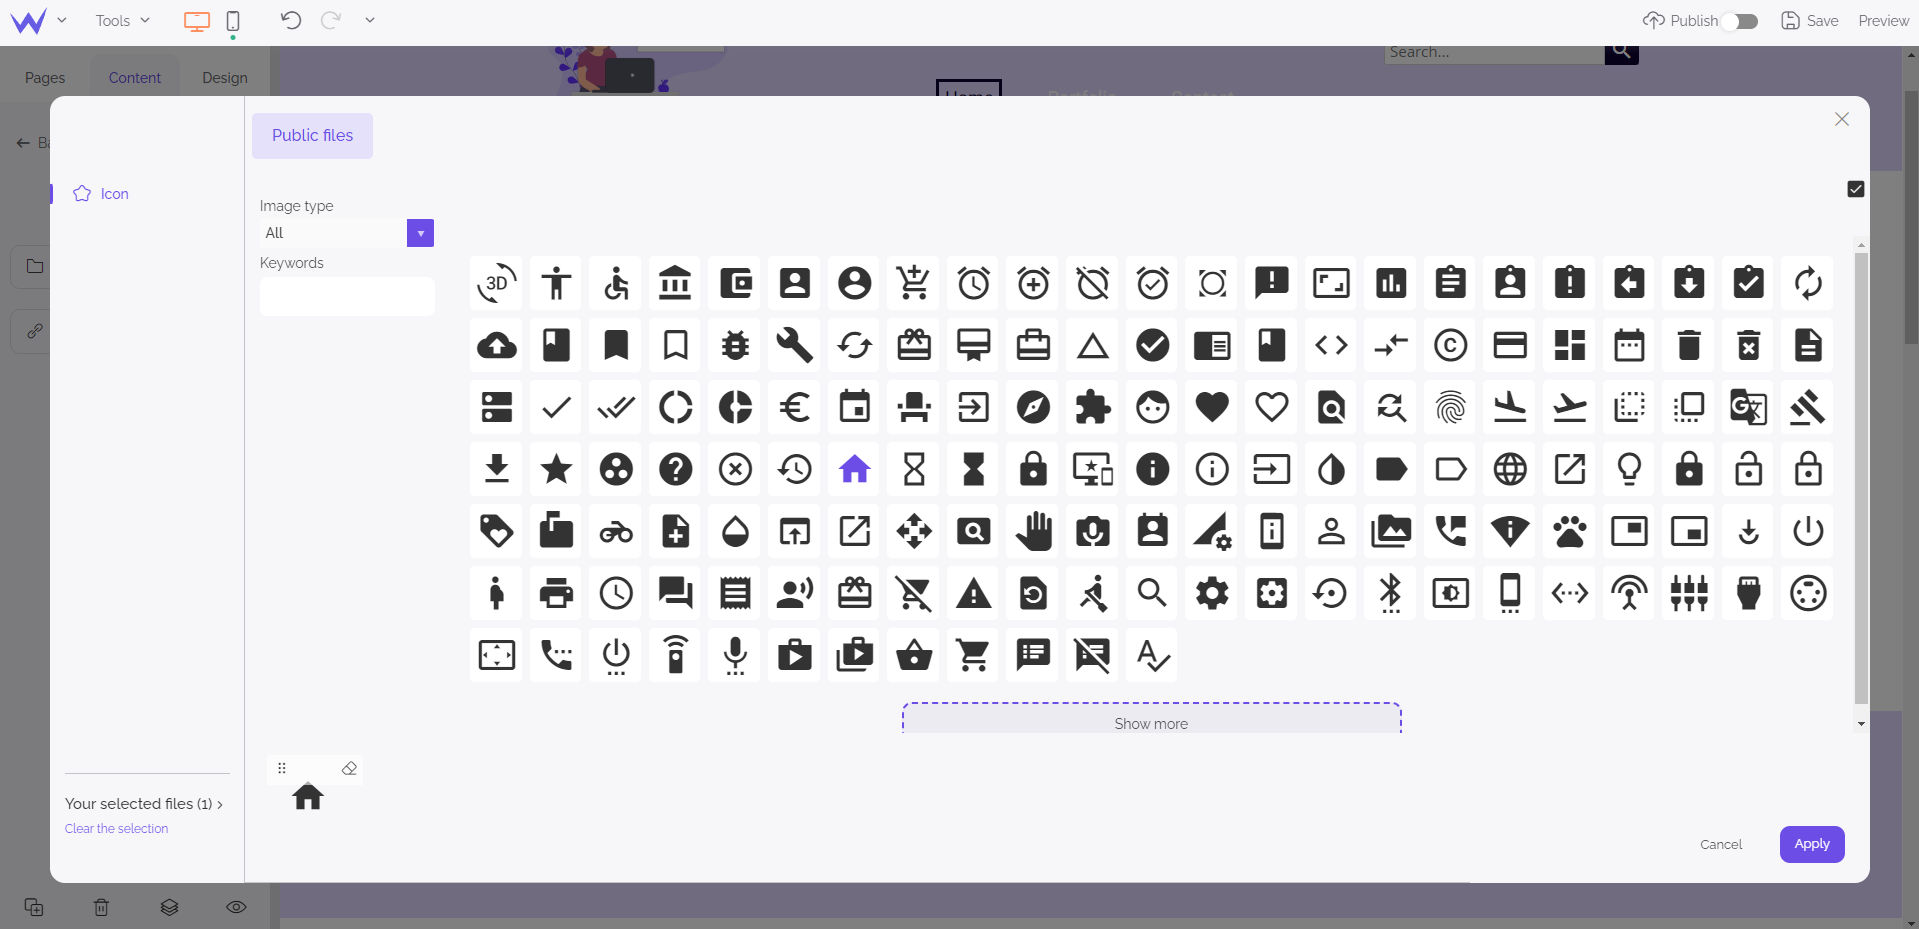
The Icon block enables you to access many pictograms that fit your needs.
To go further
You can add a link thanks to the editor to enable users to use it as a call-to-action button.
You probably want the graphic design of modern websites.
Fortunately, even without necessary skills to create illustrations, SiteW offers you a complete library.
Useful, isn’t it?
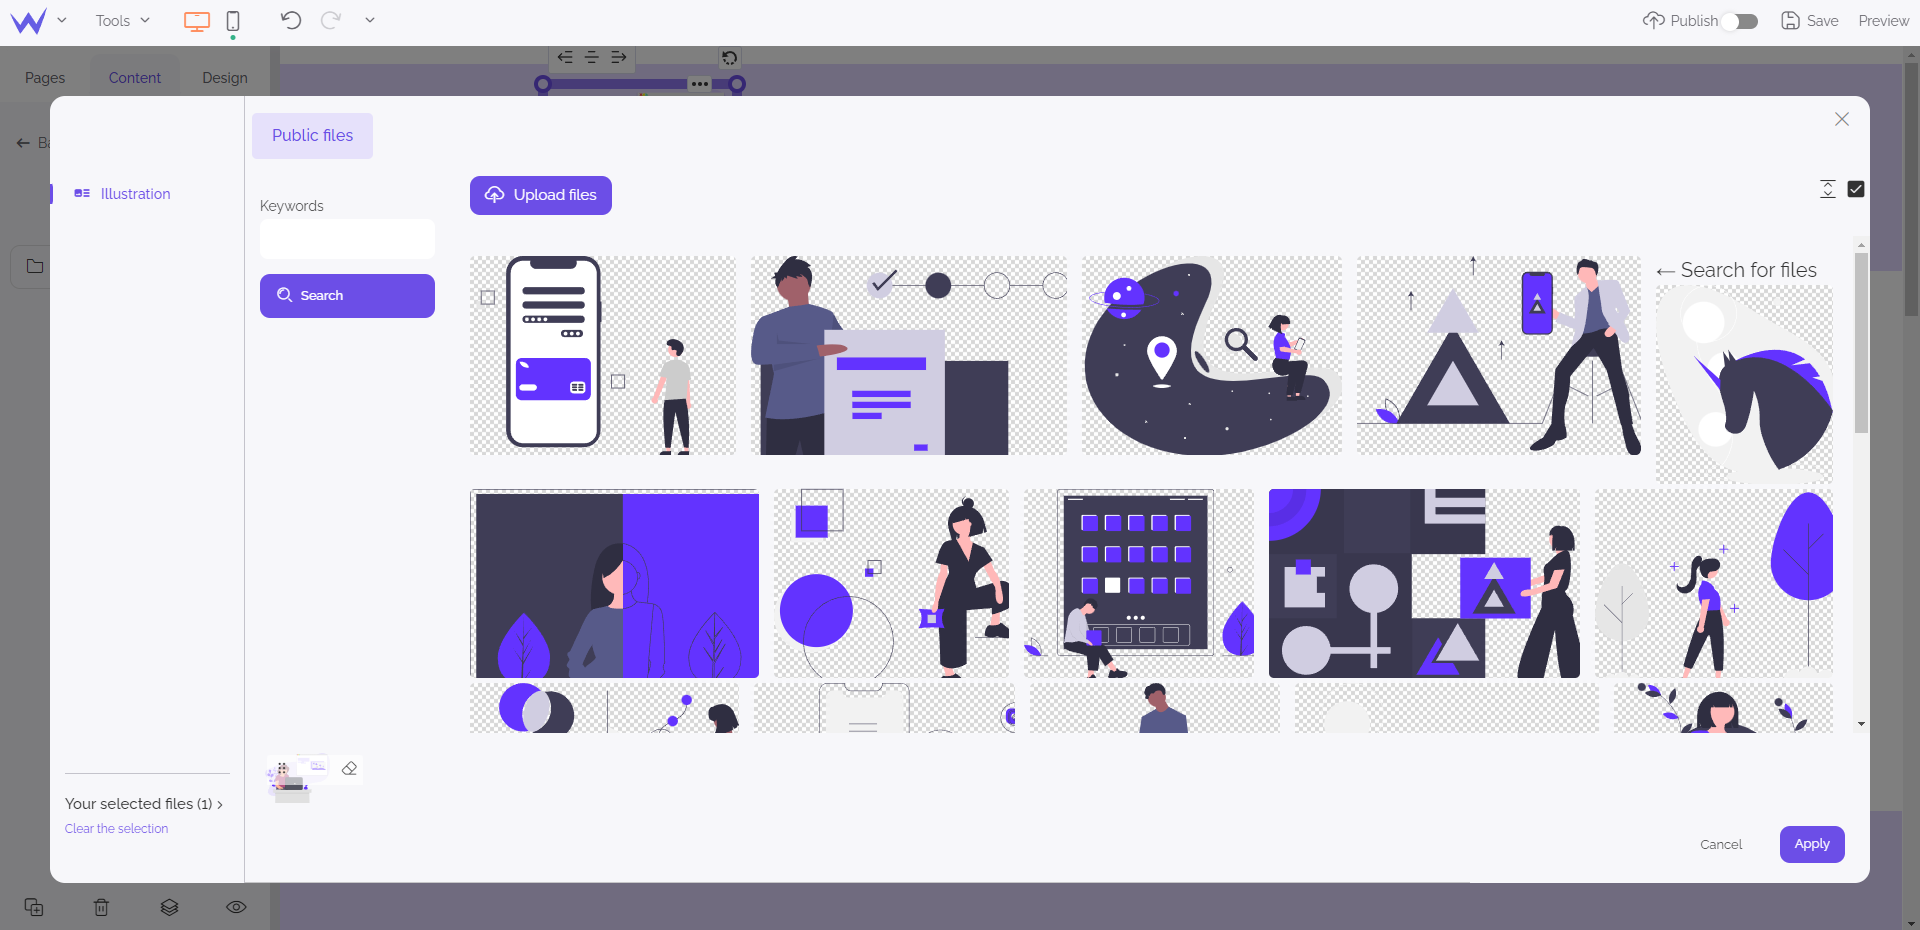
Such as for the other blocks, you can change the colours of these illustrations to adapt them to your graphic charter.
You can use graphic elements to structure your contents and divide your pages.
The Strip block enables you to add 3 types of strips: strip, wave, skew.
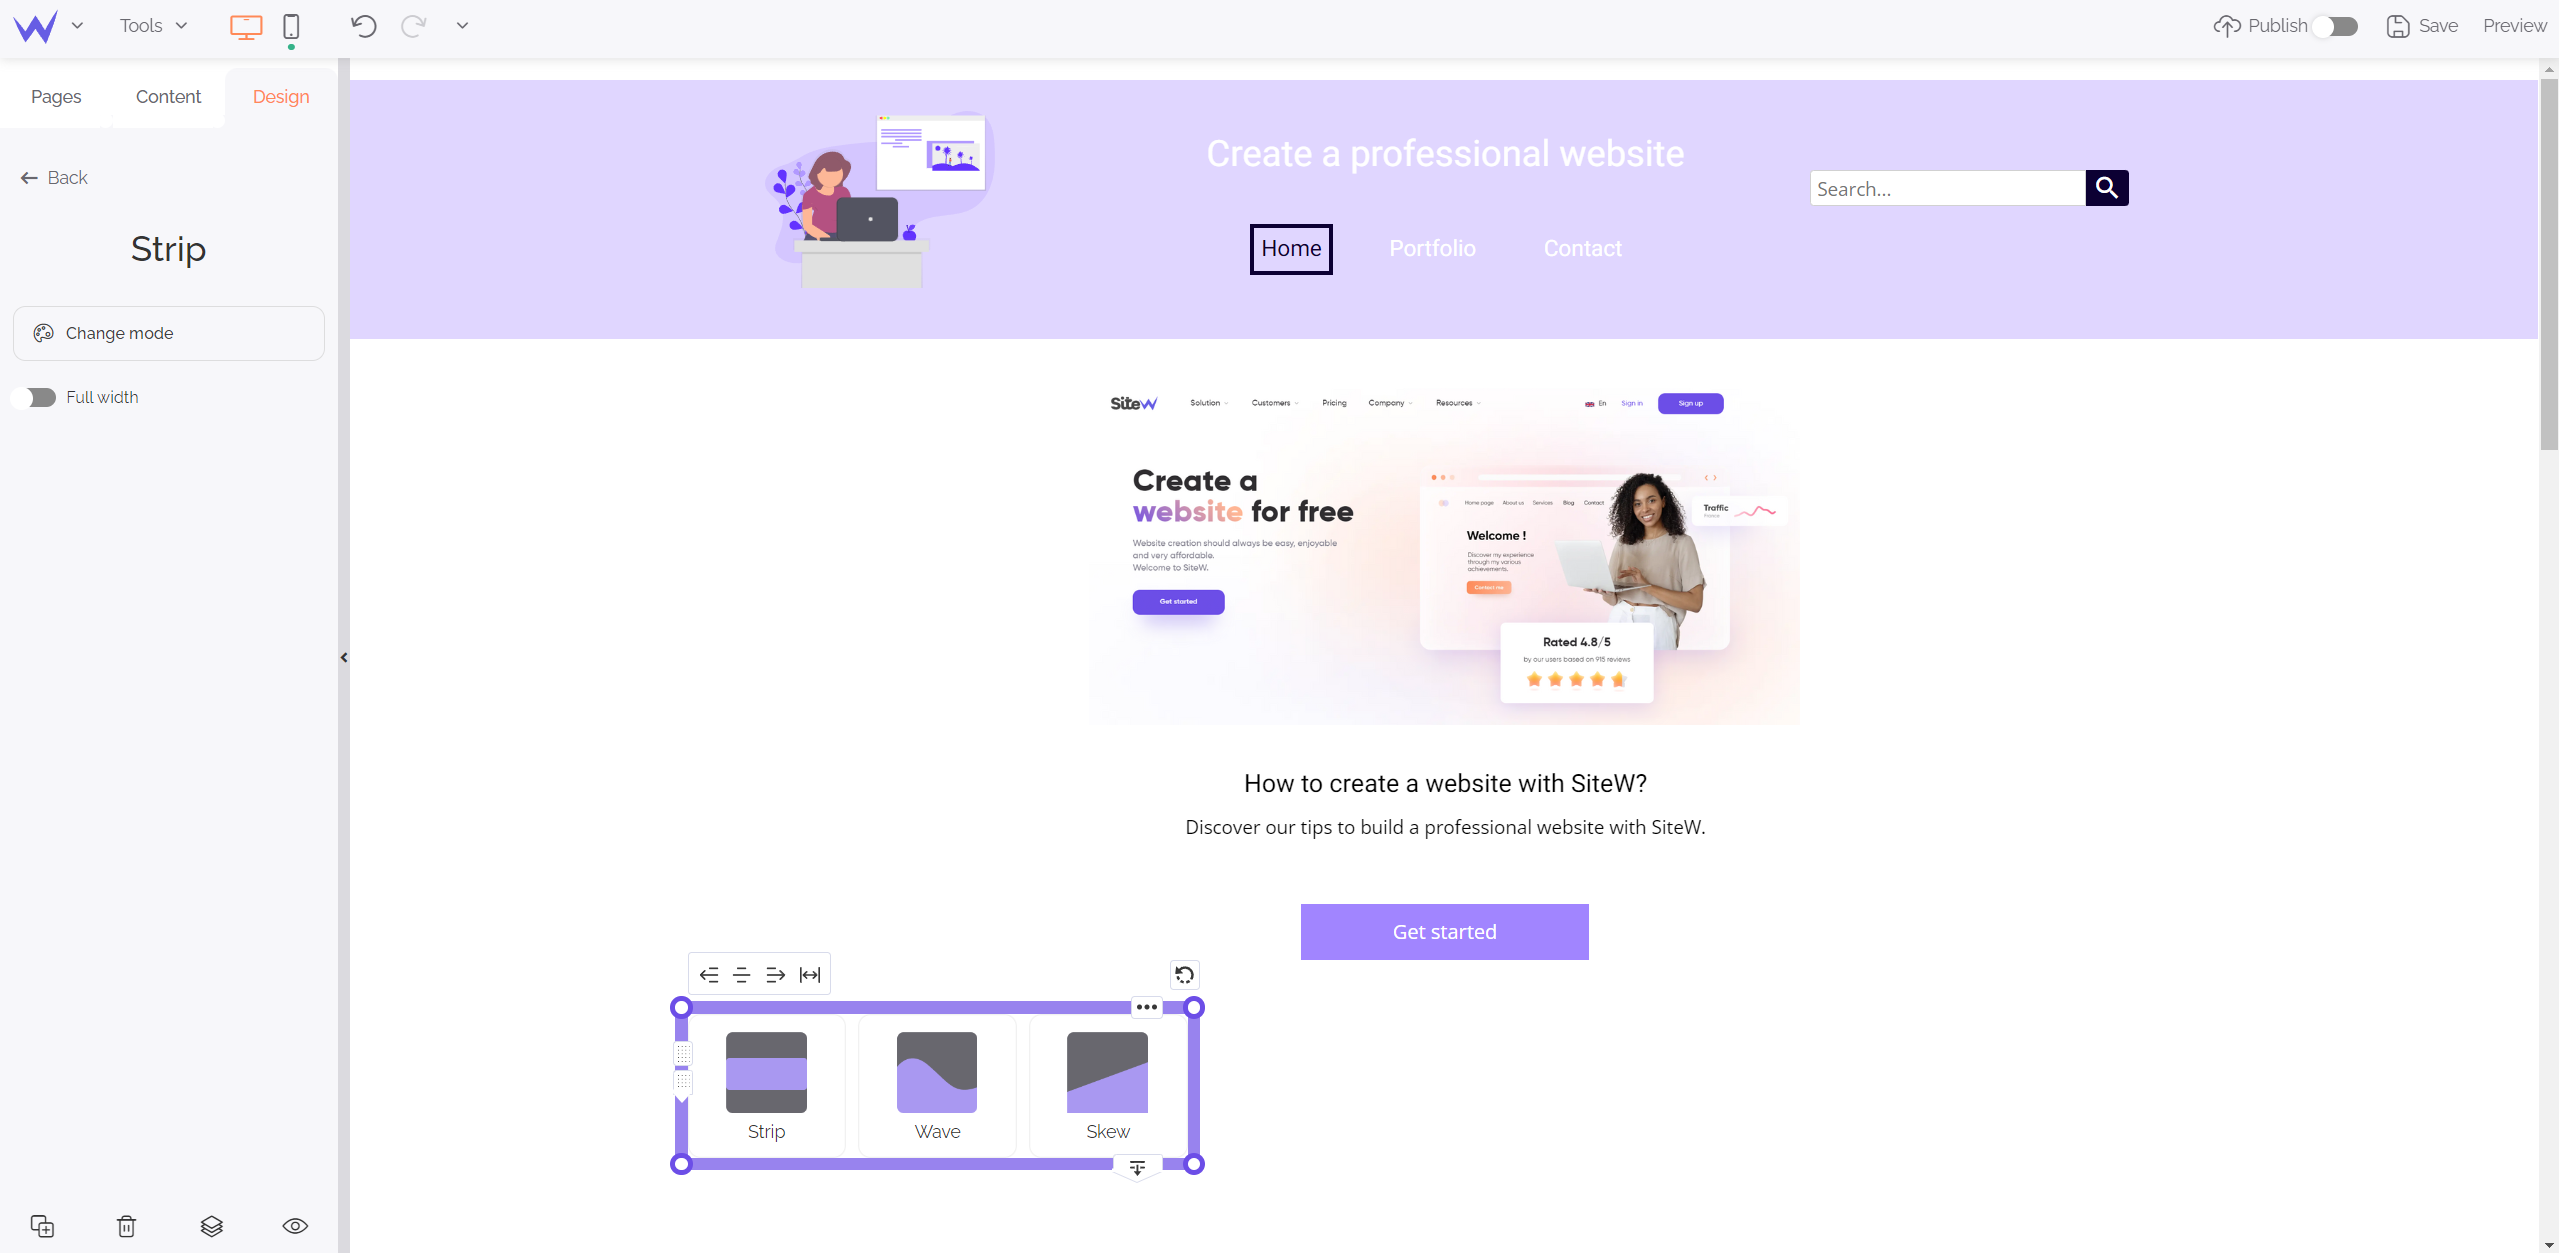
You can customize the colours and inclinations of these elements.
Thus, your website is optimized and thought in depth.
Now you must add animations for your community and increase the interactivity of your website.
You can quickly animate your community thanks to these features:
Frequently asked questions are useful for your audience and your SEO.
If it seems difficult to implement them to be functional, the FAQ block enables you to create a FAQ section easily.
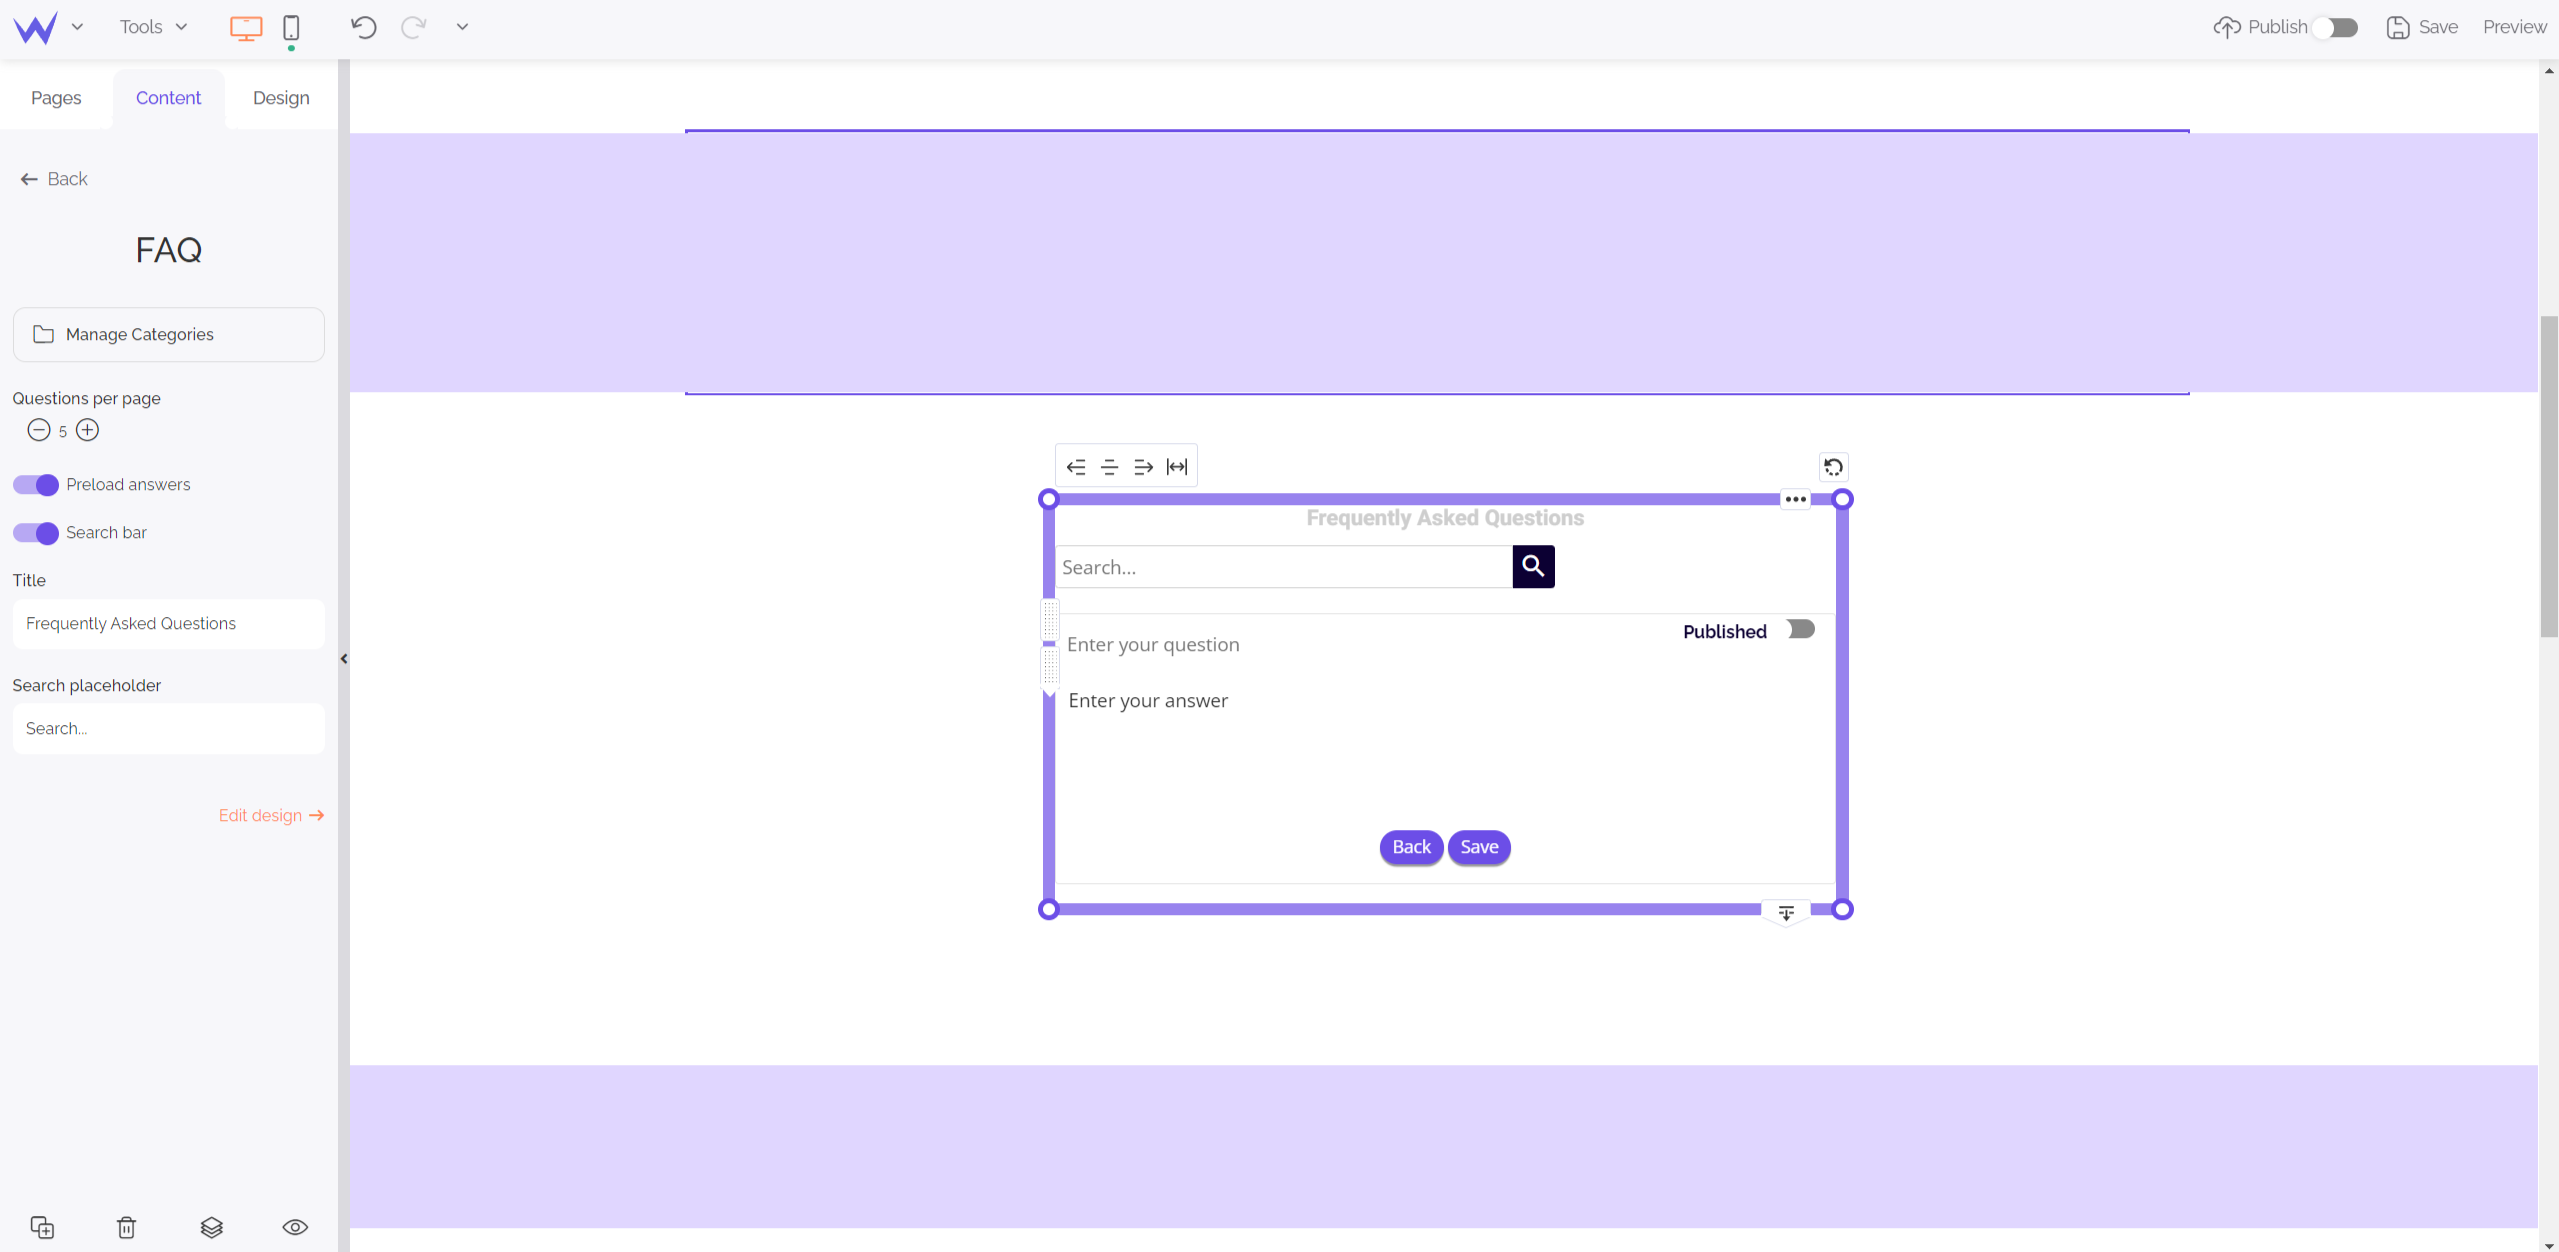
Once you have dragged and dropped the FAQ block, you just need to write your question and answers. FAQ are the best way to use keywords and boost your SEO while optimizing user experience.
You can choose the design of your FAQ section, as well as the maximum number of questions. This section will be saved as draft before being totally configured.
Specific feature for the upper or Advanced Showcase packages
To use the FAQ block, you will have to
subscribe to an Advanced Showcase package or any other upper package.
Users need different contact means to communicate with you. Some of them prefer phones, others opt for social media, and sometimes messages on dedicated forms.
Just a few minutes will be necessary to create a form and customize its fields as you like.
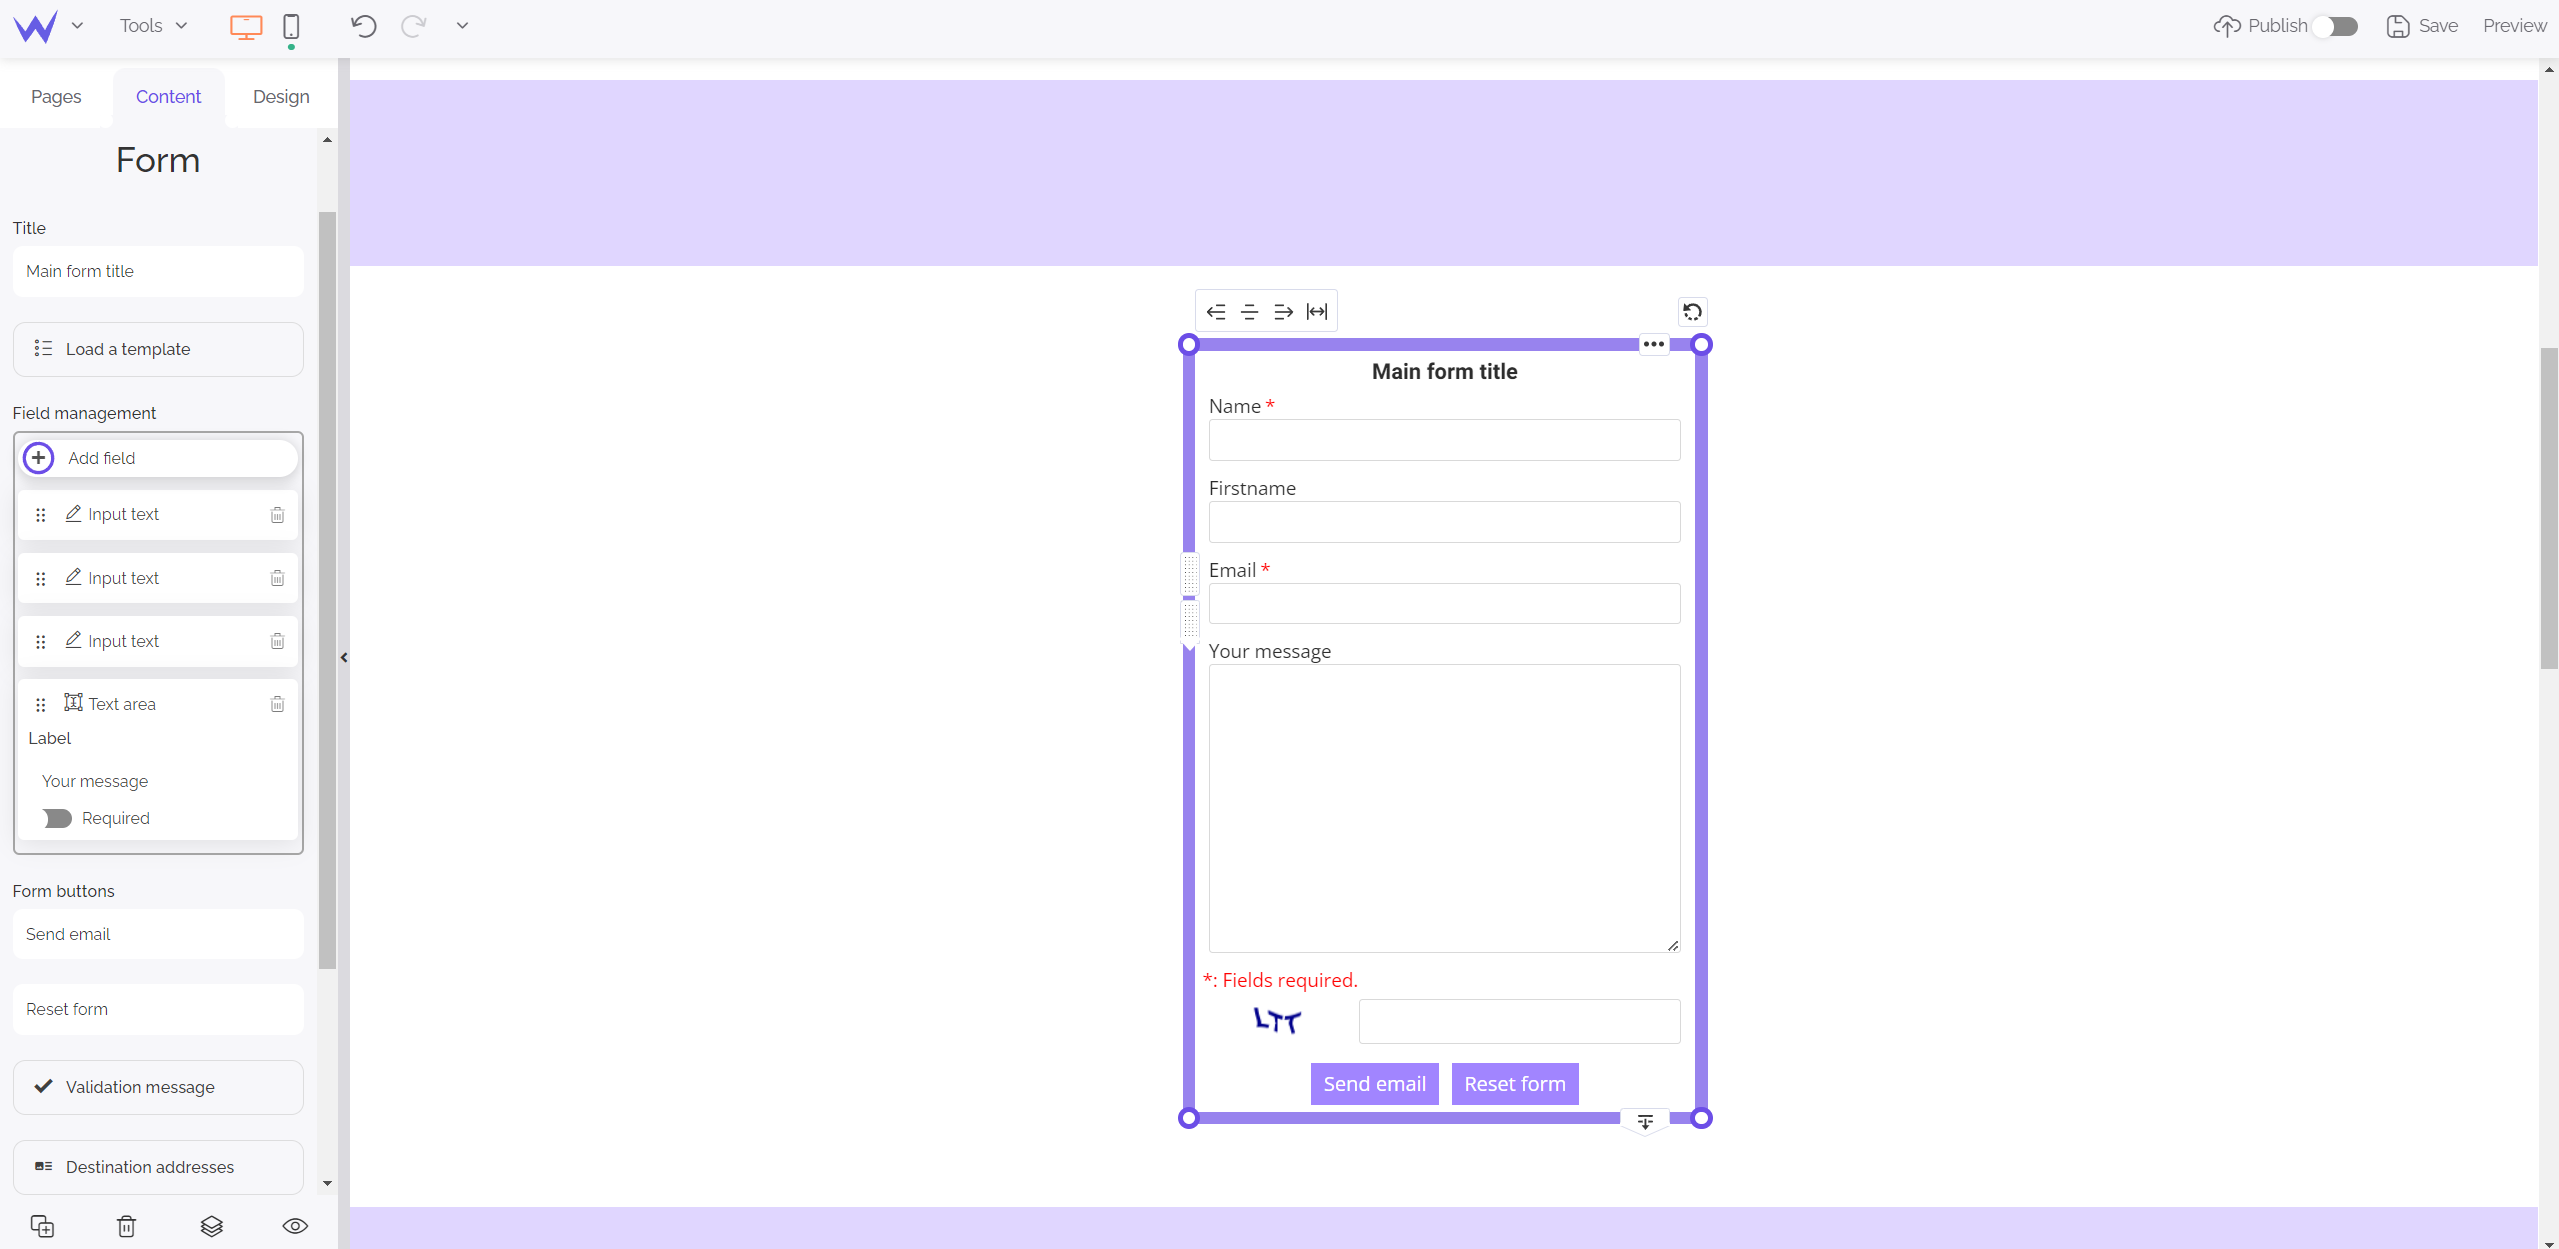
Your form will be already secure, and you will be able to relate it to your professional messaging service easily.
💡 If you are afraid of running out of space for a form, you can add it to the footer of your website, that is to say, at the bottom of the page. Users usually scroll down a website and find a form at this strategic place.
Specific feature for Advanced Showcase or upper packages
To use the Form block, you will need to
subscribe to an Advanced Showcase package or to any other upper package.
As you know, you can enable Facebook comments on your website.
So, why not enable any type of comments?
The Comment block has the same format as the Form block. It can be easily edited.
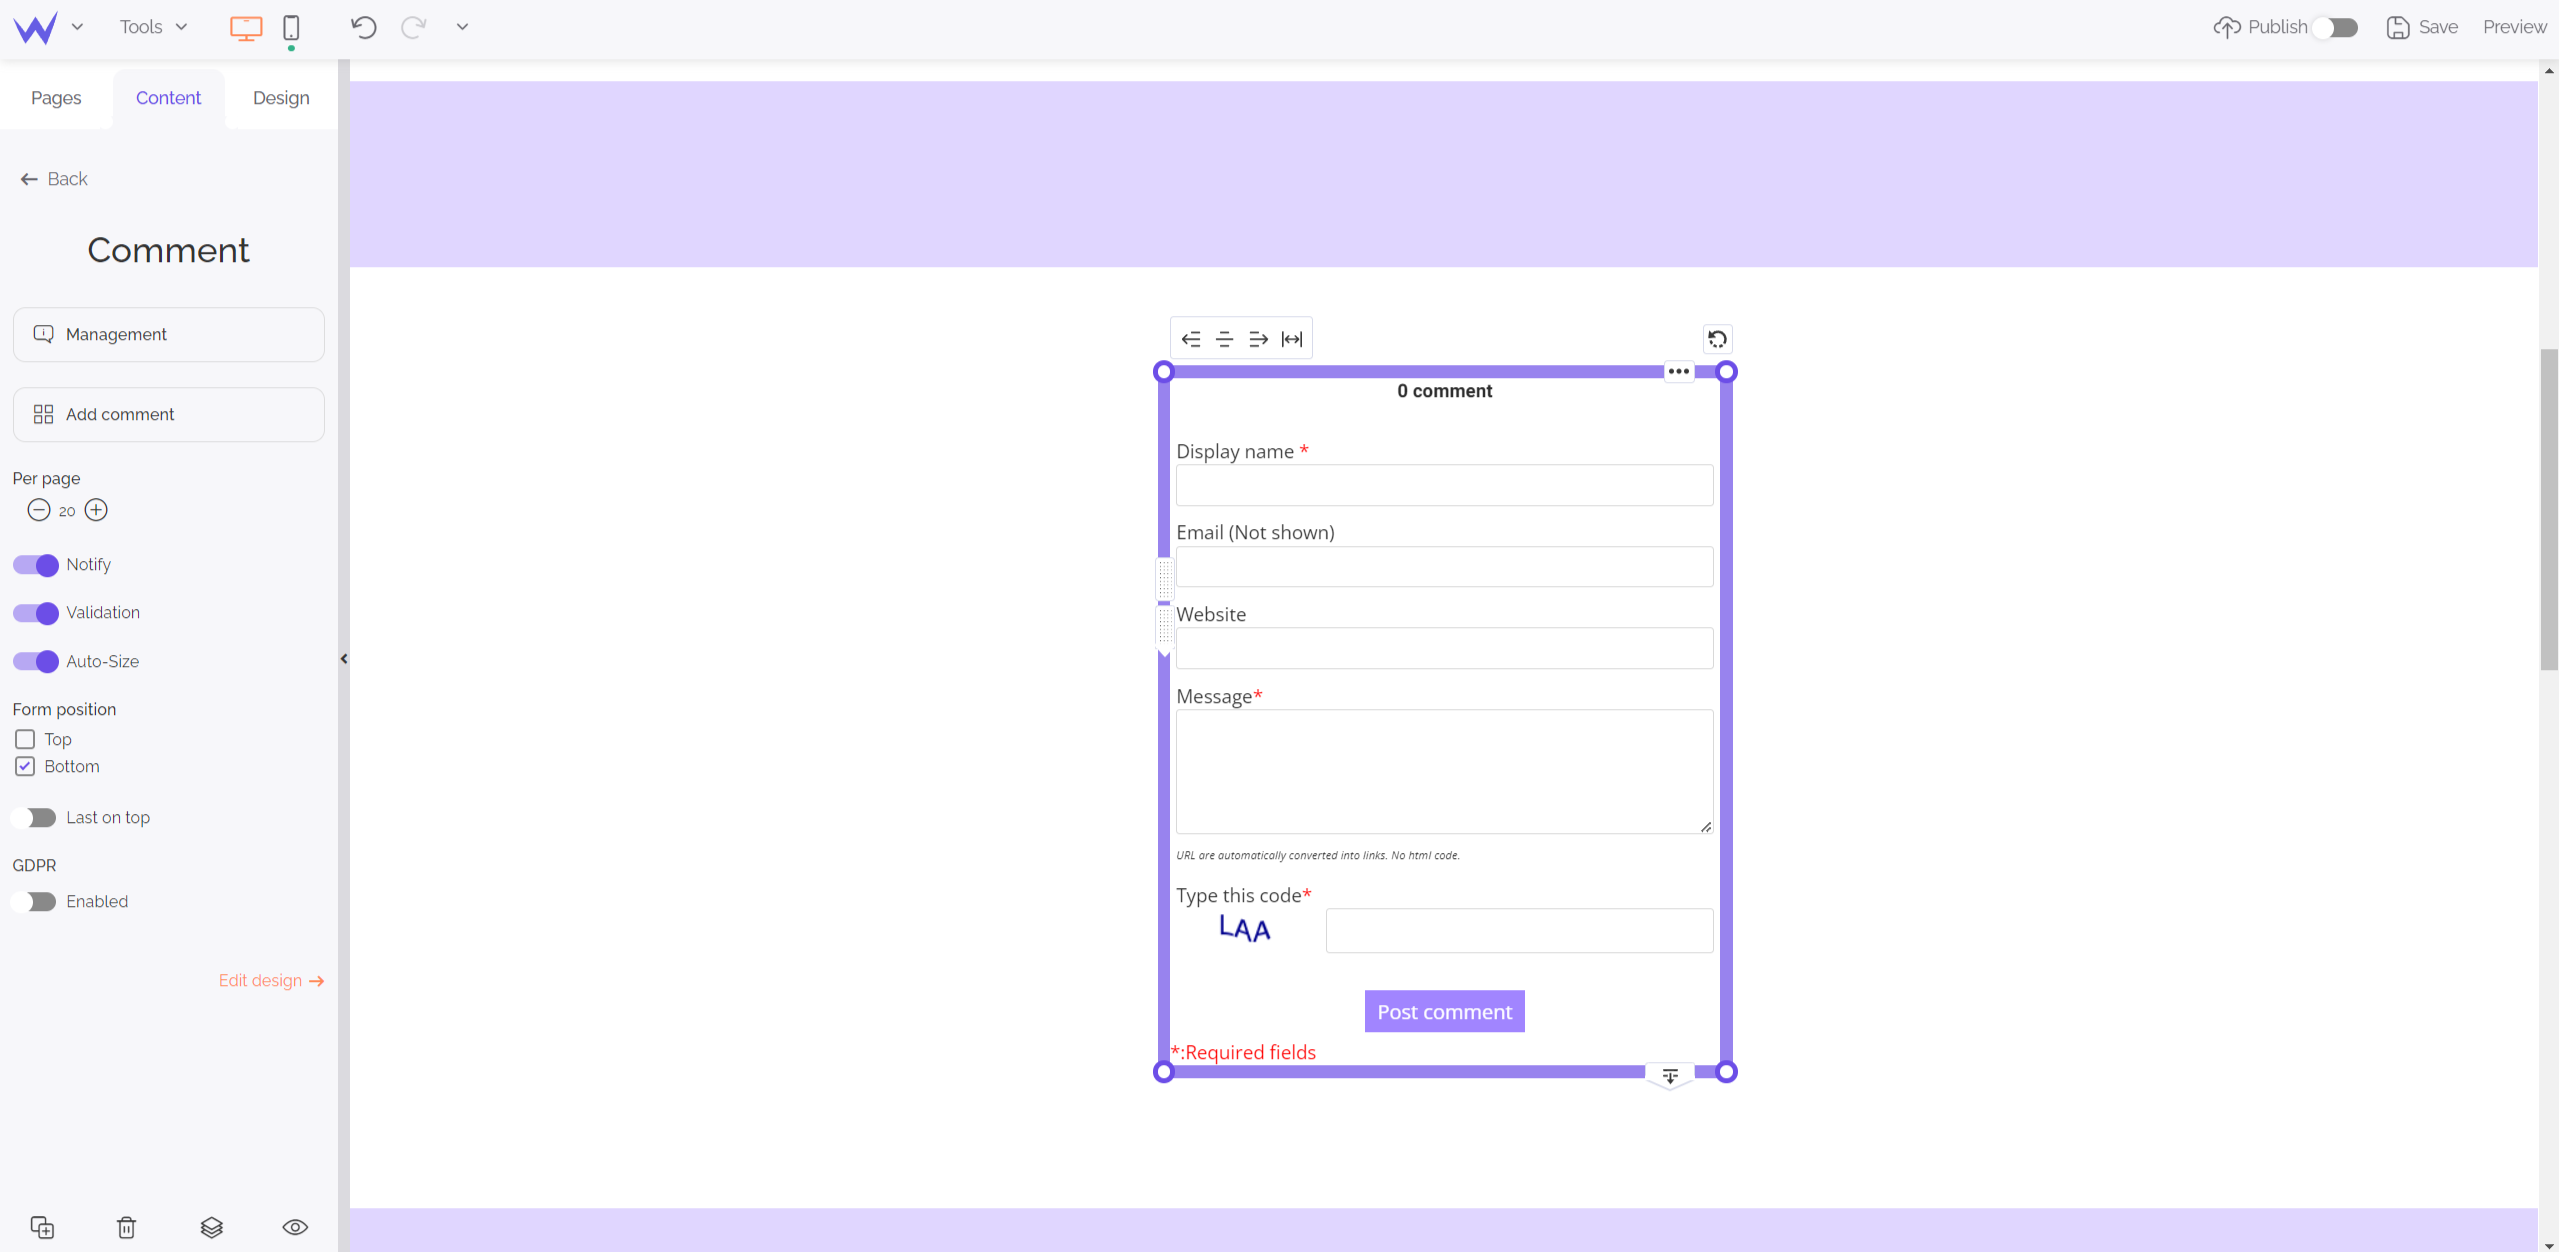
The Comment block offers an editable moderation as you want. It’s possible to validate or not comments before publishing them, to filter them if necessary. Moreover, don’t worry about the legal aspect: the GDPR is enabled by default.
Specific feature for Advanced Showcase or upper packages
To use the Comment block, you will need to
subscribe to an Advanced Showcase package or to any other upper package.
If you want to animate your community, you can add a forum to your website to enable your audience to discuss.
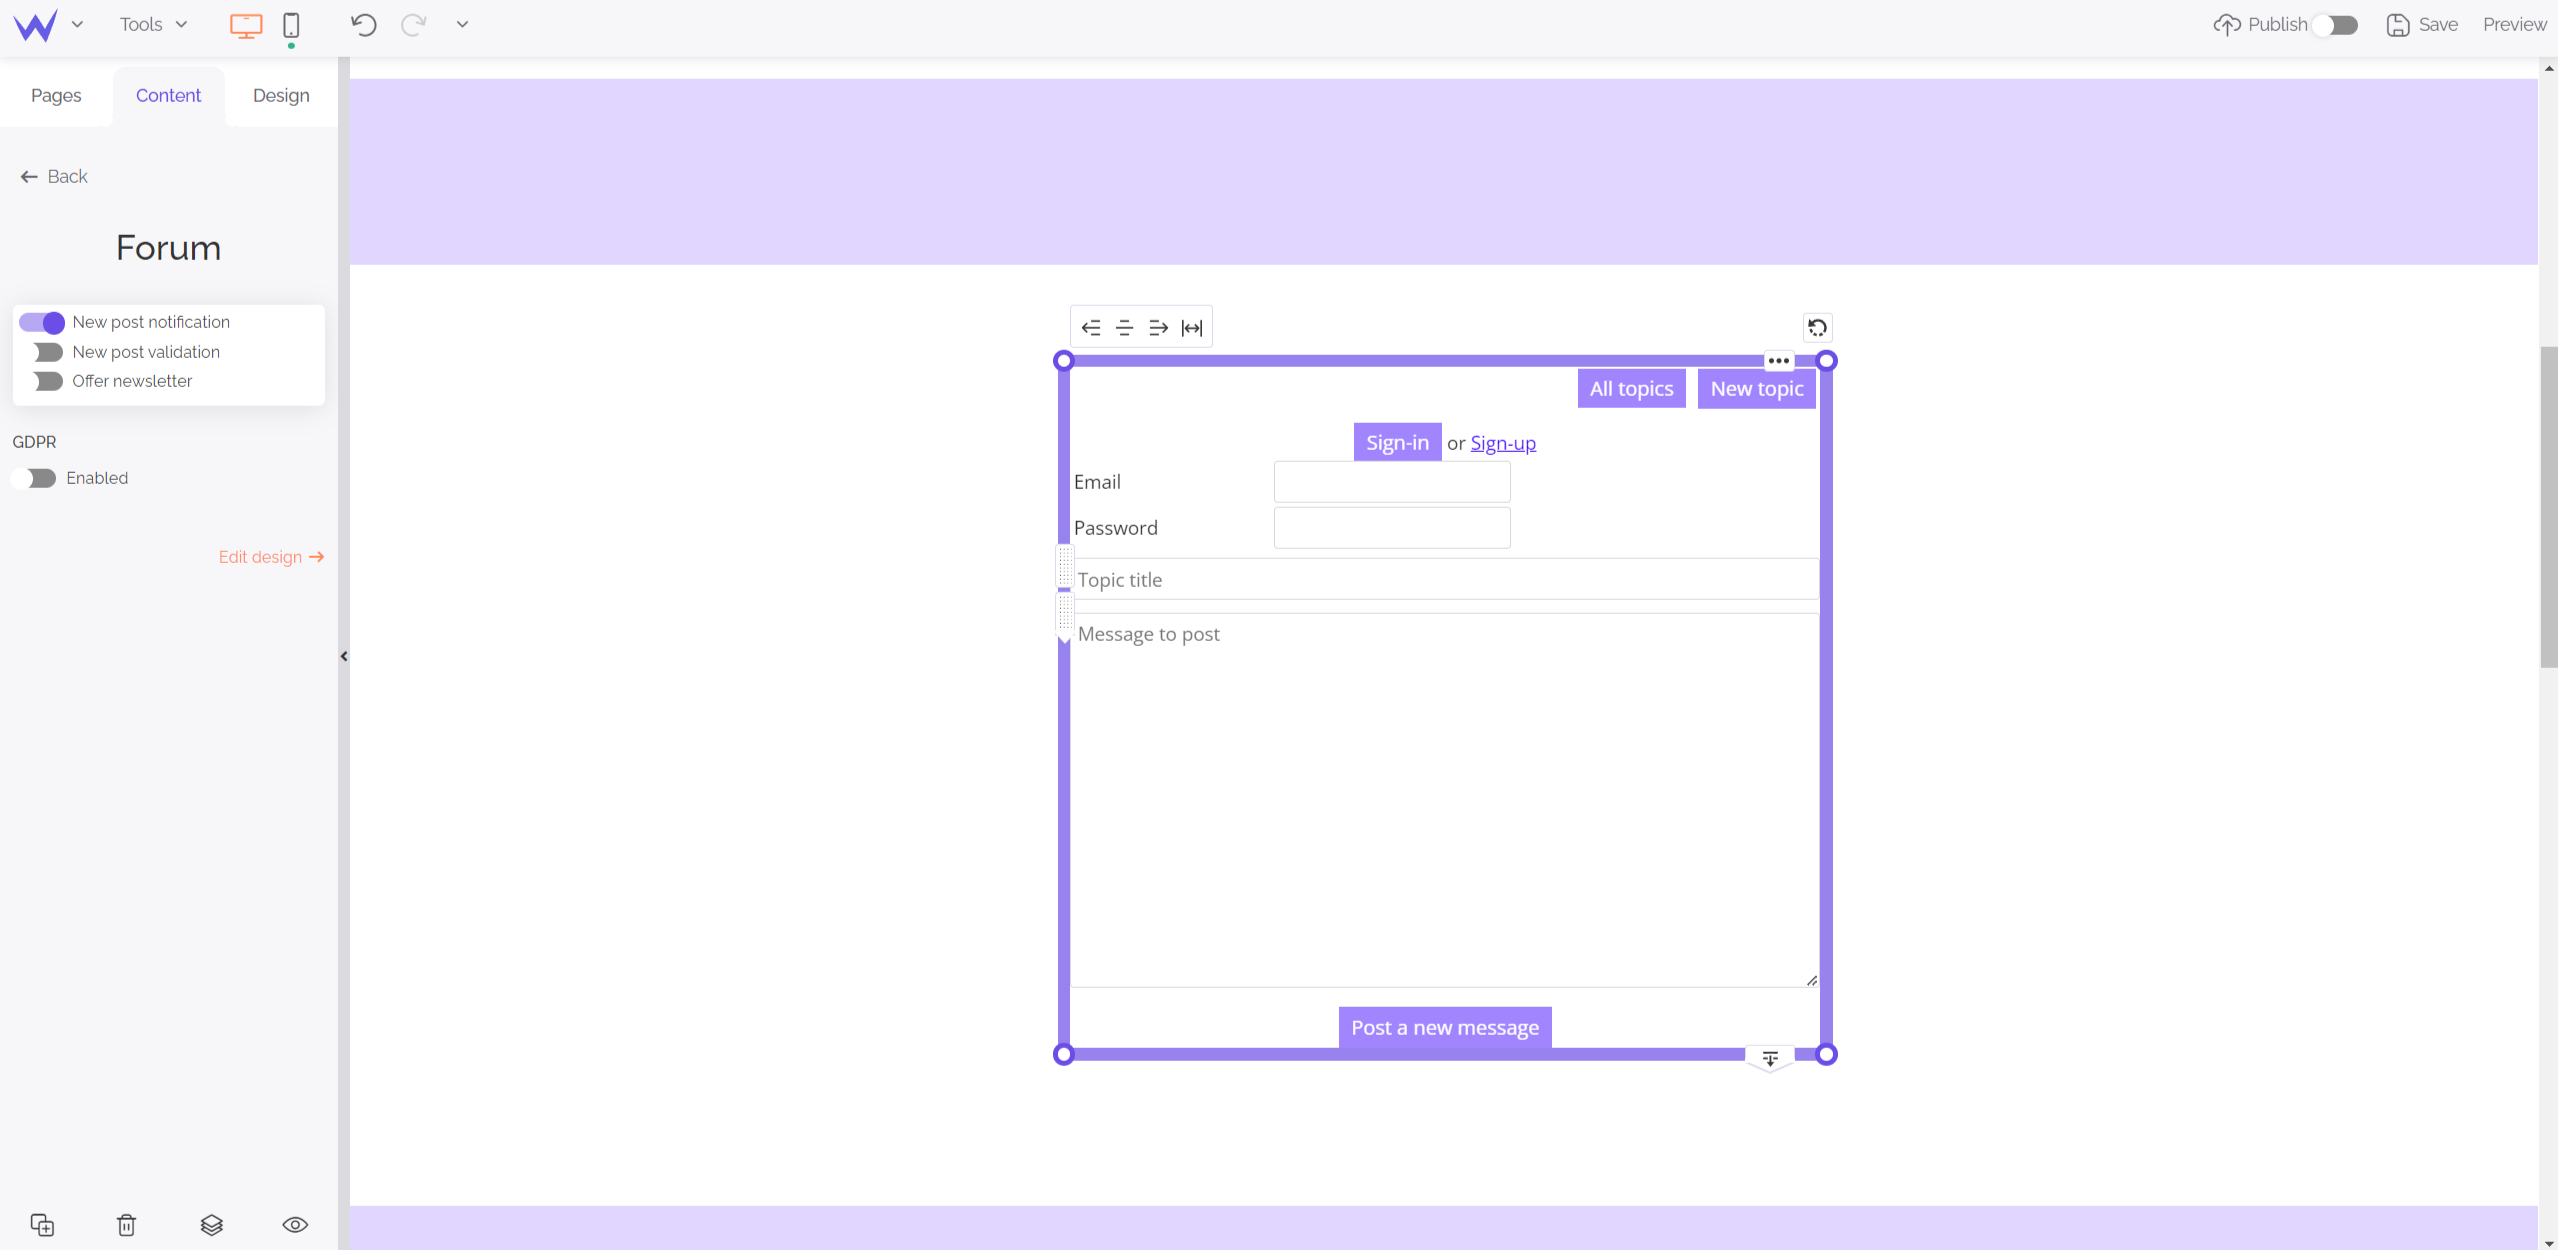
Such as for the Comment block, the Forum block is perfectly regulated and gives you the possibility to validate before publishing.
Thus, you can edit your former topics, create new ones, as well as receive notifications for each new participation.
Specific feature for Advanced Showcase or upper packages
To use the Forum block, you’ll have to
subscribe to an Advanced Showcase package or any other upper package.
Social media are essential to interact with your community.
The Social block enables you to connect your professional social media directly with your website.
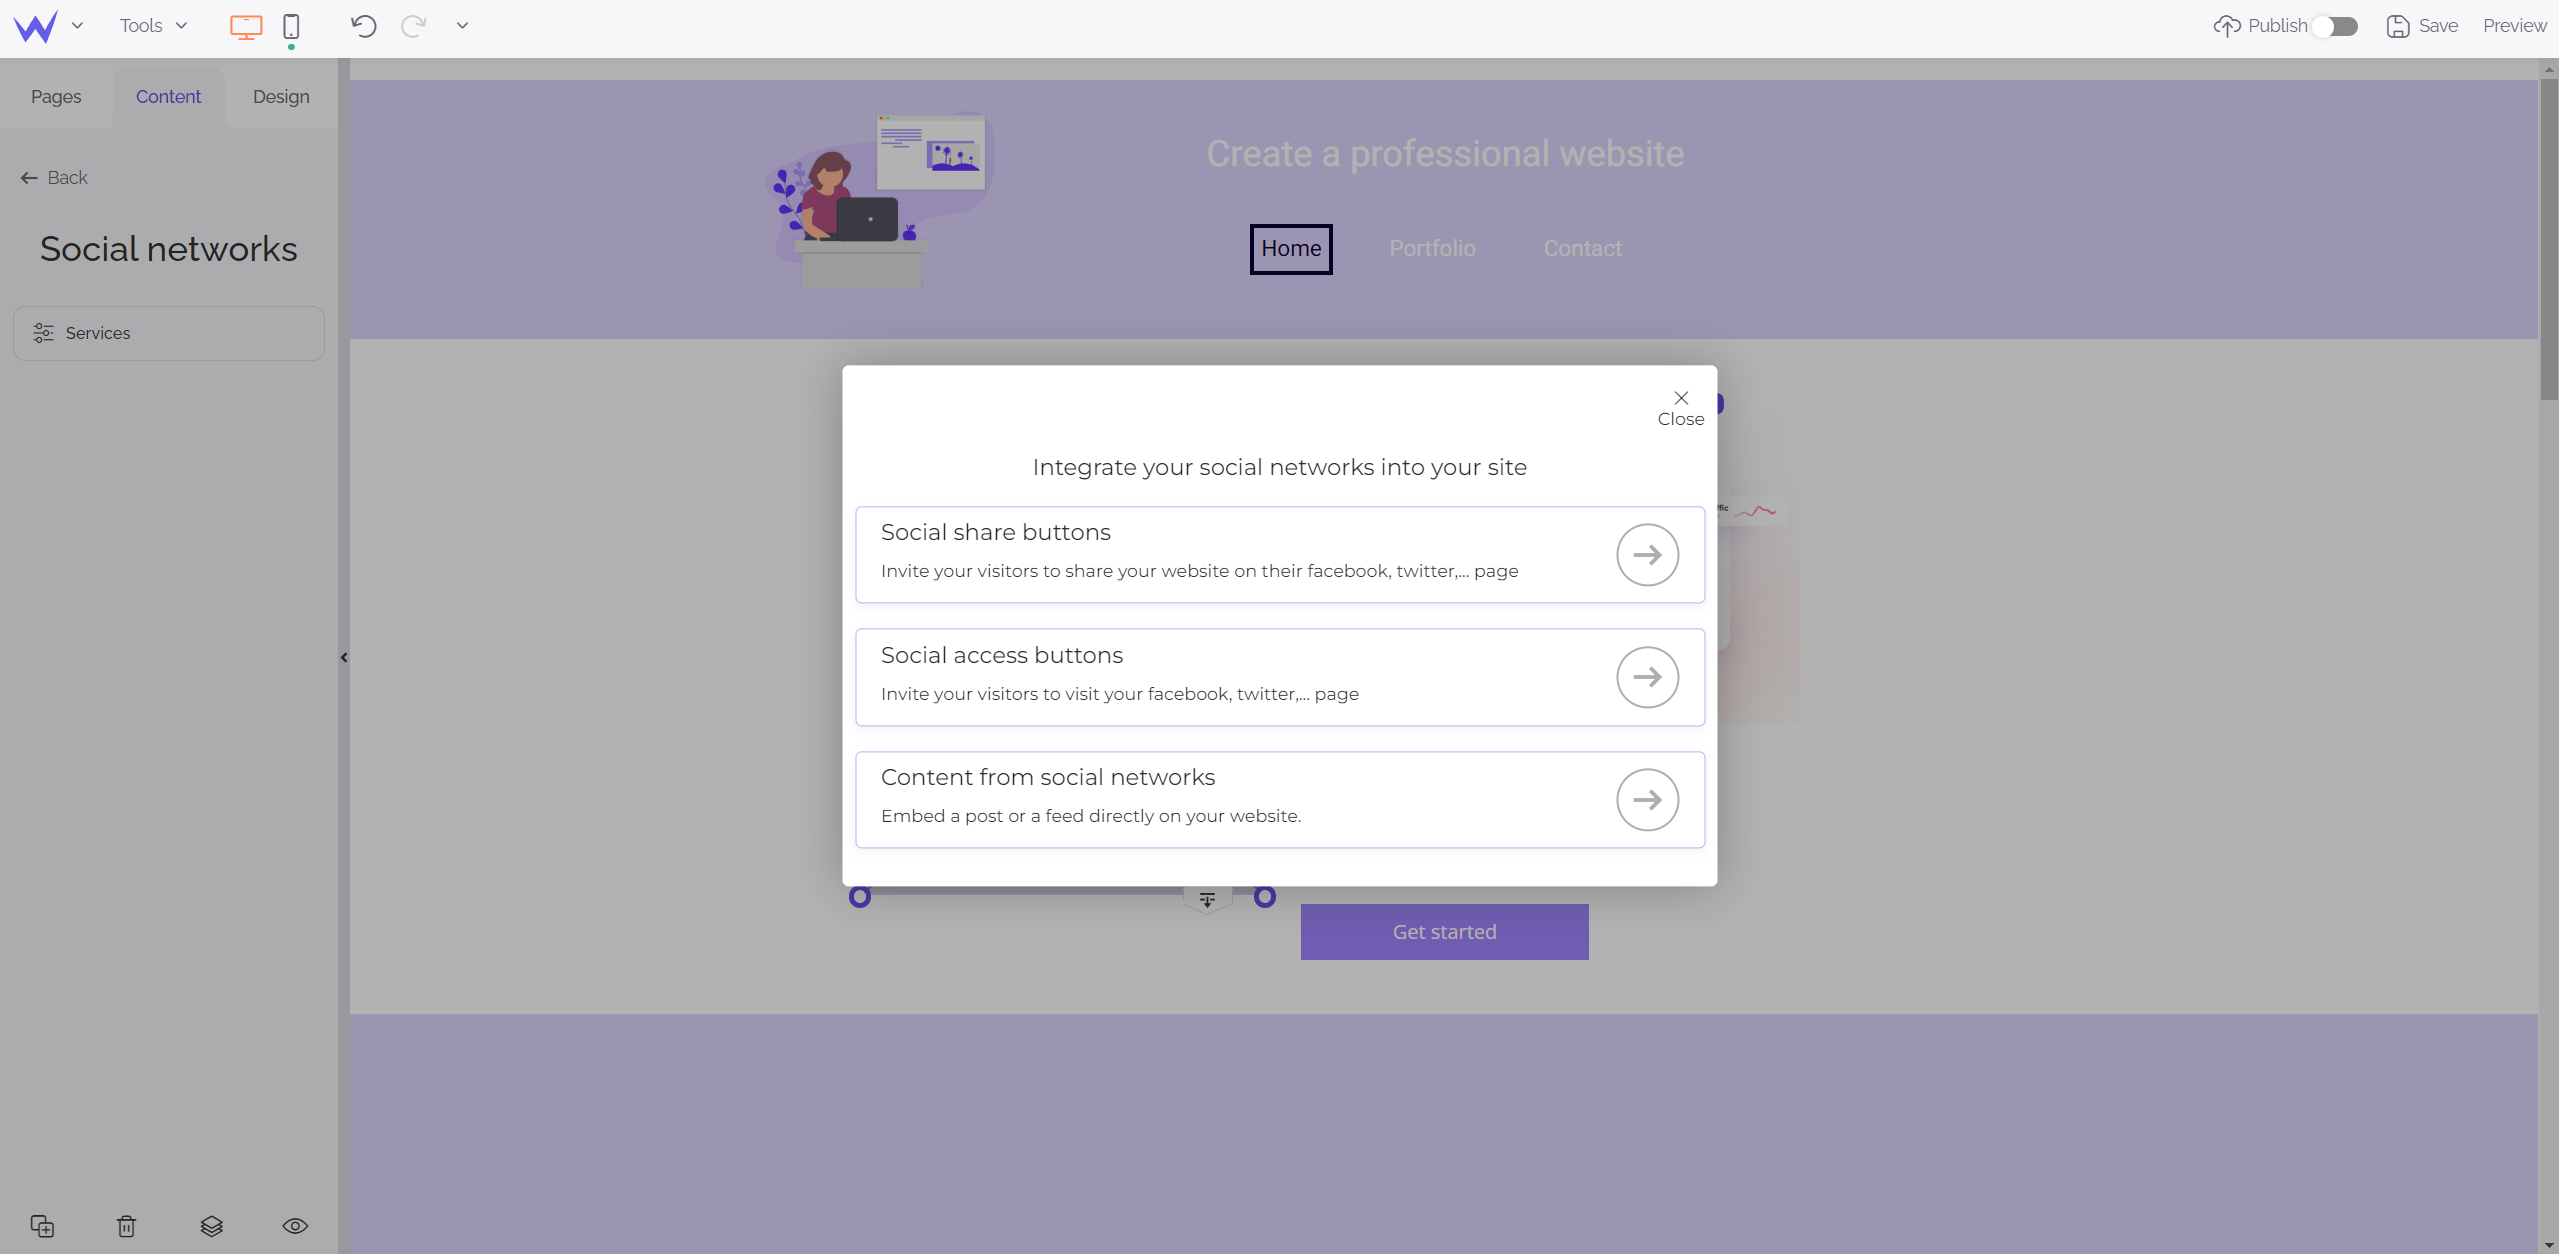
You have different formats at your disposal to implement your social media, such as the button for sharing content or content in itself.
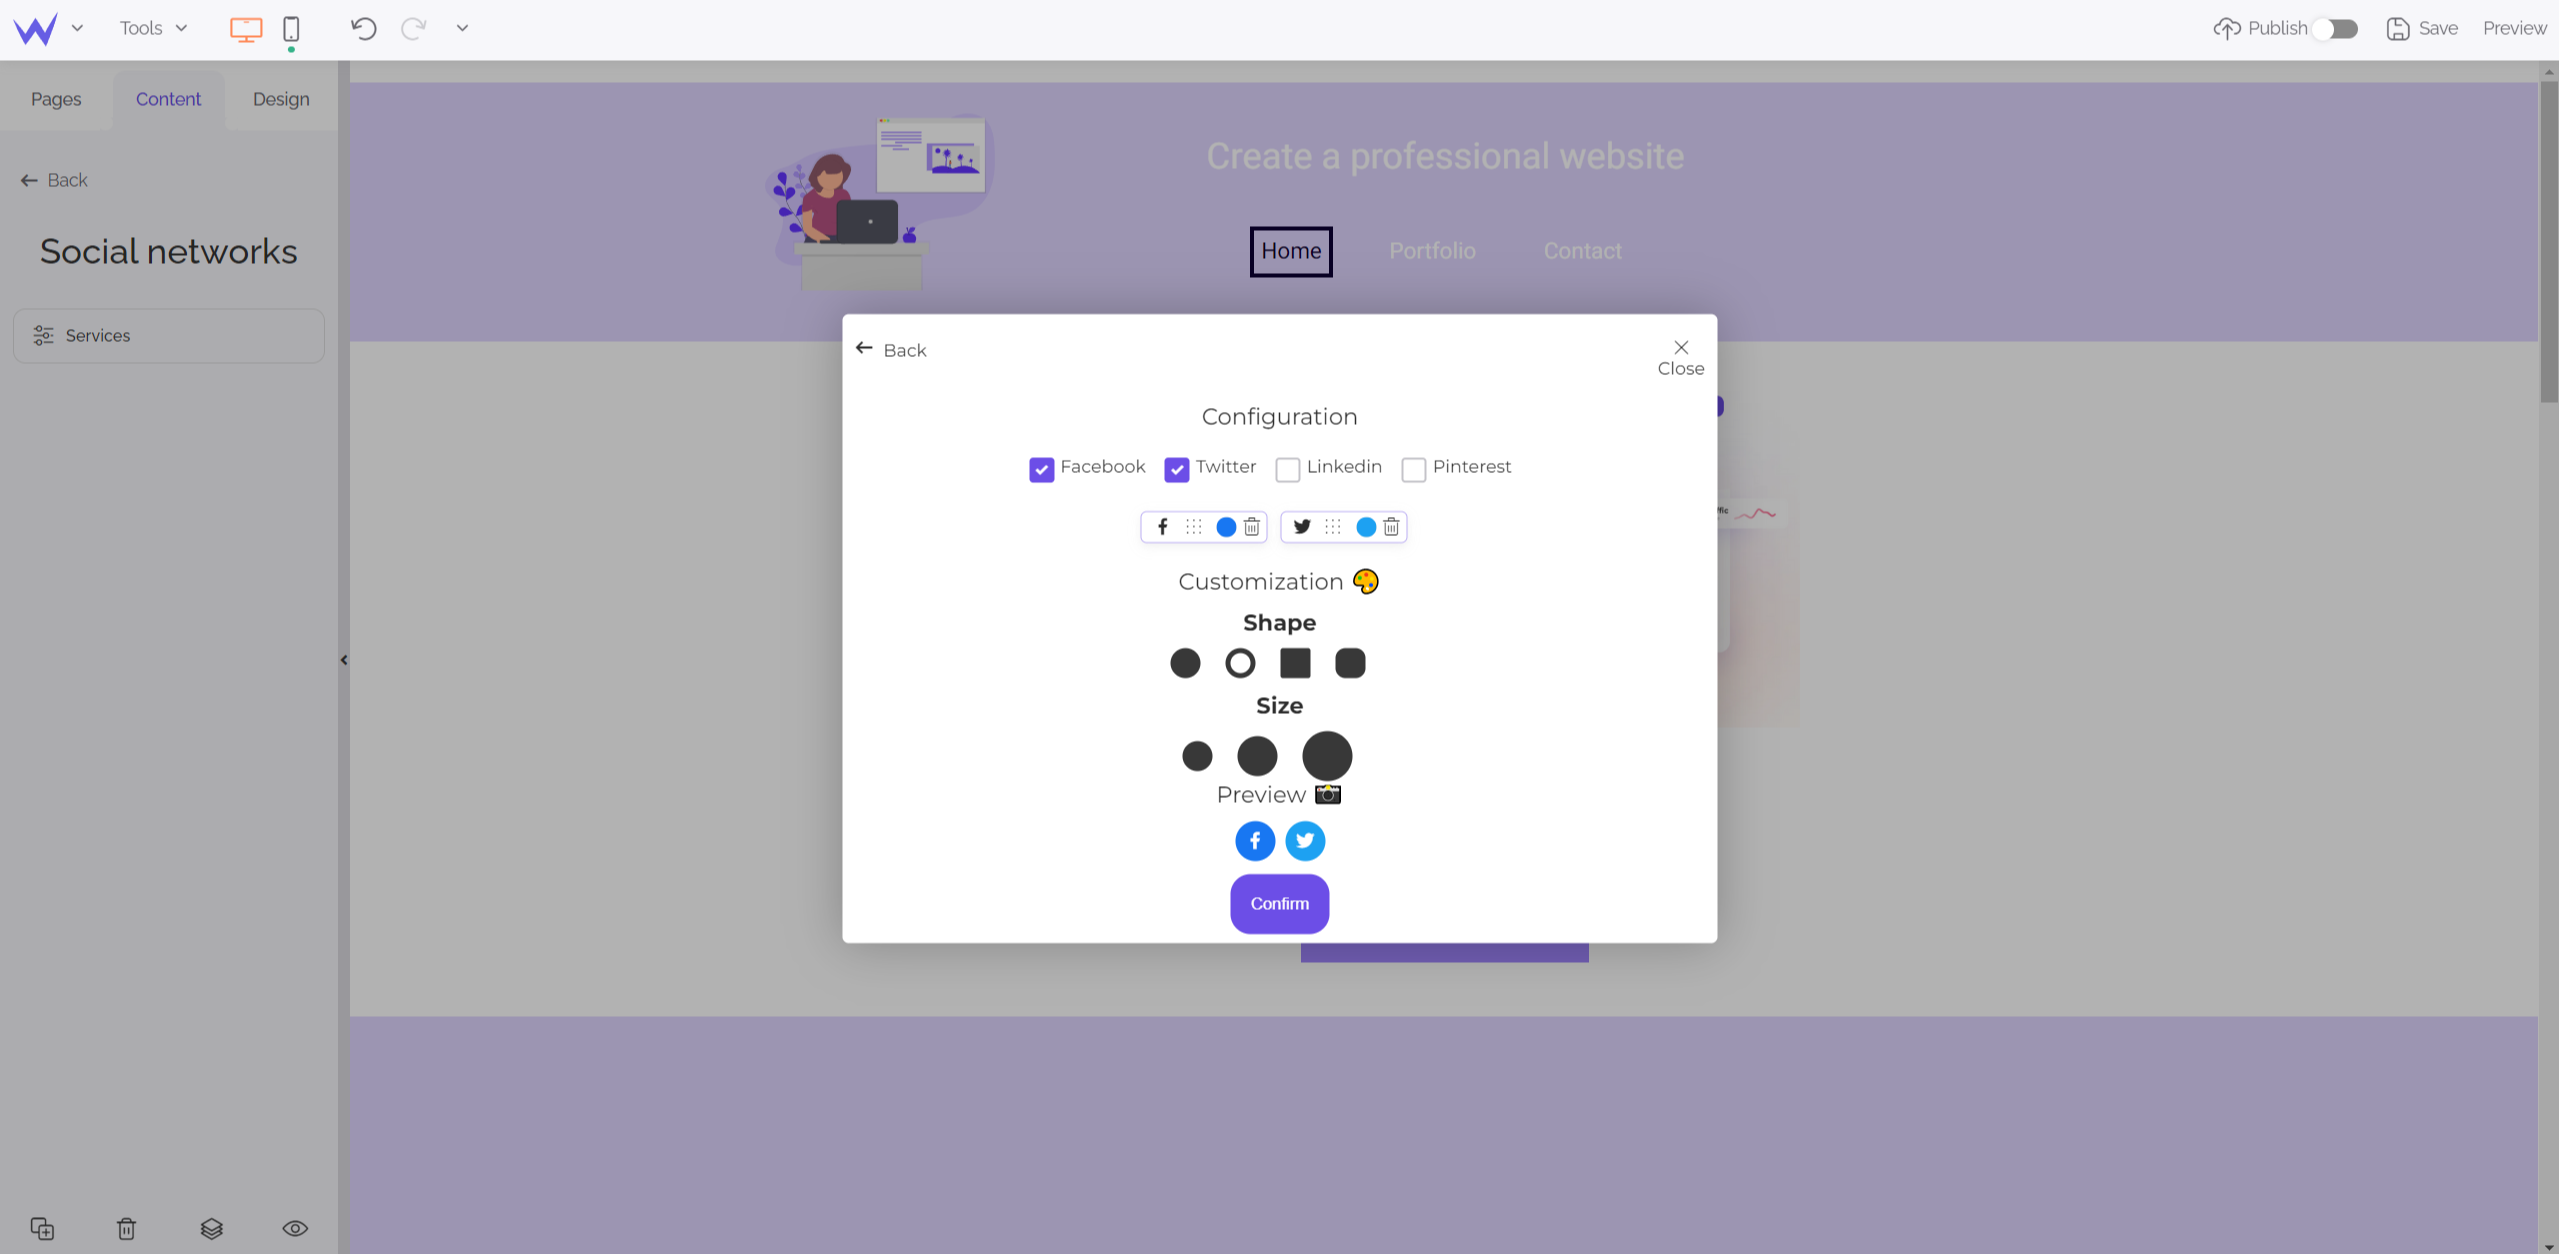
For example, if you choose the button for sharing content, you will be able to customize it as you wish thanks to the customization window.
To go further
Remember to add your buttons to your homepage to enable your community to identify your social media quickly.
To retain your community even more and know their preferences, you can create a member space.
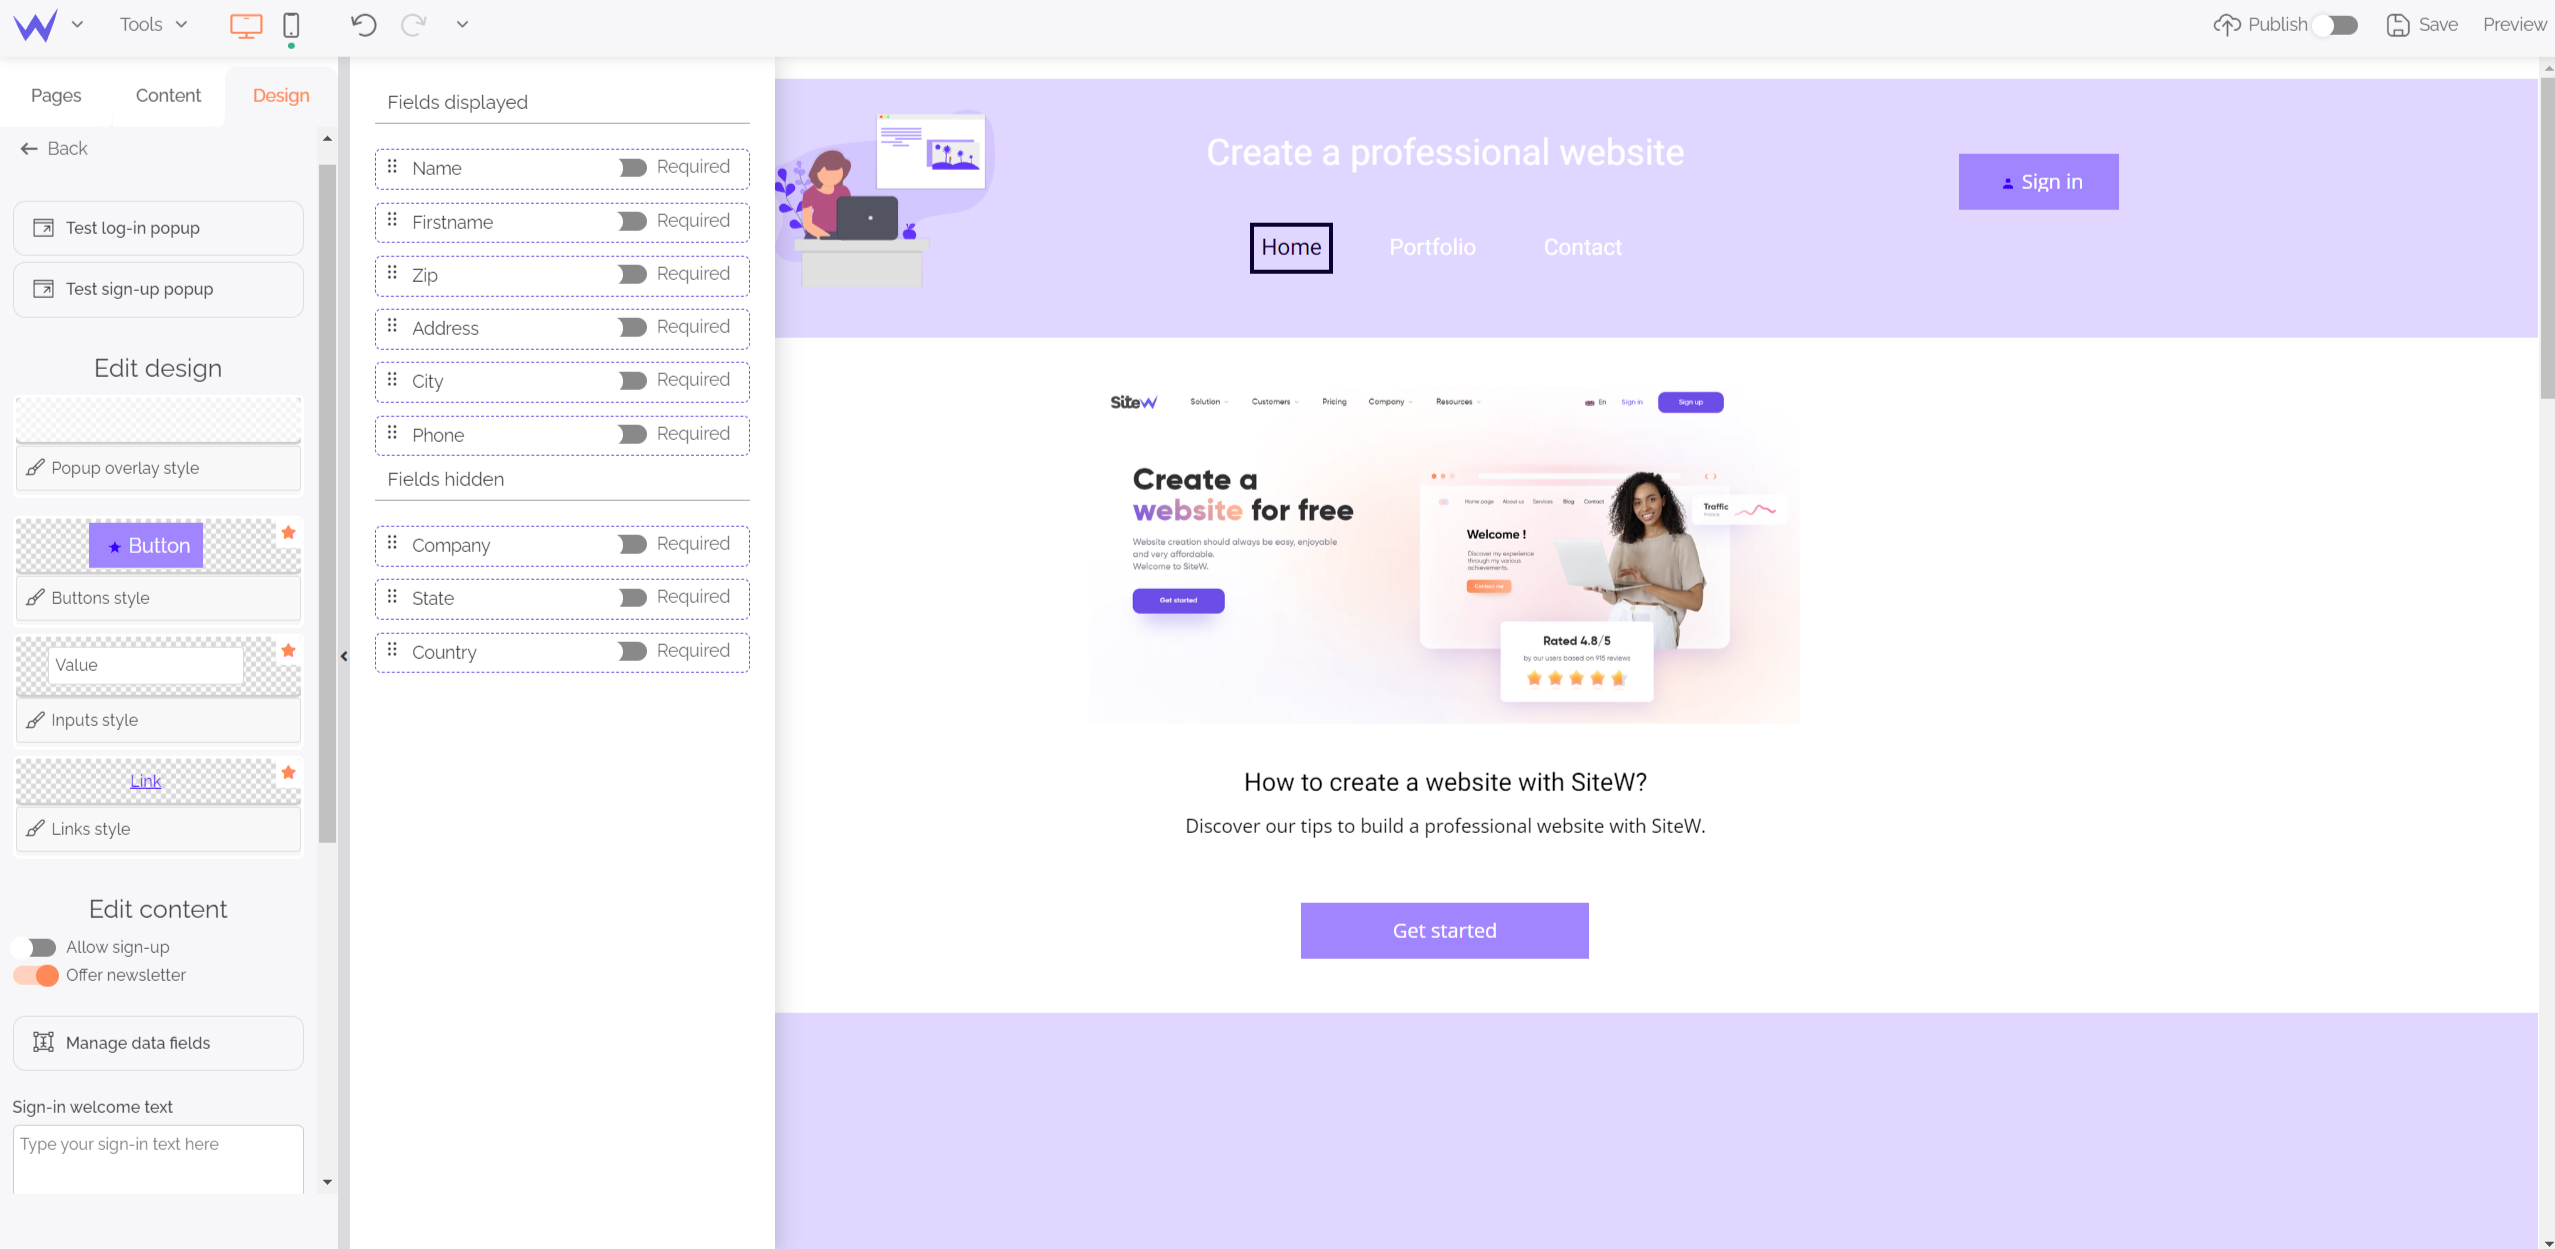
The Member block is provided for this and enables you to add a subscription and authentication form easily.
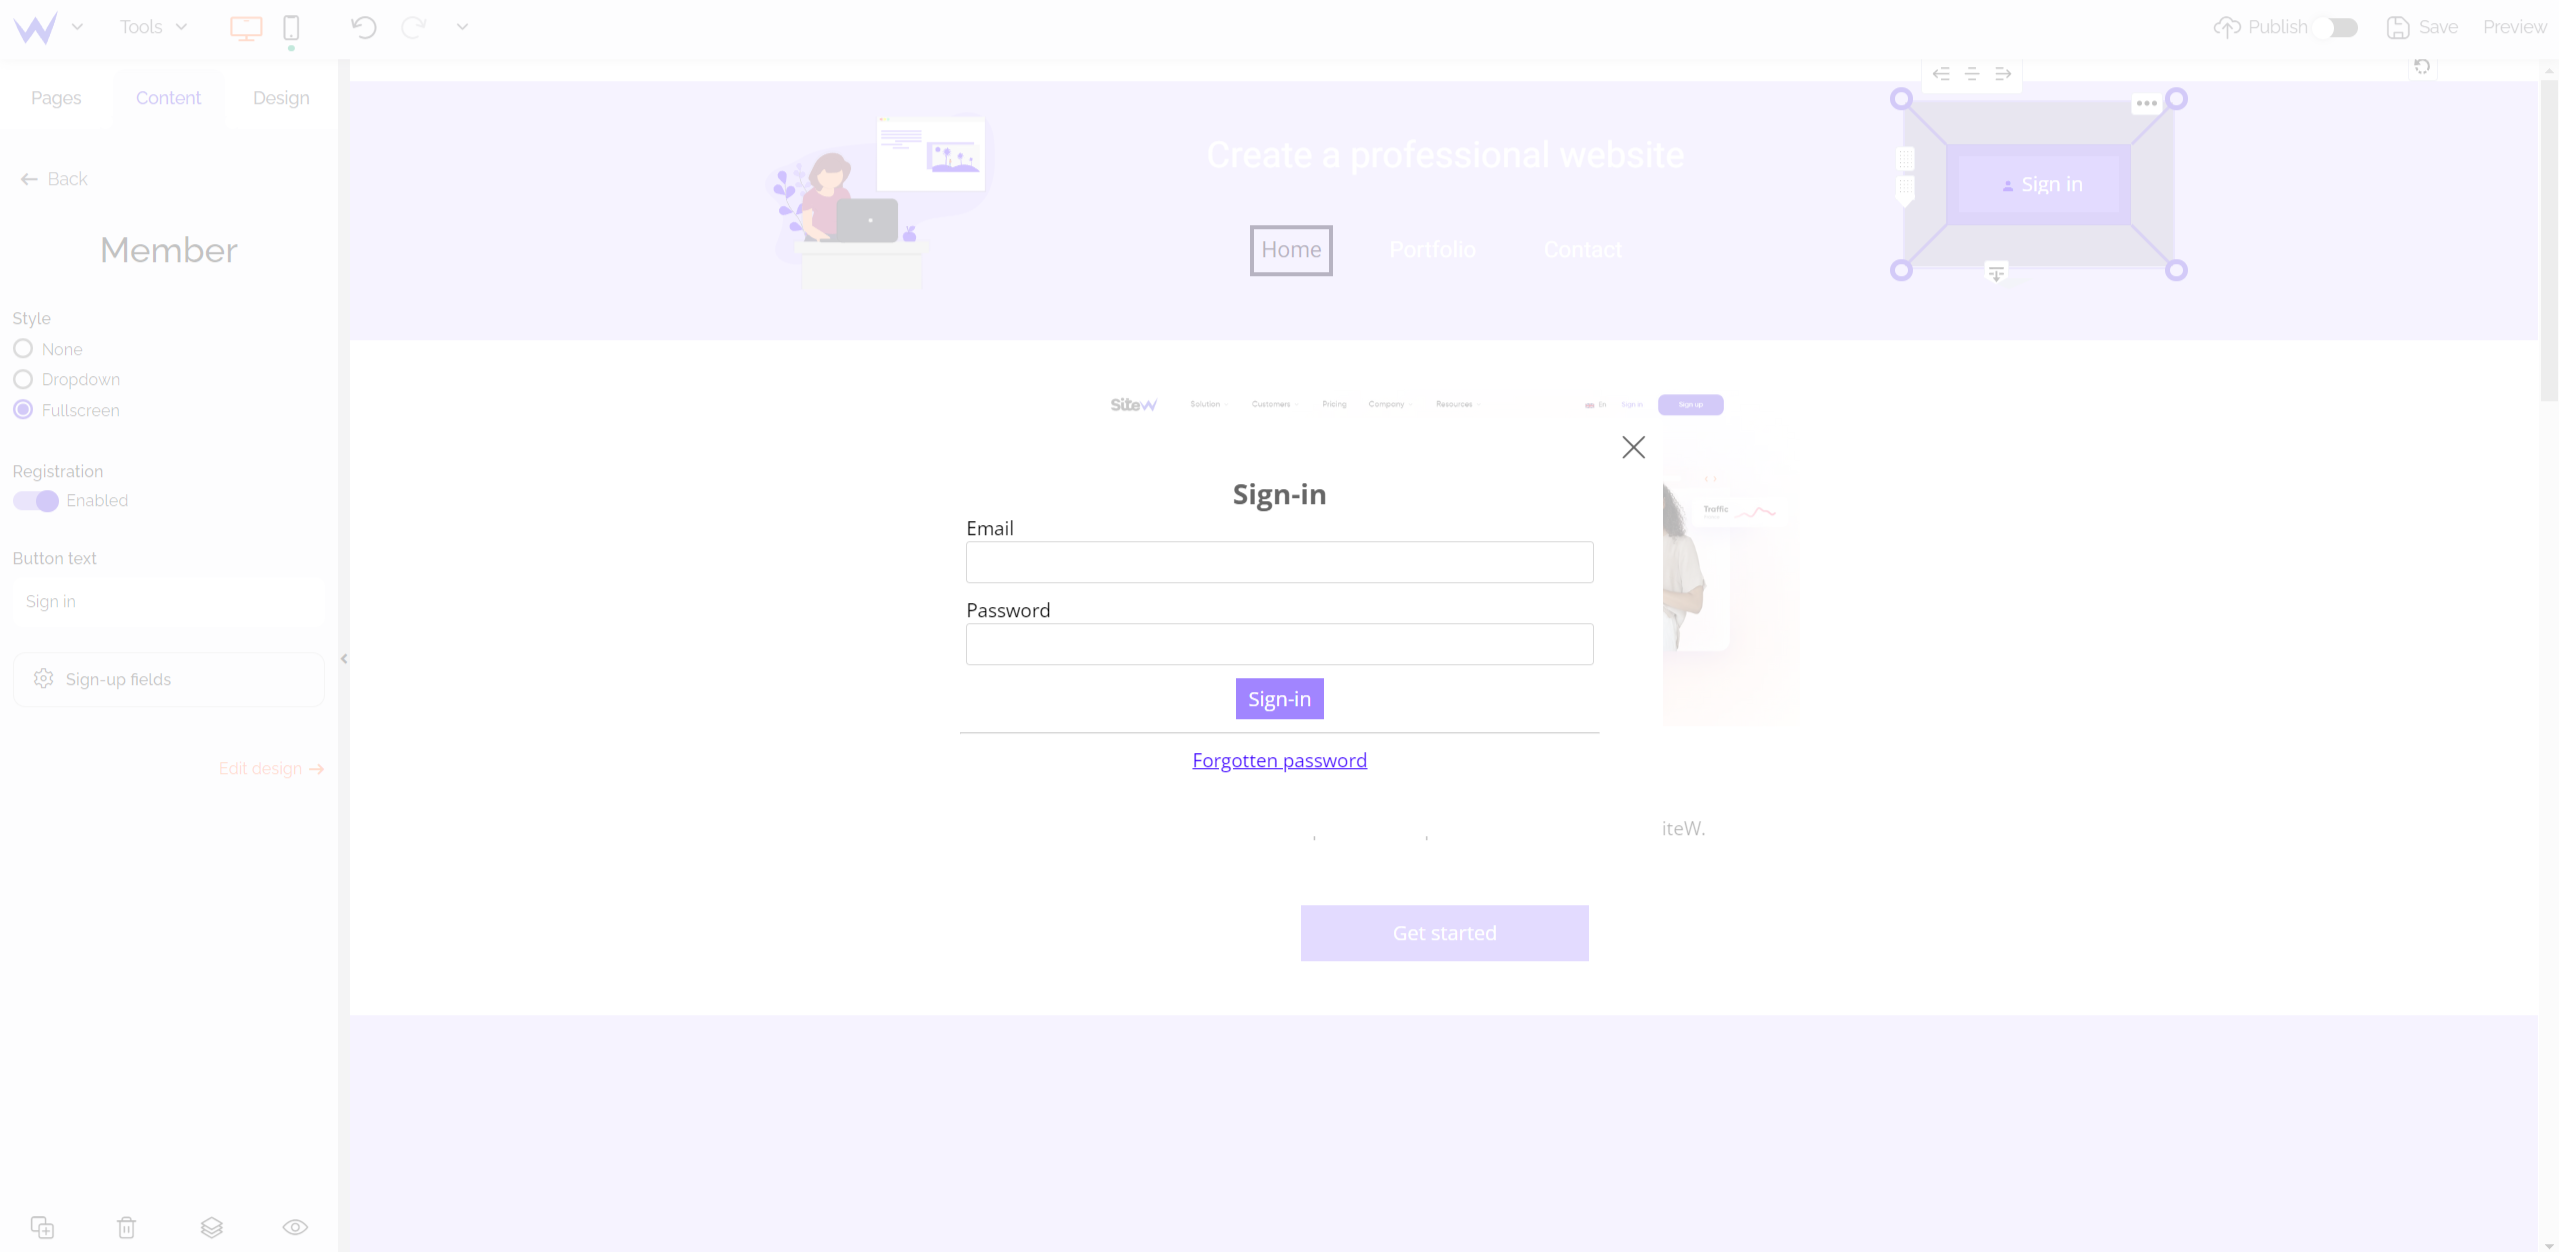
From the editor, you can modify the content of your call-to-action button by defining its style, fields…
Specific feature for Advanced Showcase or upper packages
To use the Member block, you’ll have to
subscribe to an Advanced Showcase package or any other upper package.
It also enables you to directly suggest the newsletter to your registered community members.
“It’s possible to add a newsletter, isn’t it?”
Yes, it is!
The Newsletter block enables you to collect the email addresses of the interested members of your community to send them your newsletter.
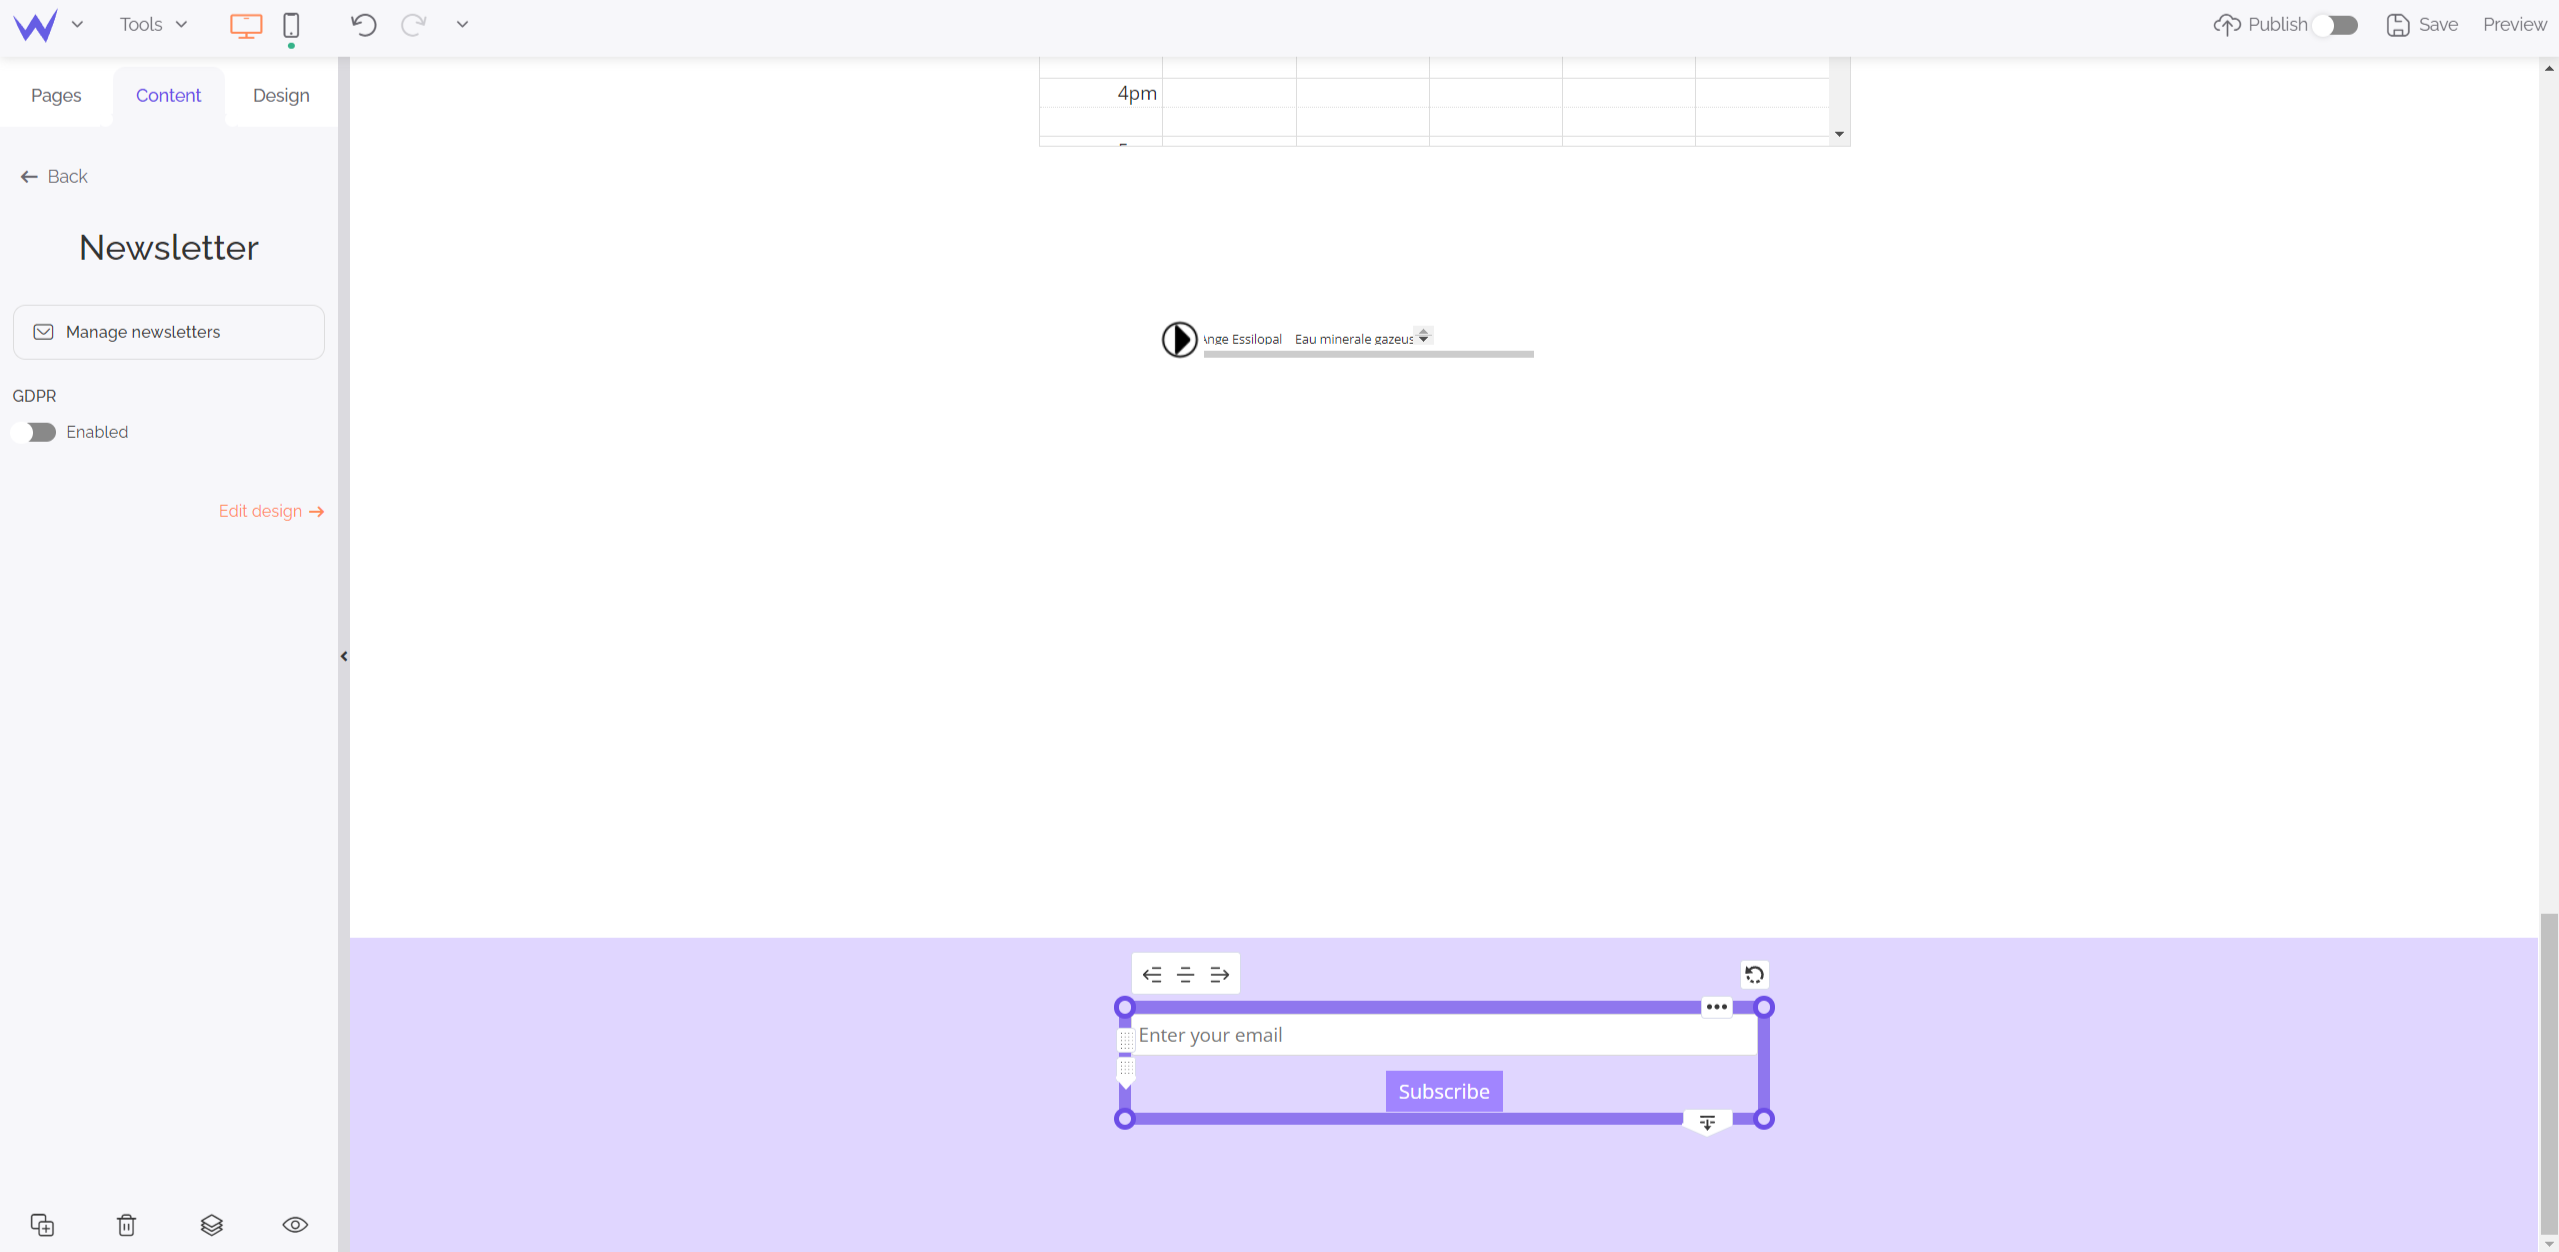
This also boosts your SEO and authority for your audience. Thus, you get yourself talked about, retain your customers and get precious information to improve your SEO strategy.
Specific feature for Advanced Showcase or upper packages
To use the Newsletter block, you’ll have to
subscribe to an Advanced Showcase package or any other upper package.
For the creation of a blog or portfolio, we think that you know everything about the different content features of the SiteW editor.
Now, let’s see how to proceed for an online store or organization.
Blocks for online sale
If you want to sell or receive funds thanks to your website, you can use 3 blocks to transform your website into a small, secure and functional online store:
The Store block enables you to sell a few items and get an optimized maintenance and order tracking.
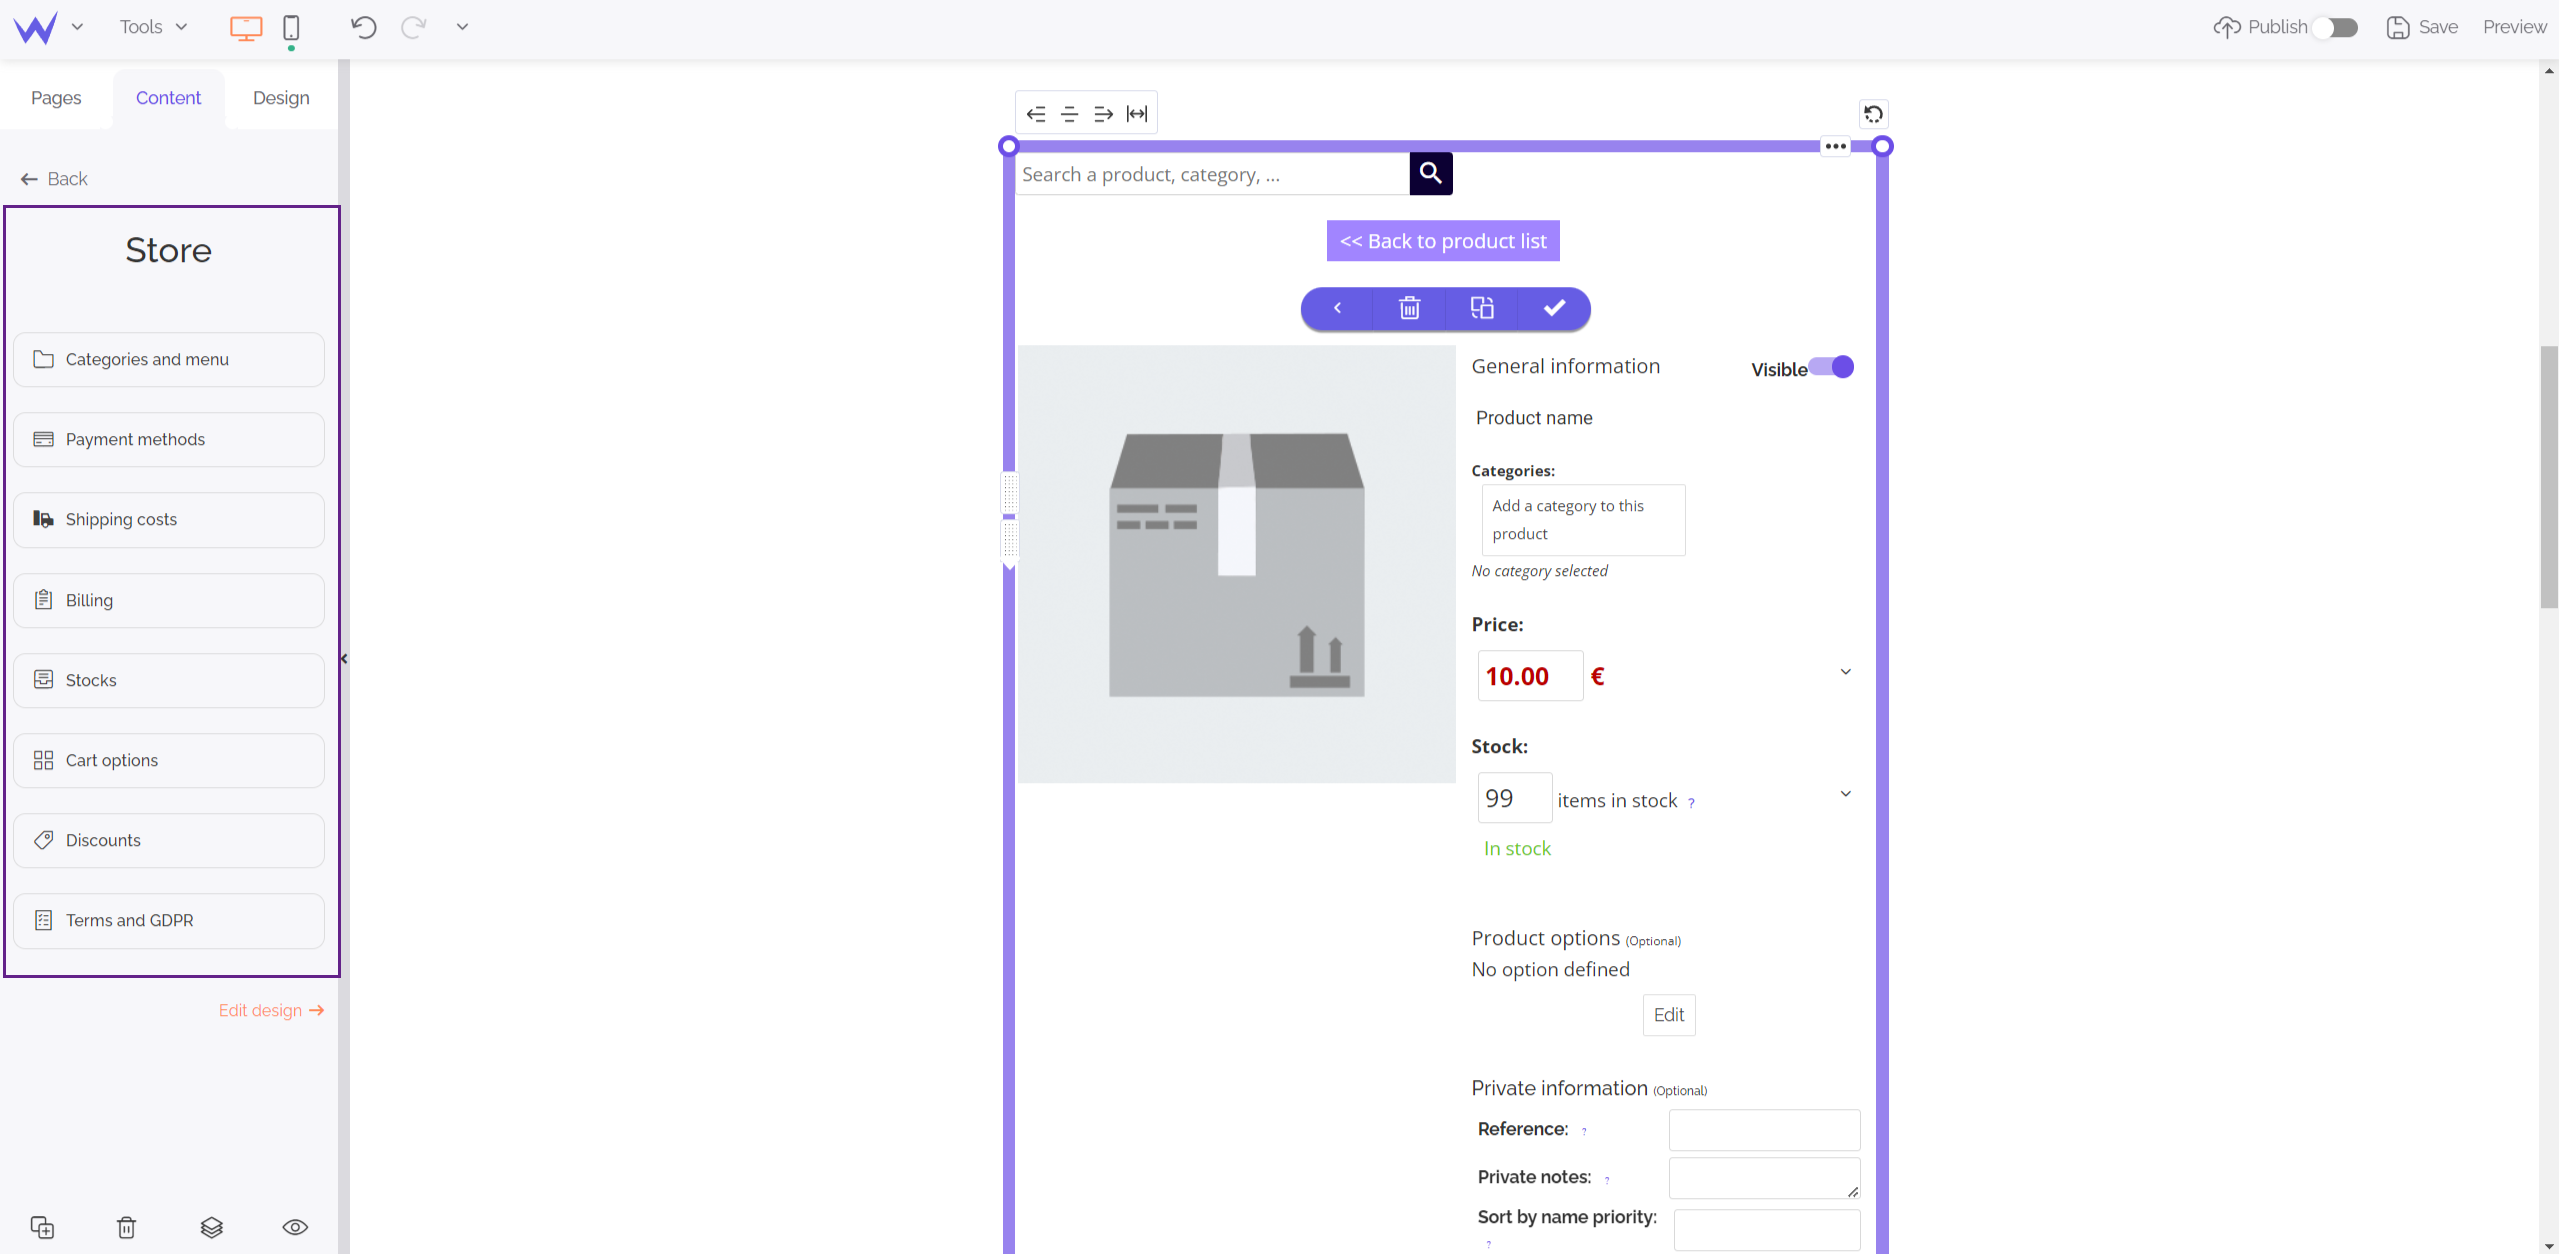
Even if the Store block doesn’t allow you to create an e-commerce platform alone, it offers you a complete and effective structure to sell a few products easily.
Moreover, you have a section to describe the product and add keywords to optimize your SEO.
Special feature for E-commerce packages
To use the Store block, you will need to
subscribe to an Essential E-commerce or upper package.
Logically, the online store goes with the cart.
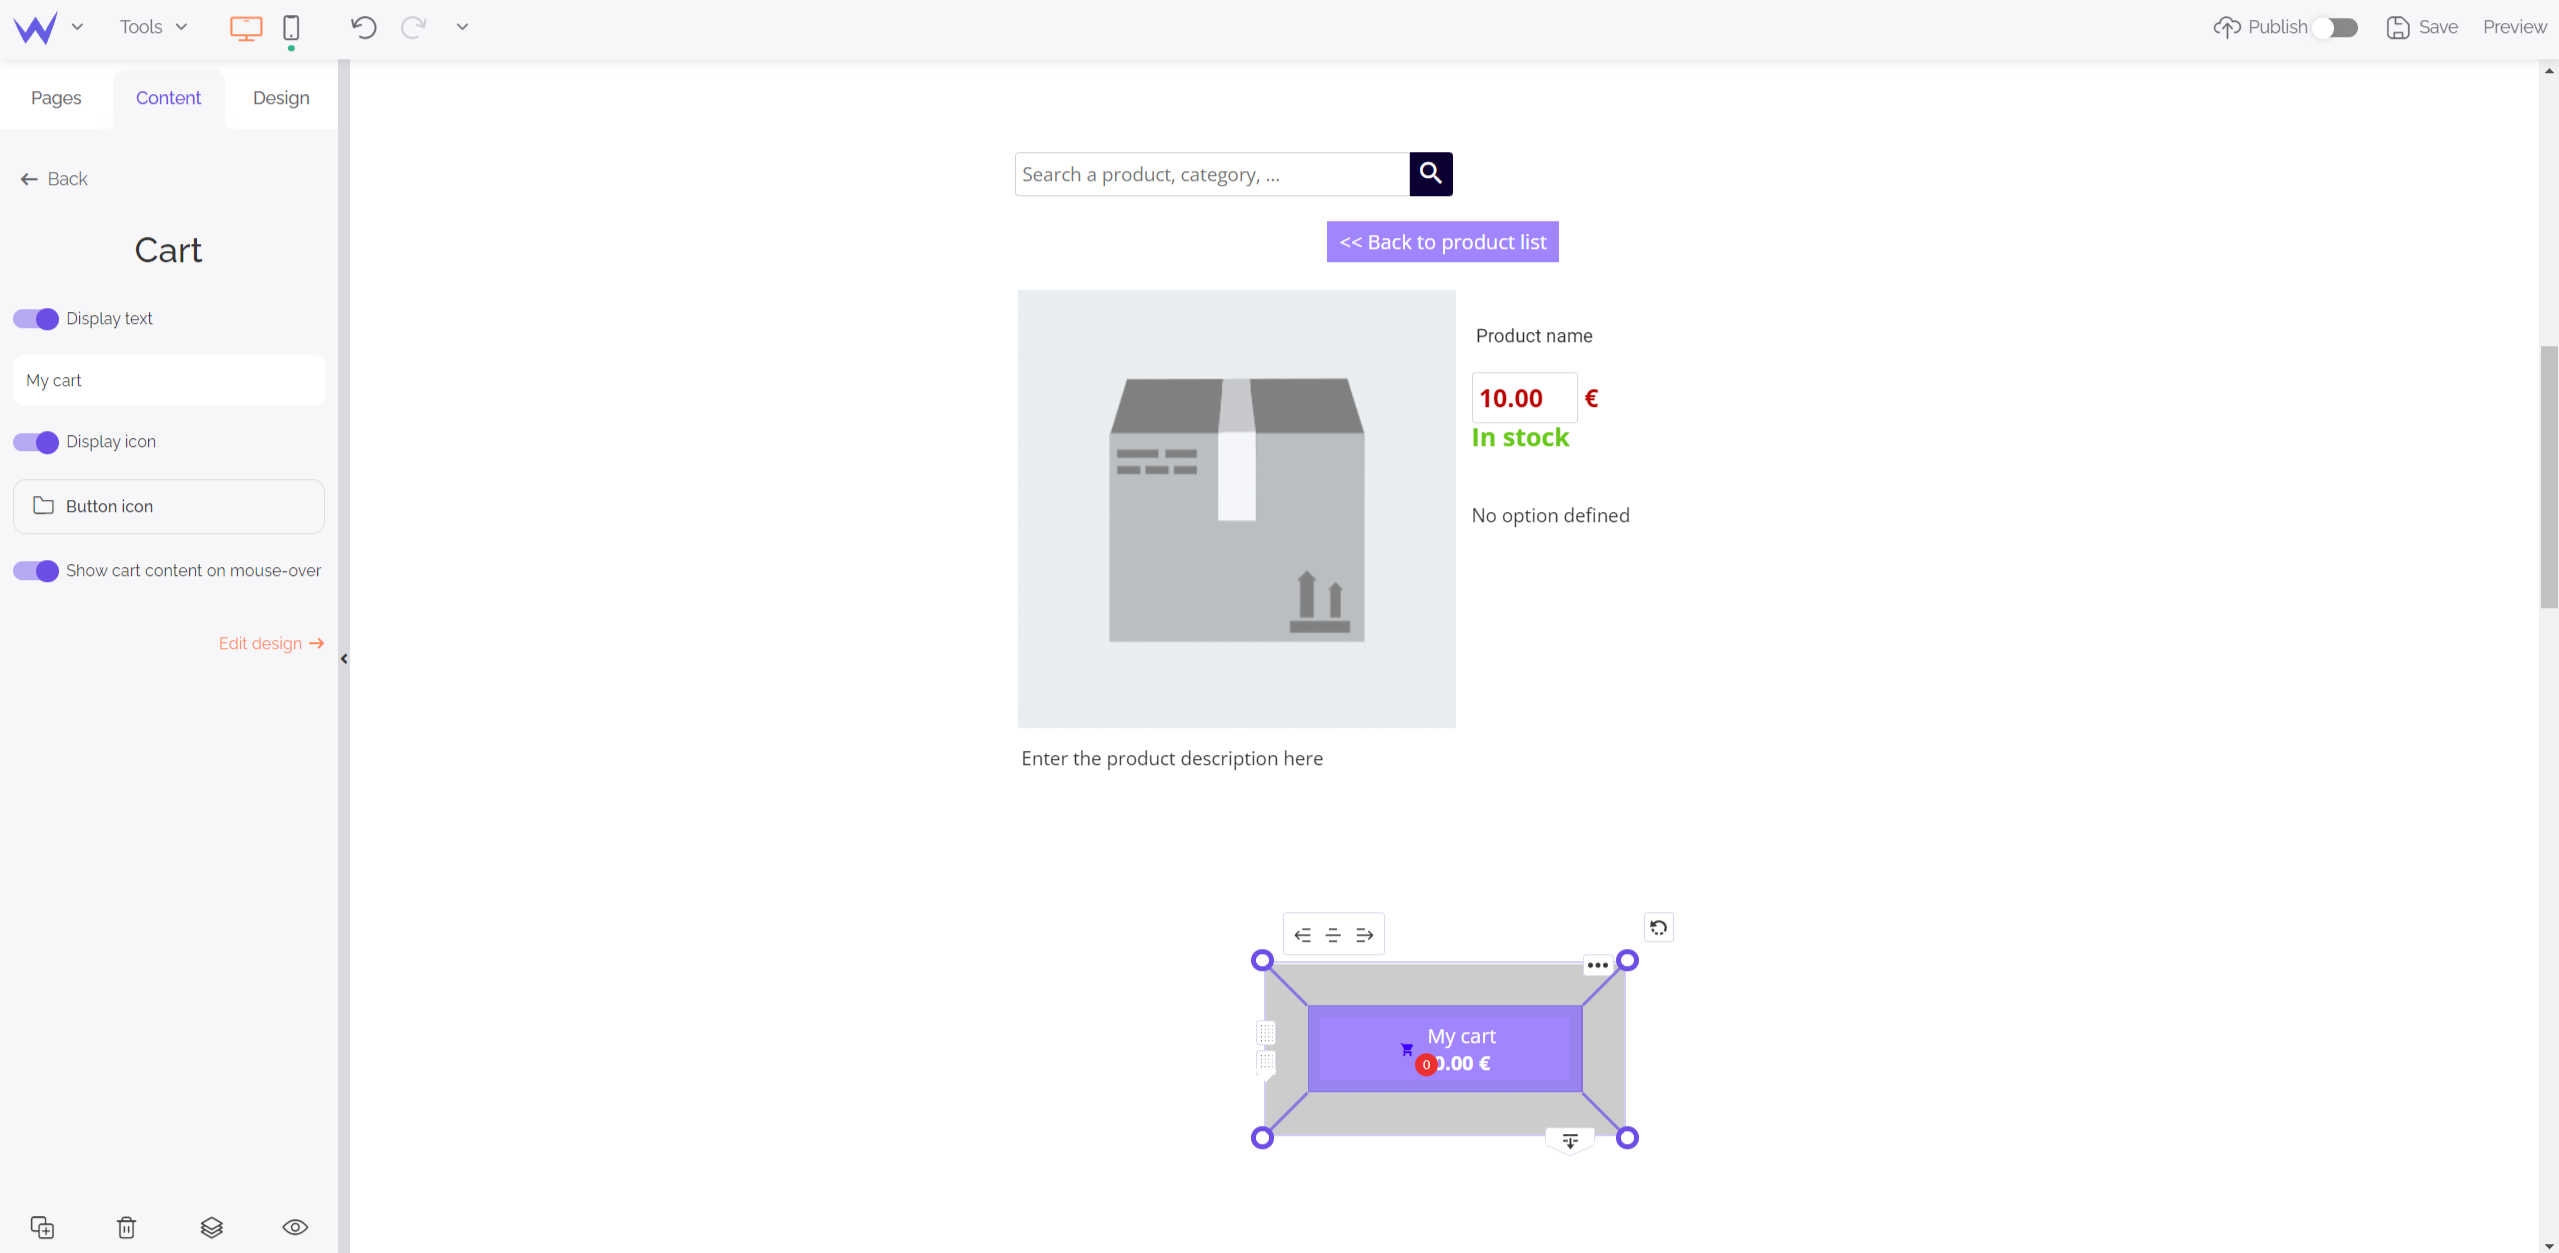
You can customize this button according to your graphic charter. It enables users to access their cart easily once they have ordered. Such as all the important call-to-action buttons, ensure they are perfectly visible on your page.
Special feature for E-commerce or upper packages
To use the Cart block, you will need to
subscribe to an E-commerce package.
Design section
In this latest part of the editor, you can manage all your website design and save styles to save time.
By clicking one of the pages of your menu, you can modify its background and content zones.
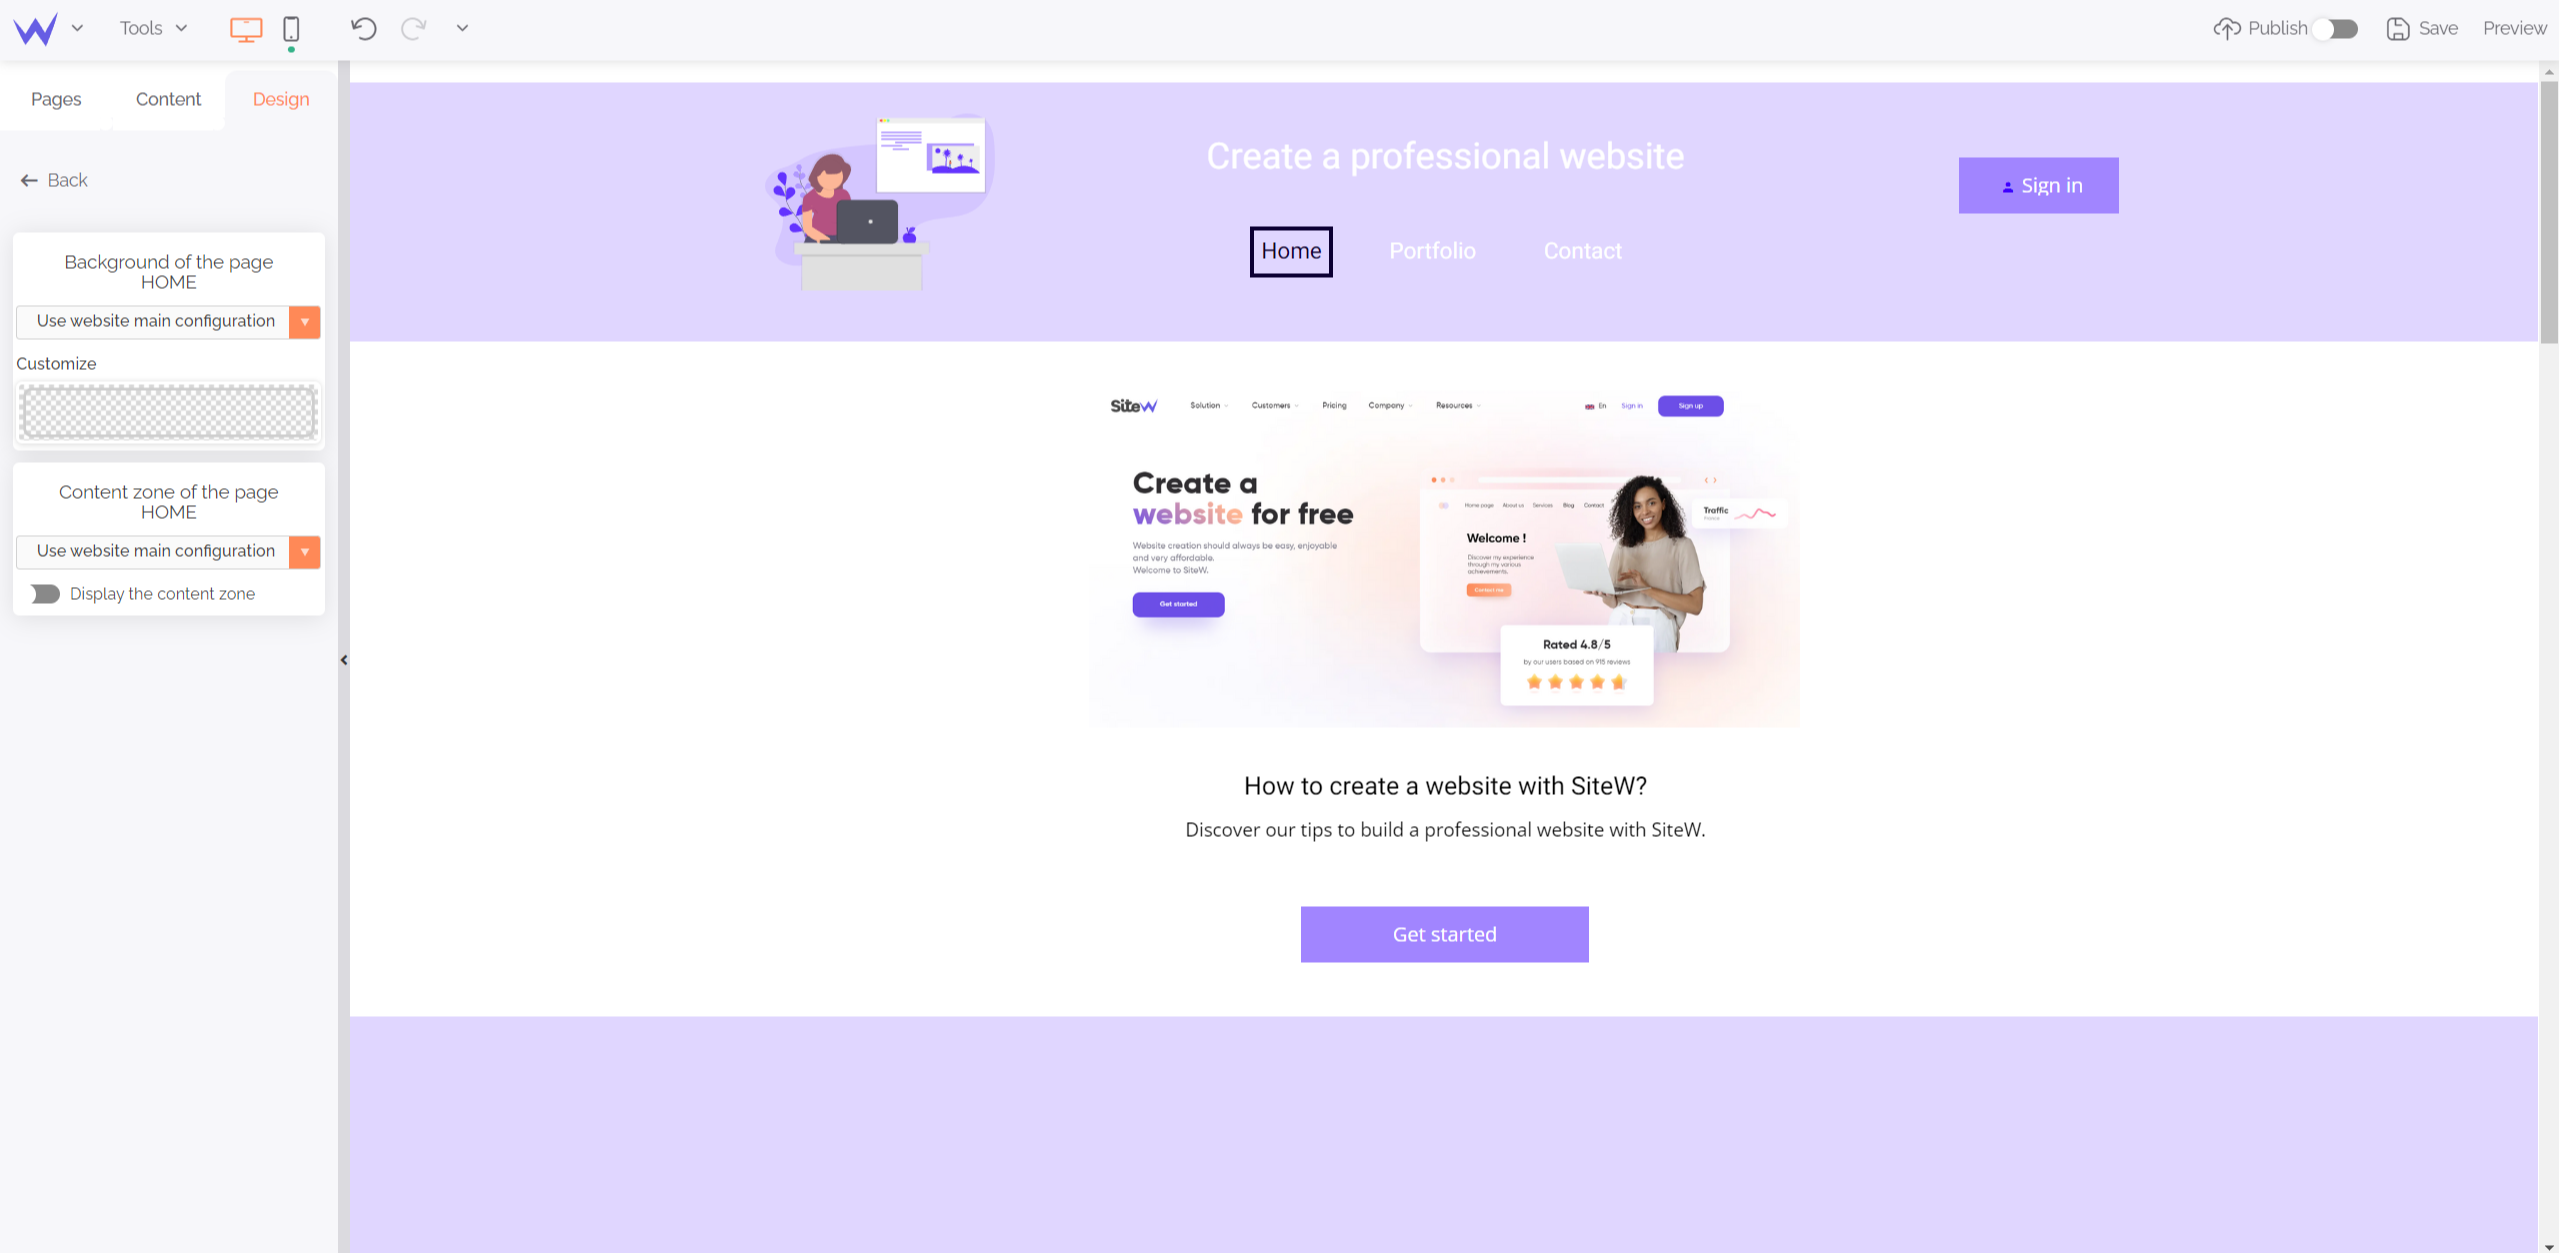
To save time, if you want the same style on all your website, keep this setting in the dropdown menu: “Use website main configuration”.
It’s also possible to not edit the page where you are by selecting “Customization of this page only”.
Footers work in the same way as headers. You can customize them according to the pages where you are.
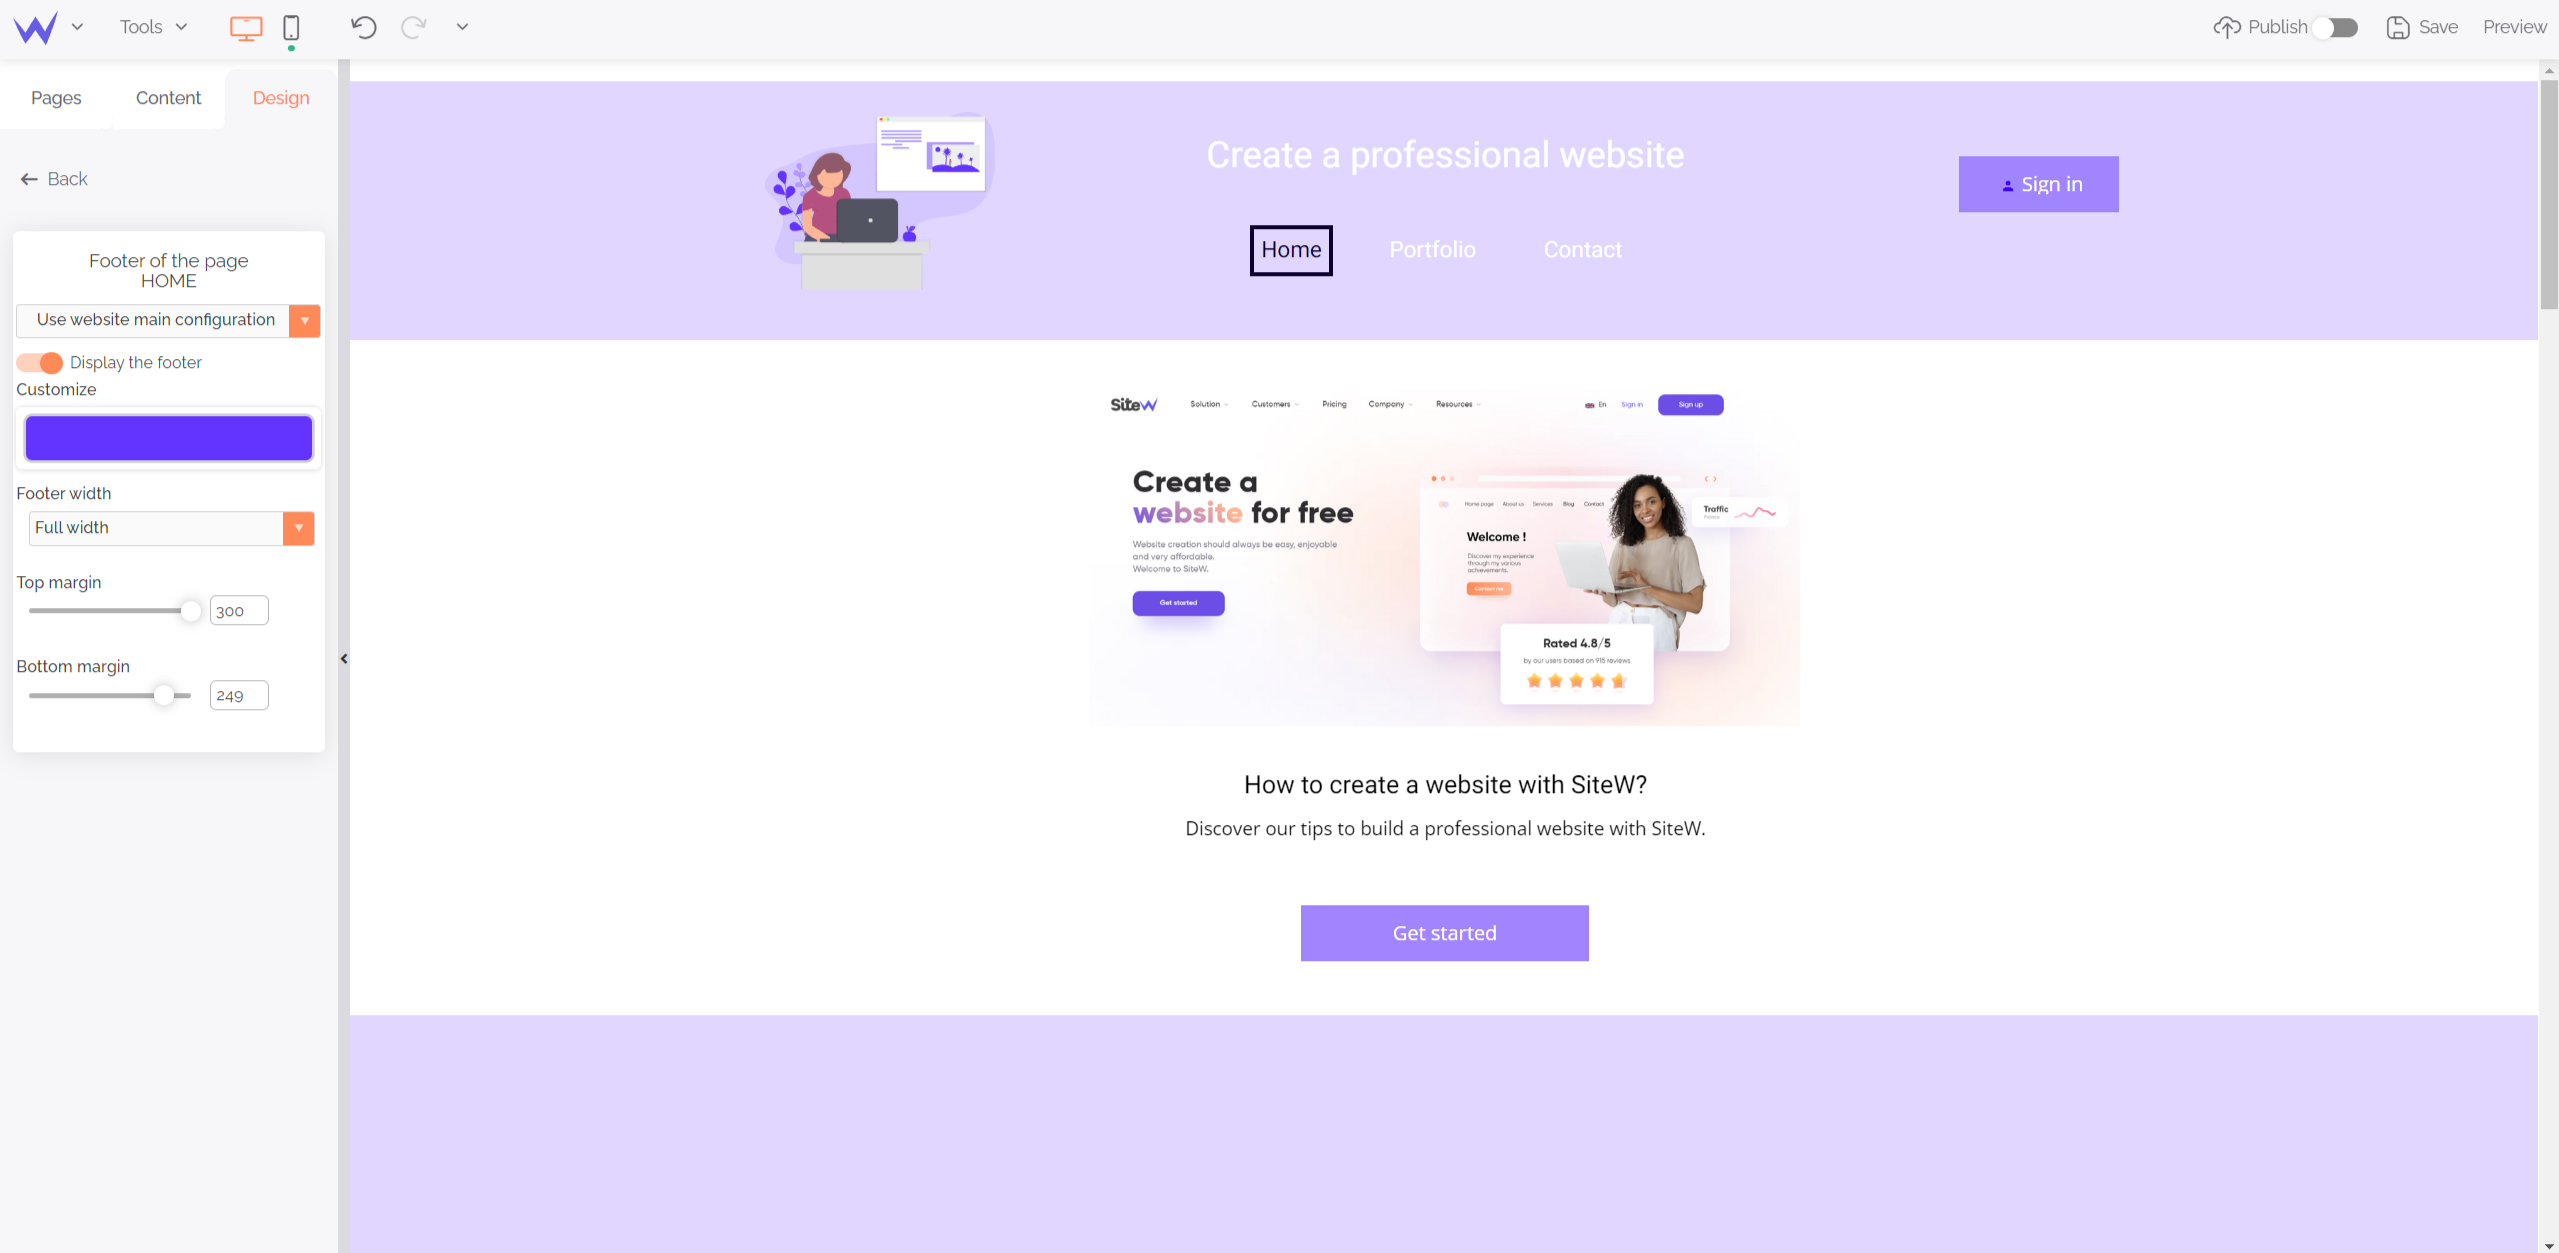
The colours, texts, and size of your footer are customizable.
Style of your website elements
In this “Design” section, you can define some styles for repetitive elements of your website to save time and get a strong visual coherence.
These styles can apply to the following blocks:
When you add images to your website, they can have a full-screen display and scroll if you use a gallery.
Thus, you can define the appearance of your full-screen images thanks to this feature.
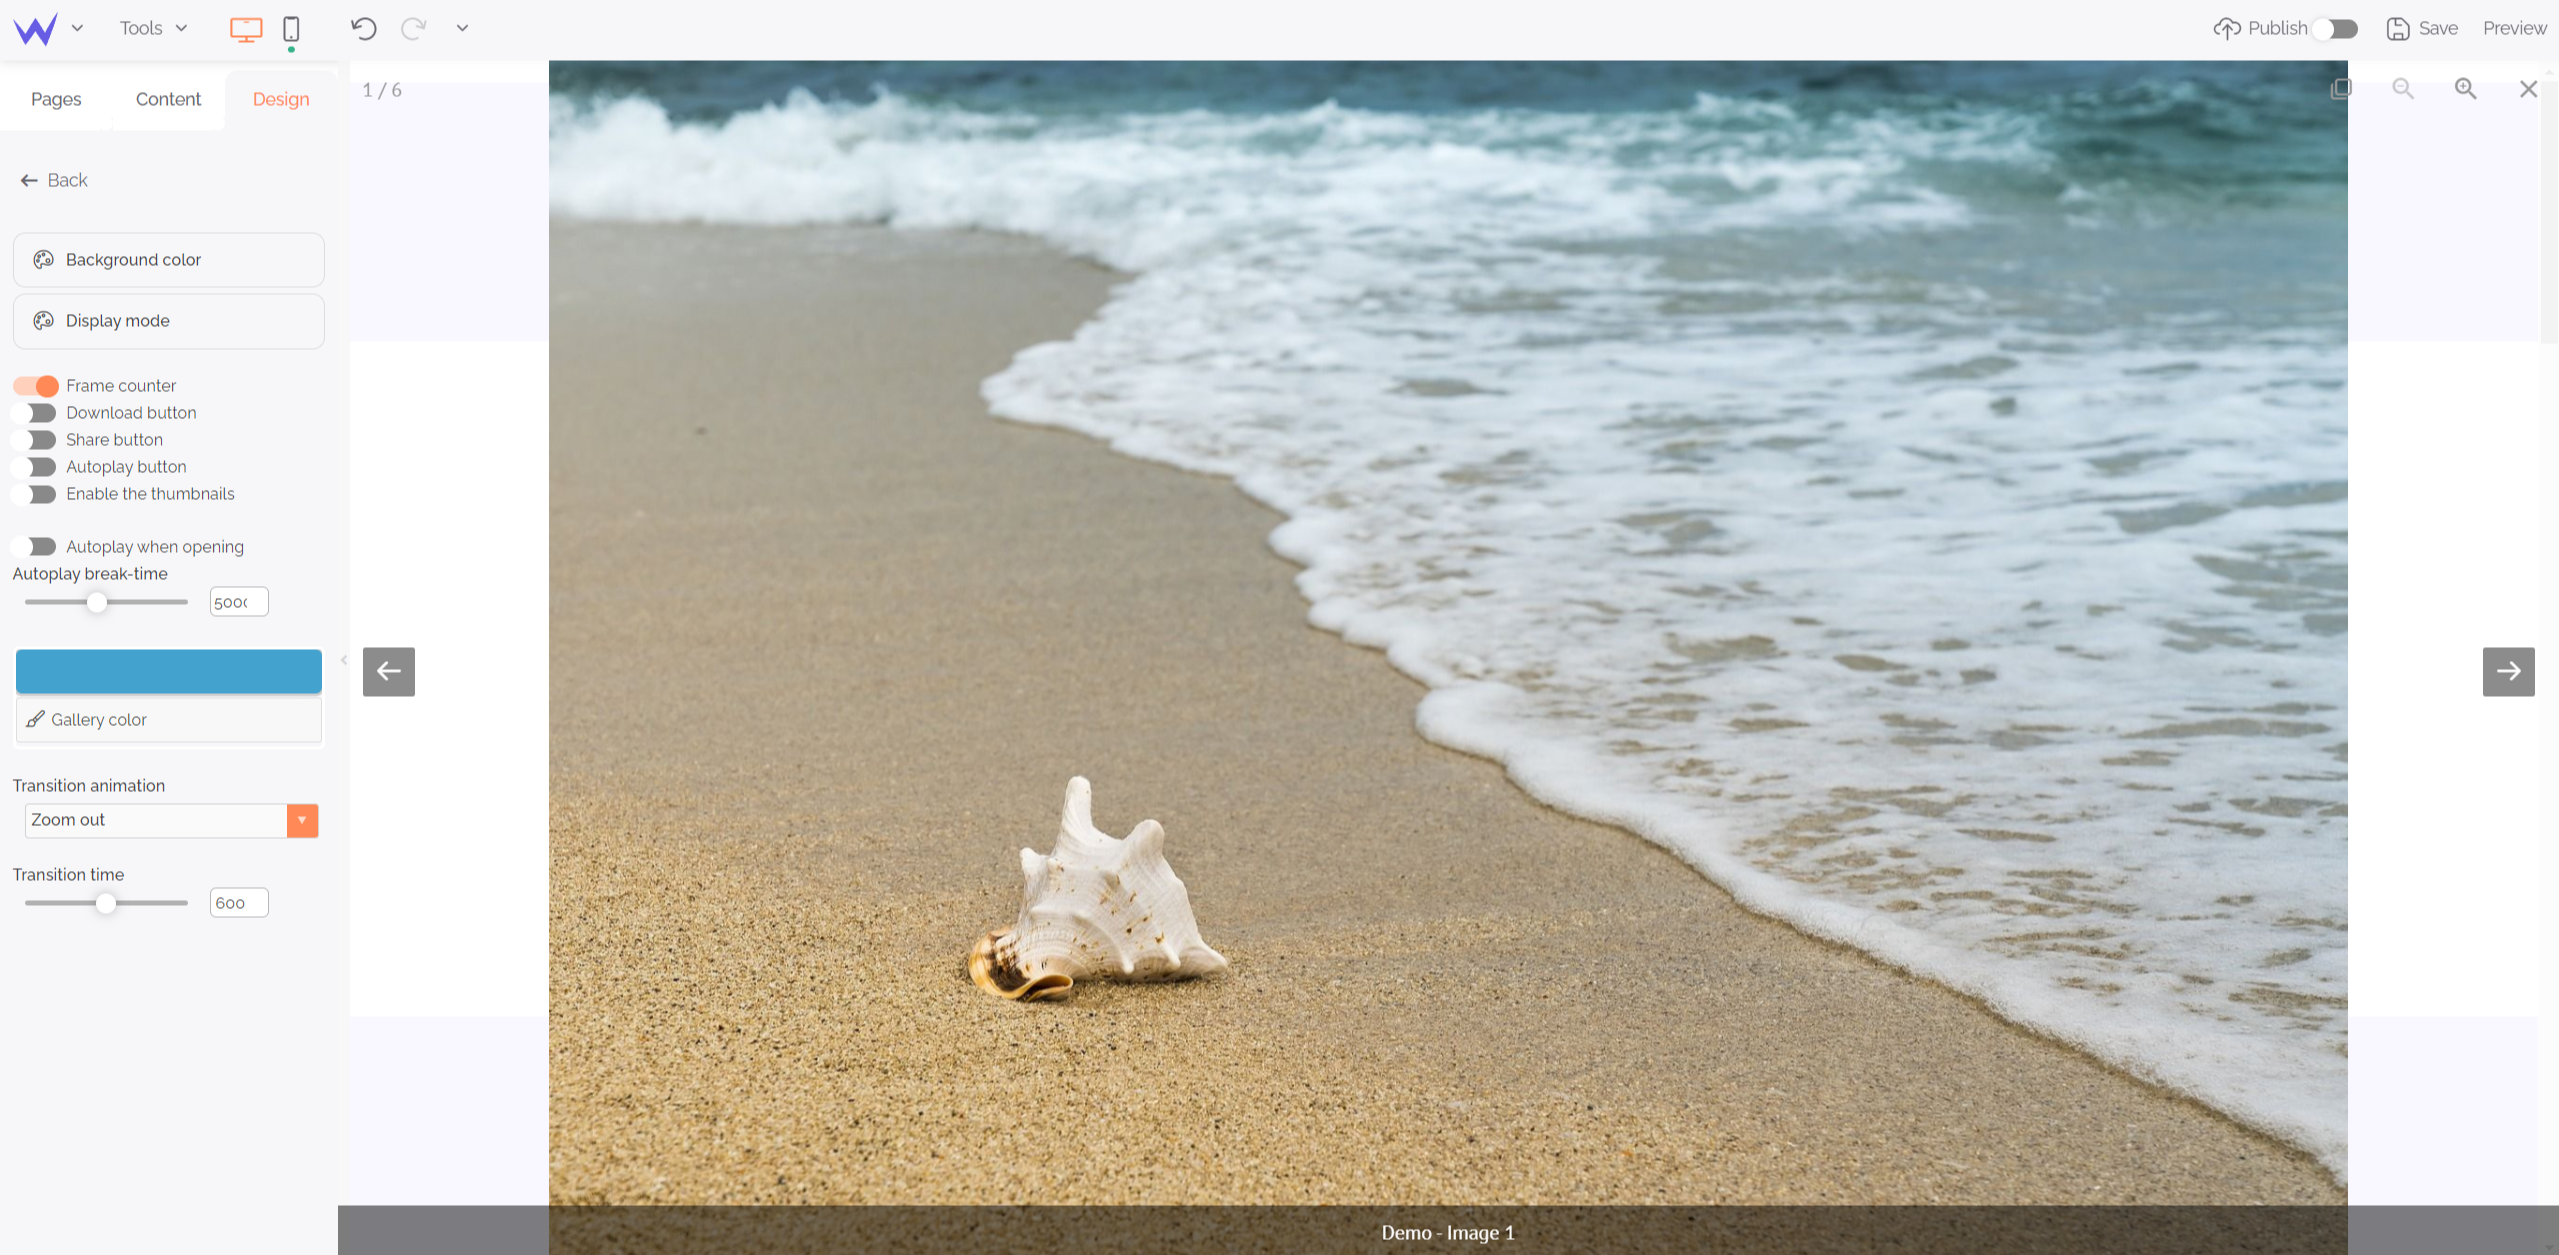
You can choose your transition effect between your images, the time between each of them, or the presence or not of a download button.
Each block with a link and no specific design modification will have the style you define in this block.
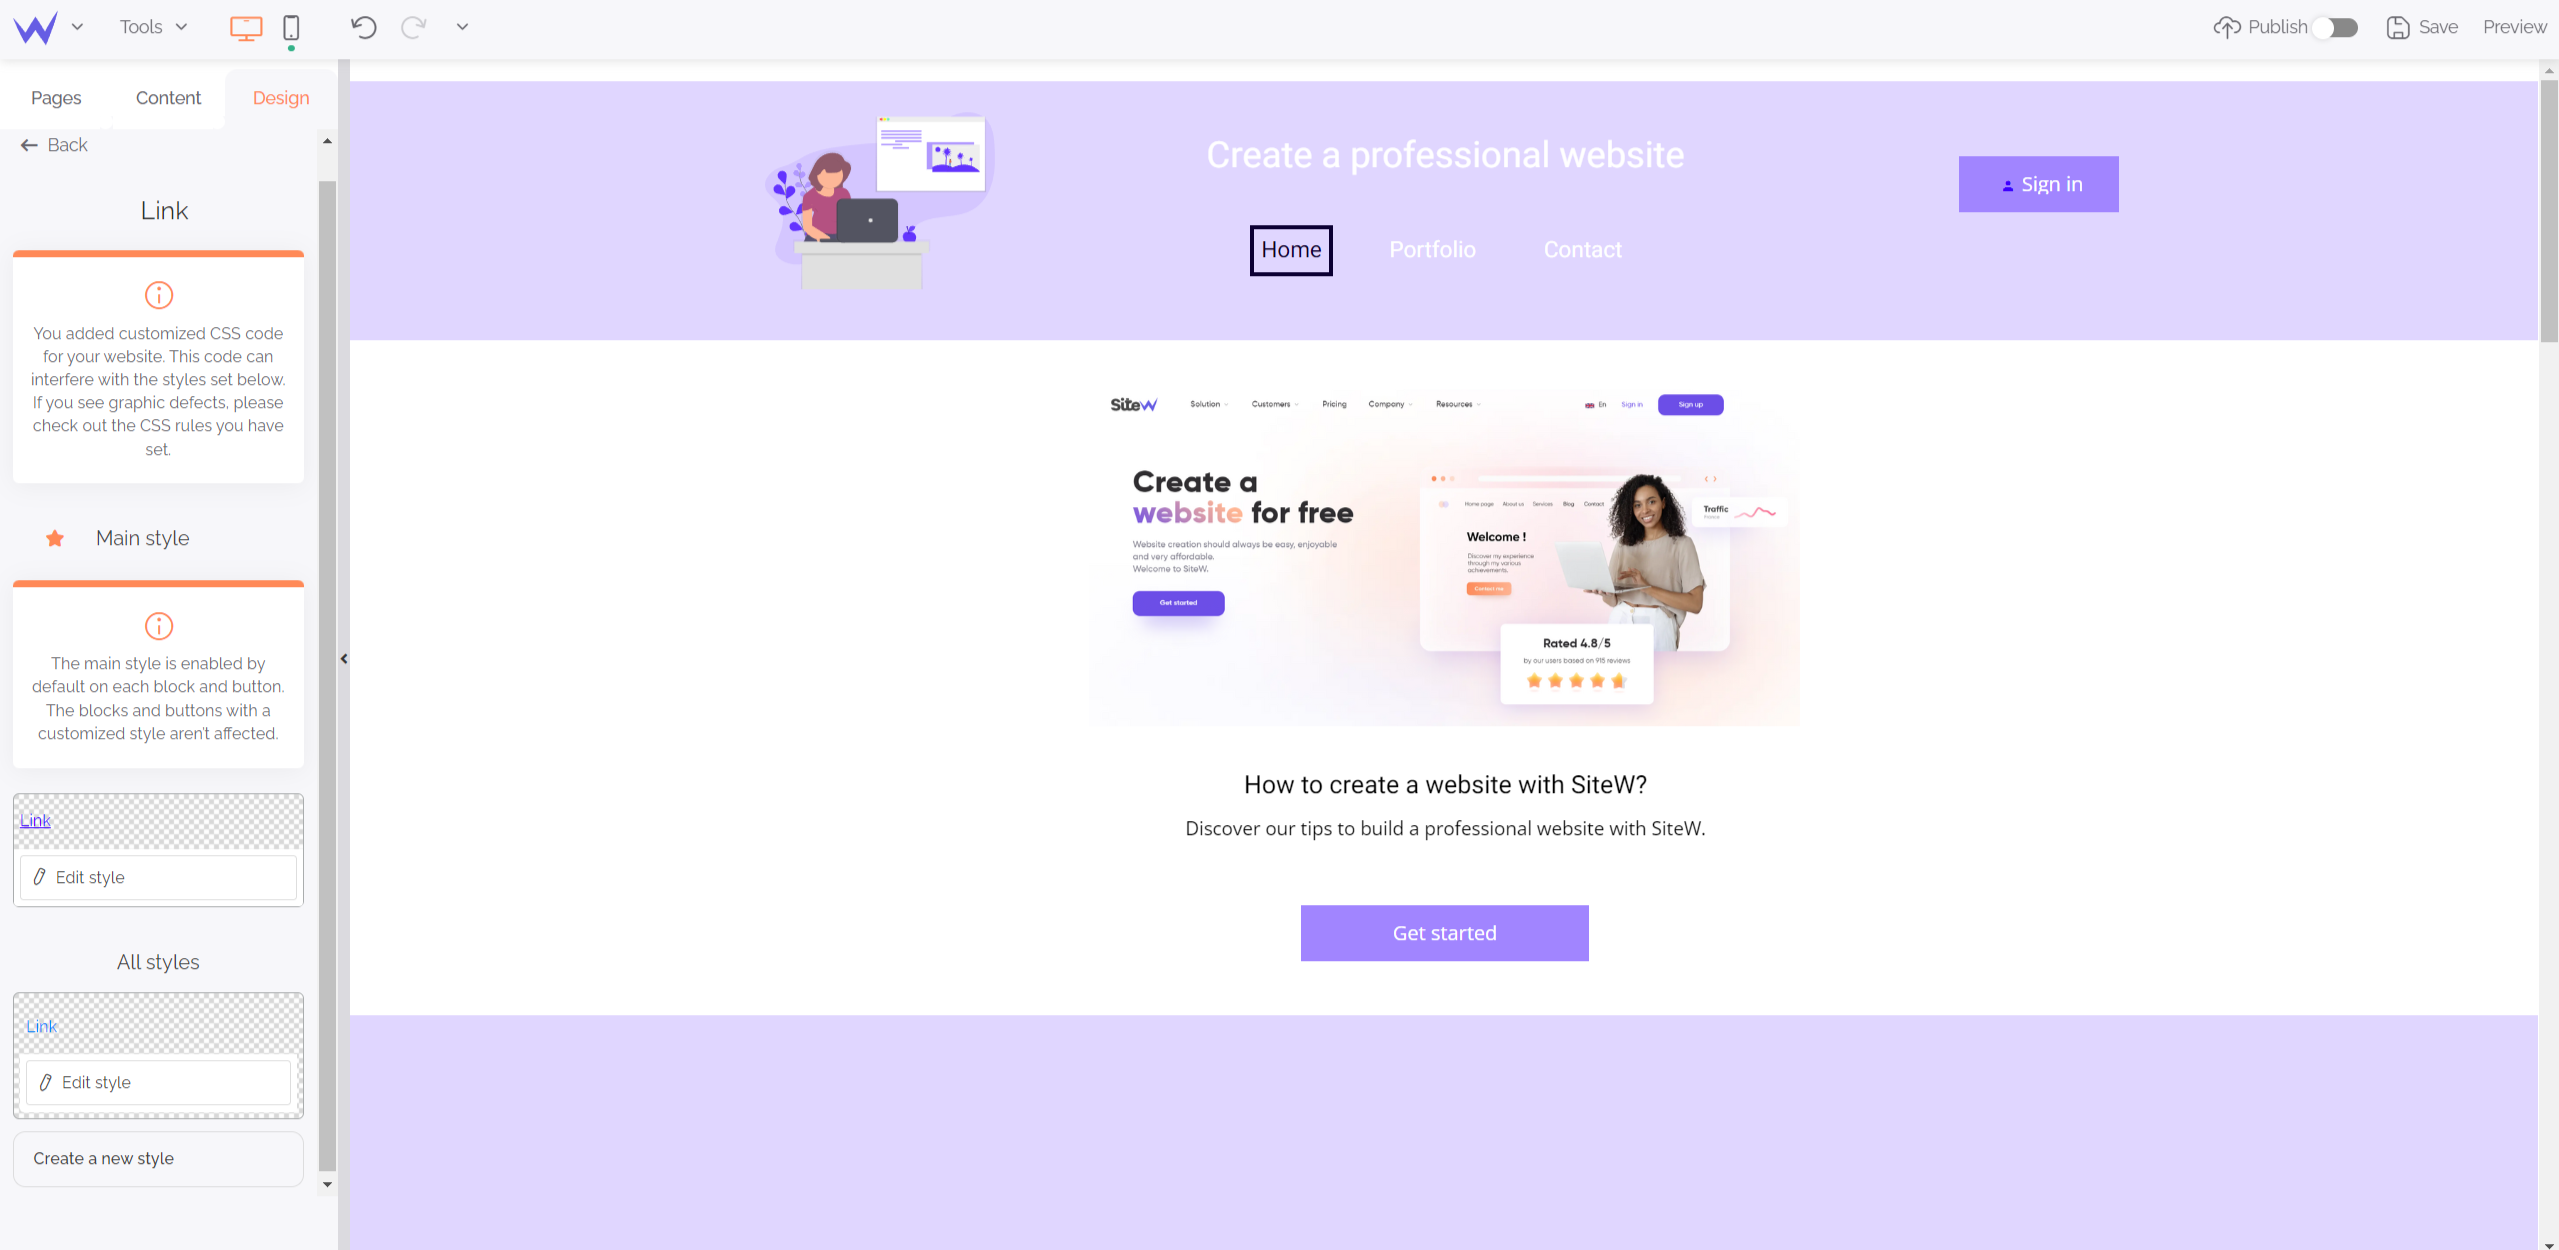
Thus, all links will have the same aspect on your website. Moreover, you can create several styles and define animation on mouseover.
You will save time again!
It’s the same principle for search fields. They can match a style defined in the Search box block.
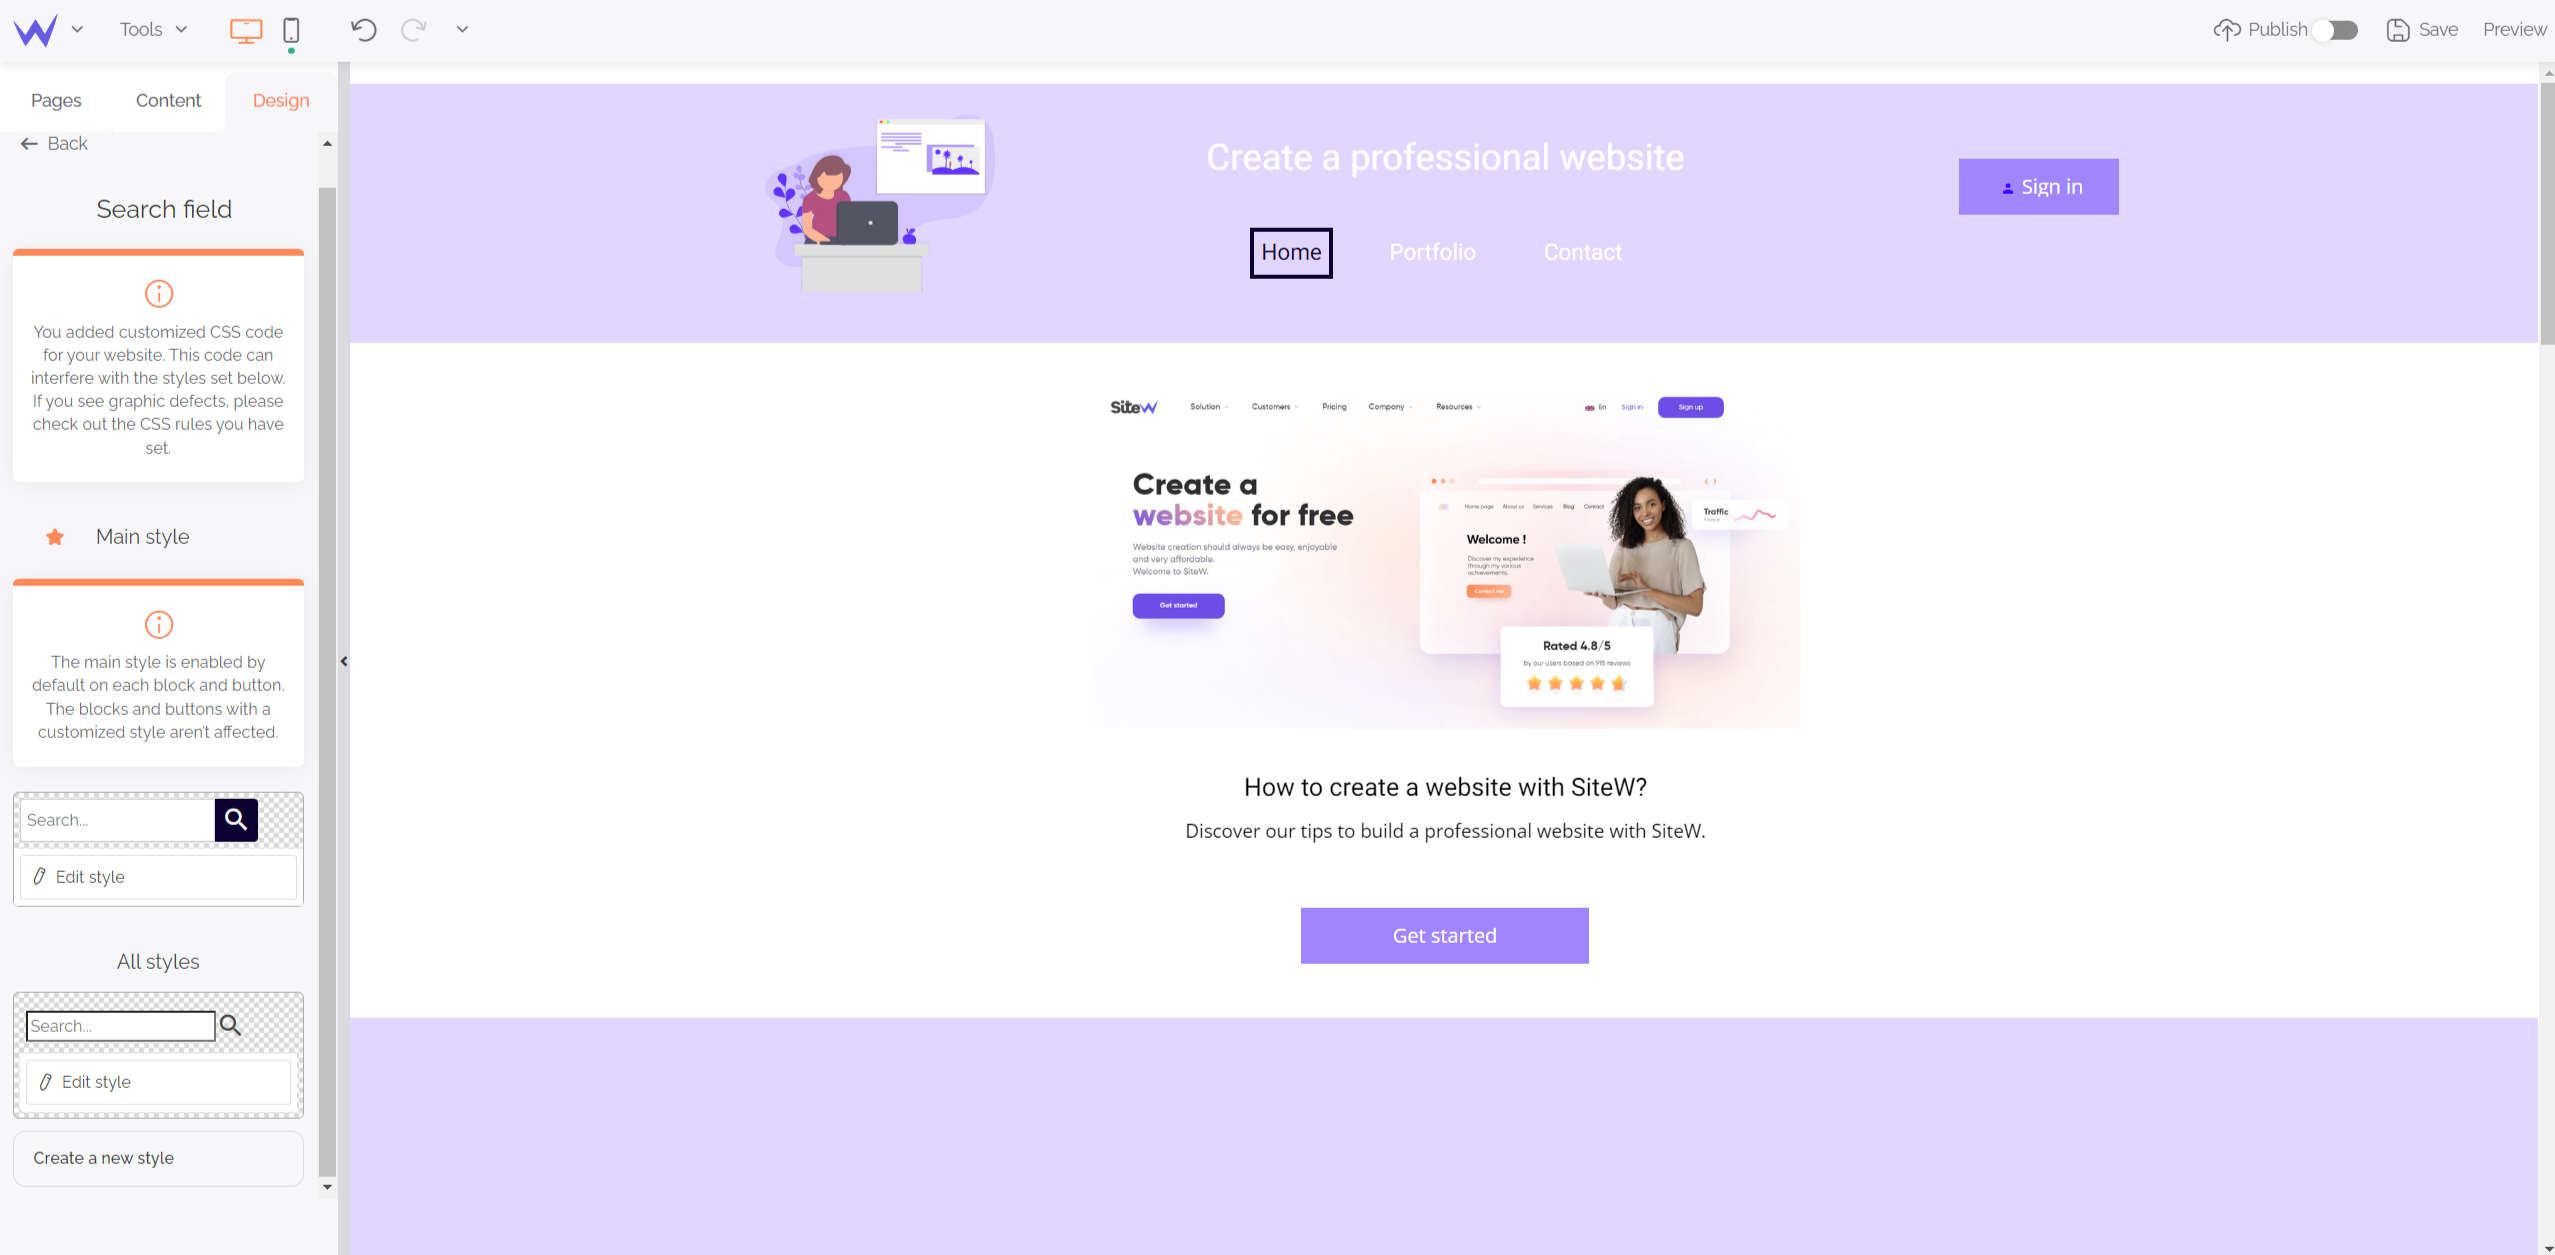
From link form to its appearance on mouseover, you can control everything, in every detail for the most meticulous of you.
Moreover, you enjoy an overview in real time on the top of the editor to adapt quickly your design idea.
The definition of a style for block backgrounds is large, as it will concern titles and all your website textual elements.
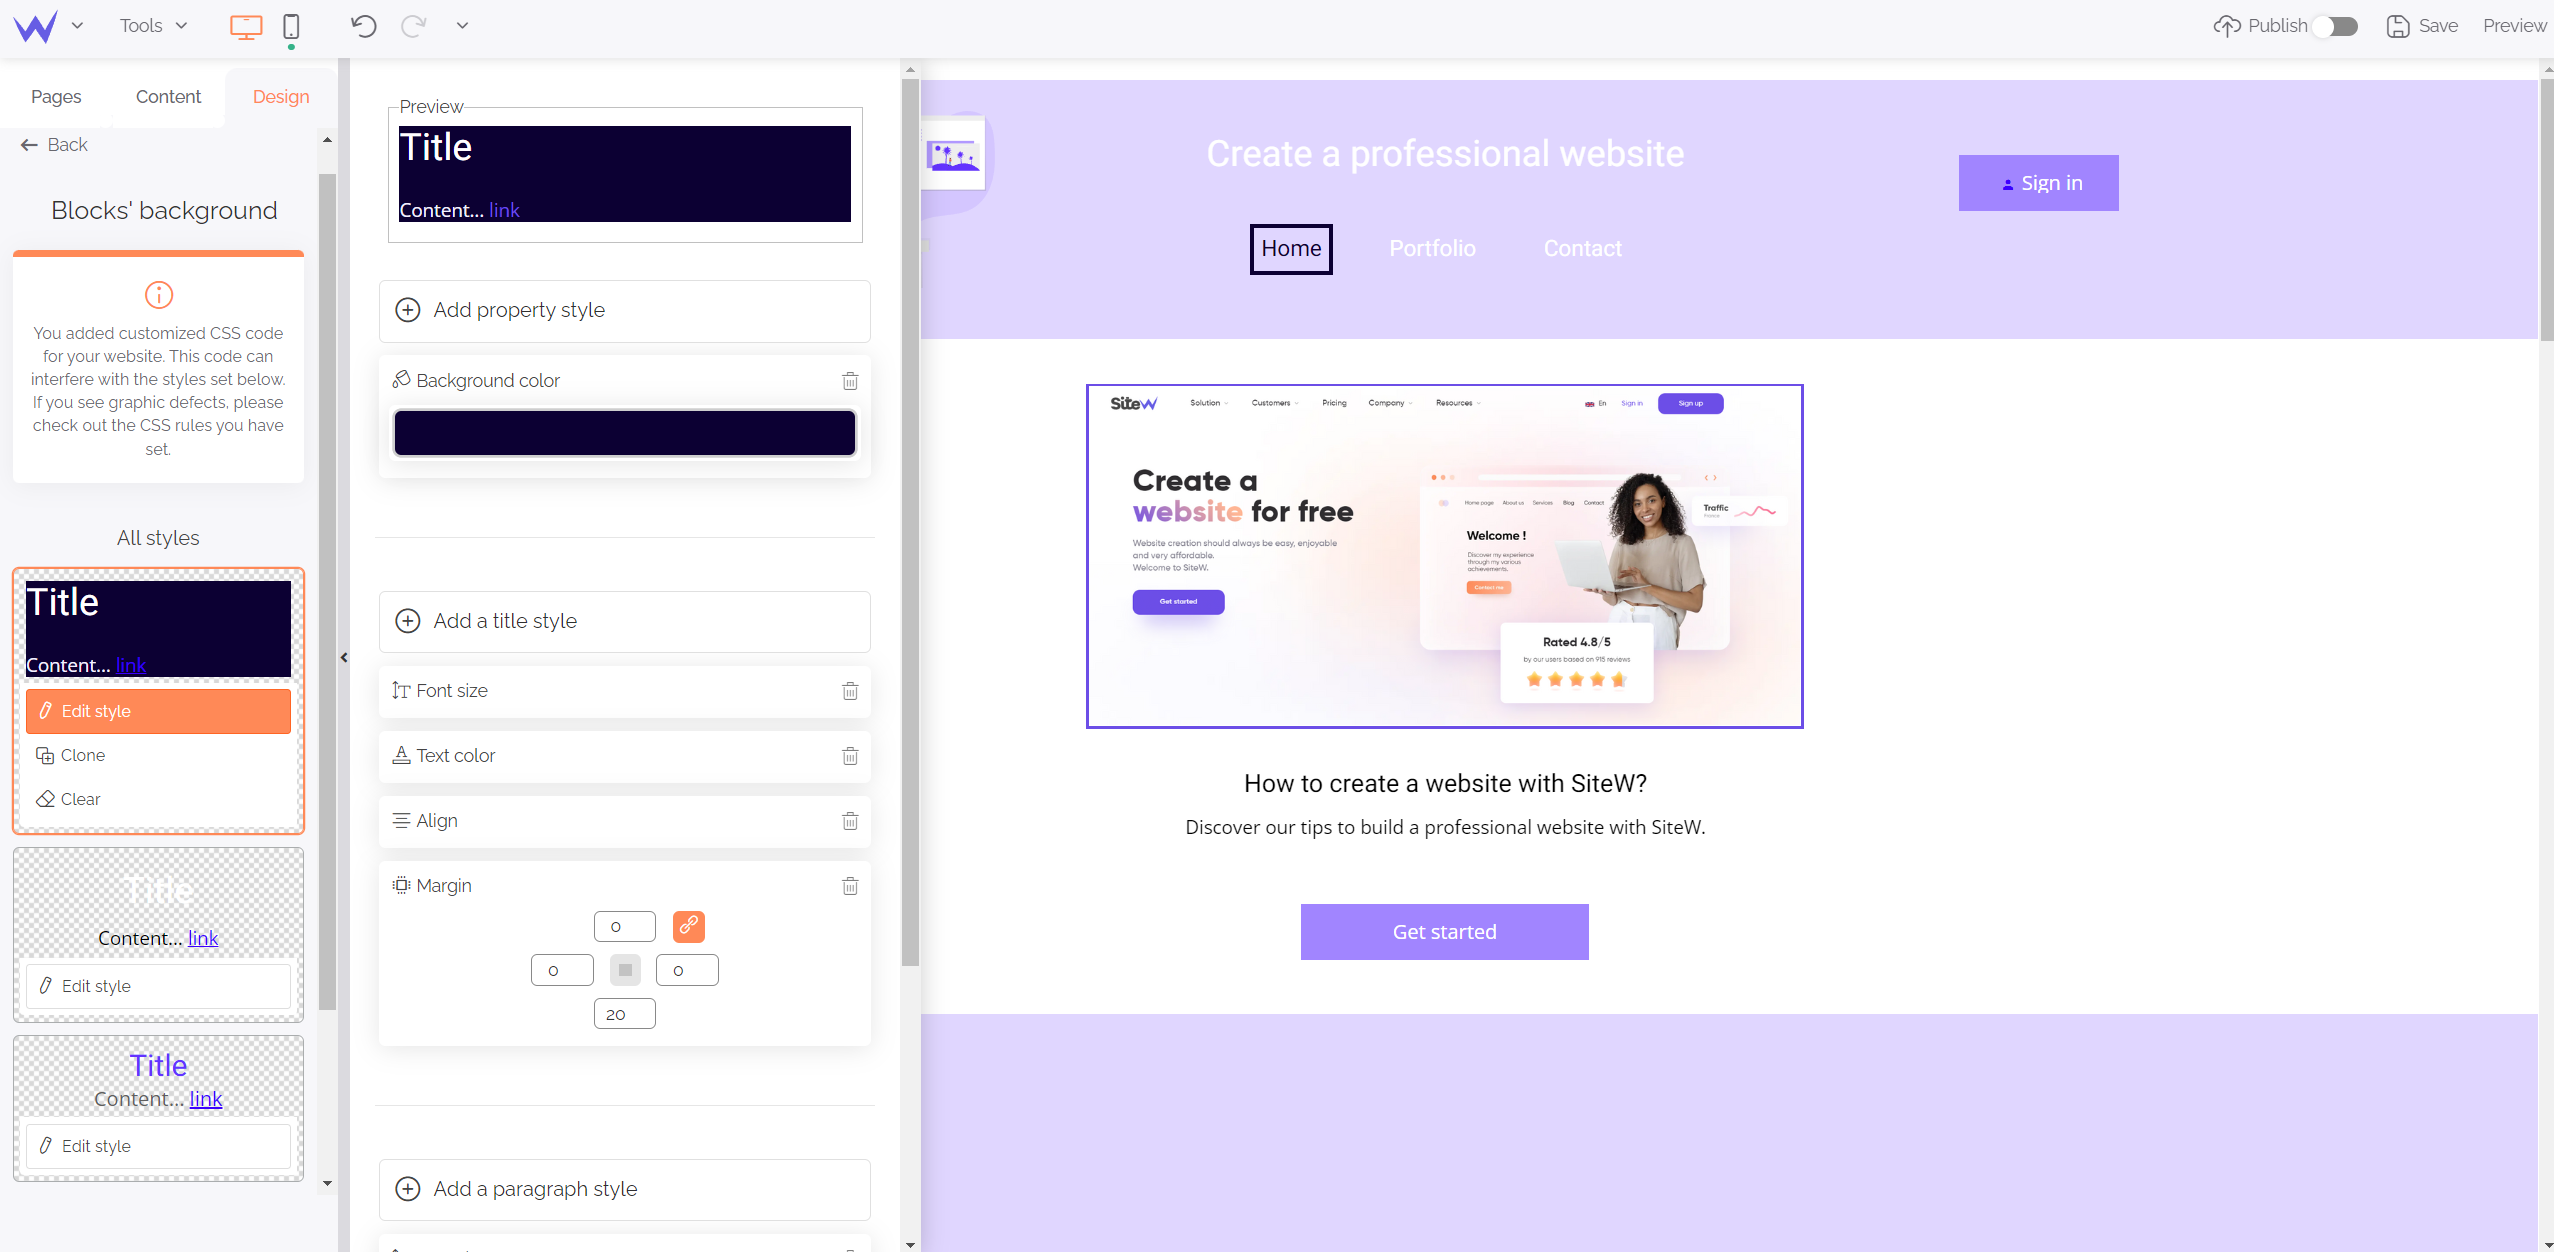
You can build many styles depending on if your block is a title, secondary text, or content with a link.
You just need to define these styles once and for all…
And if you change your mind, you will just have to edit this part to see your new style applied to all your texts.
You have the possibility to create custom button groups to have the same style on all your website.
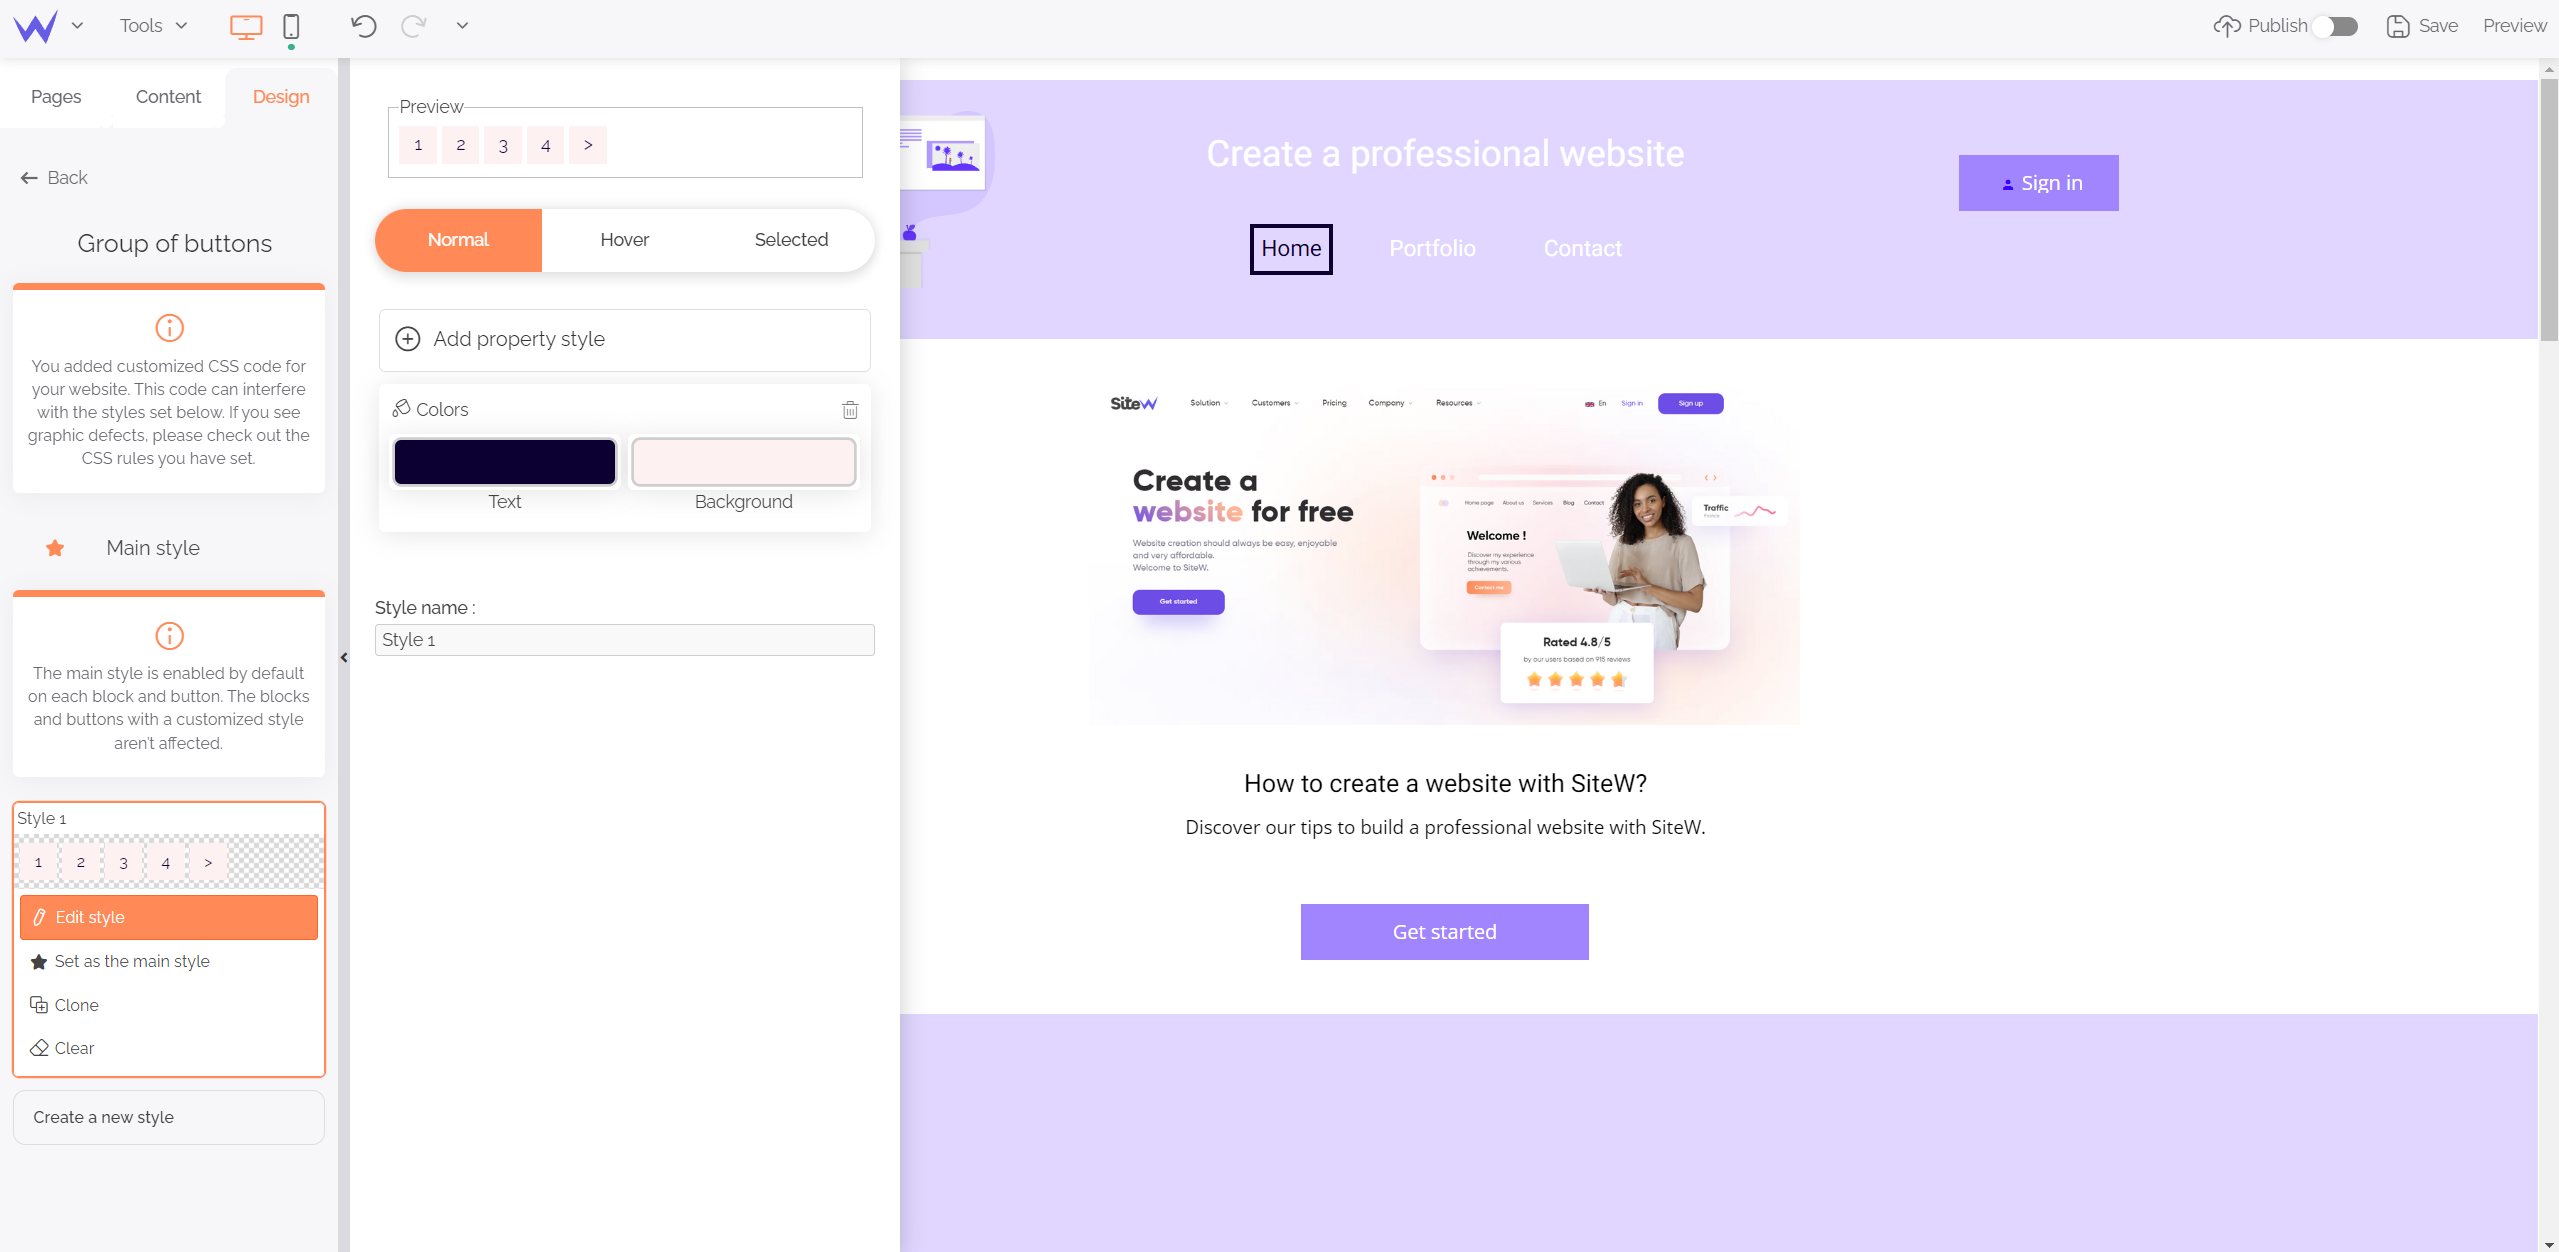
All button groups such as paginations or categories will have the same style, you can edit according to your needs and the evolution of your graphic charter.
Website overall style
In this section, you can define the appearance of your website interactions and animations.
You can control your website overall style of the following elements:
This essential element of a graphic charter is available from the Design section, in the Colour palette block.
You can use two palettes: a palette with your website main colour, and another palette with a secondary colour.
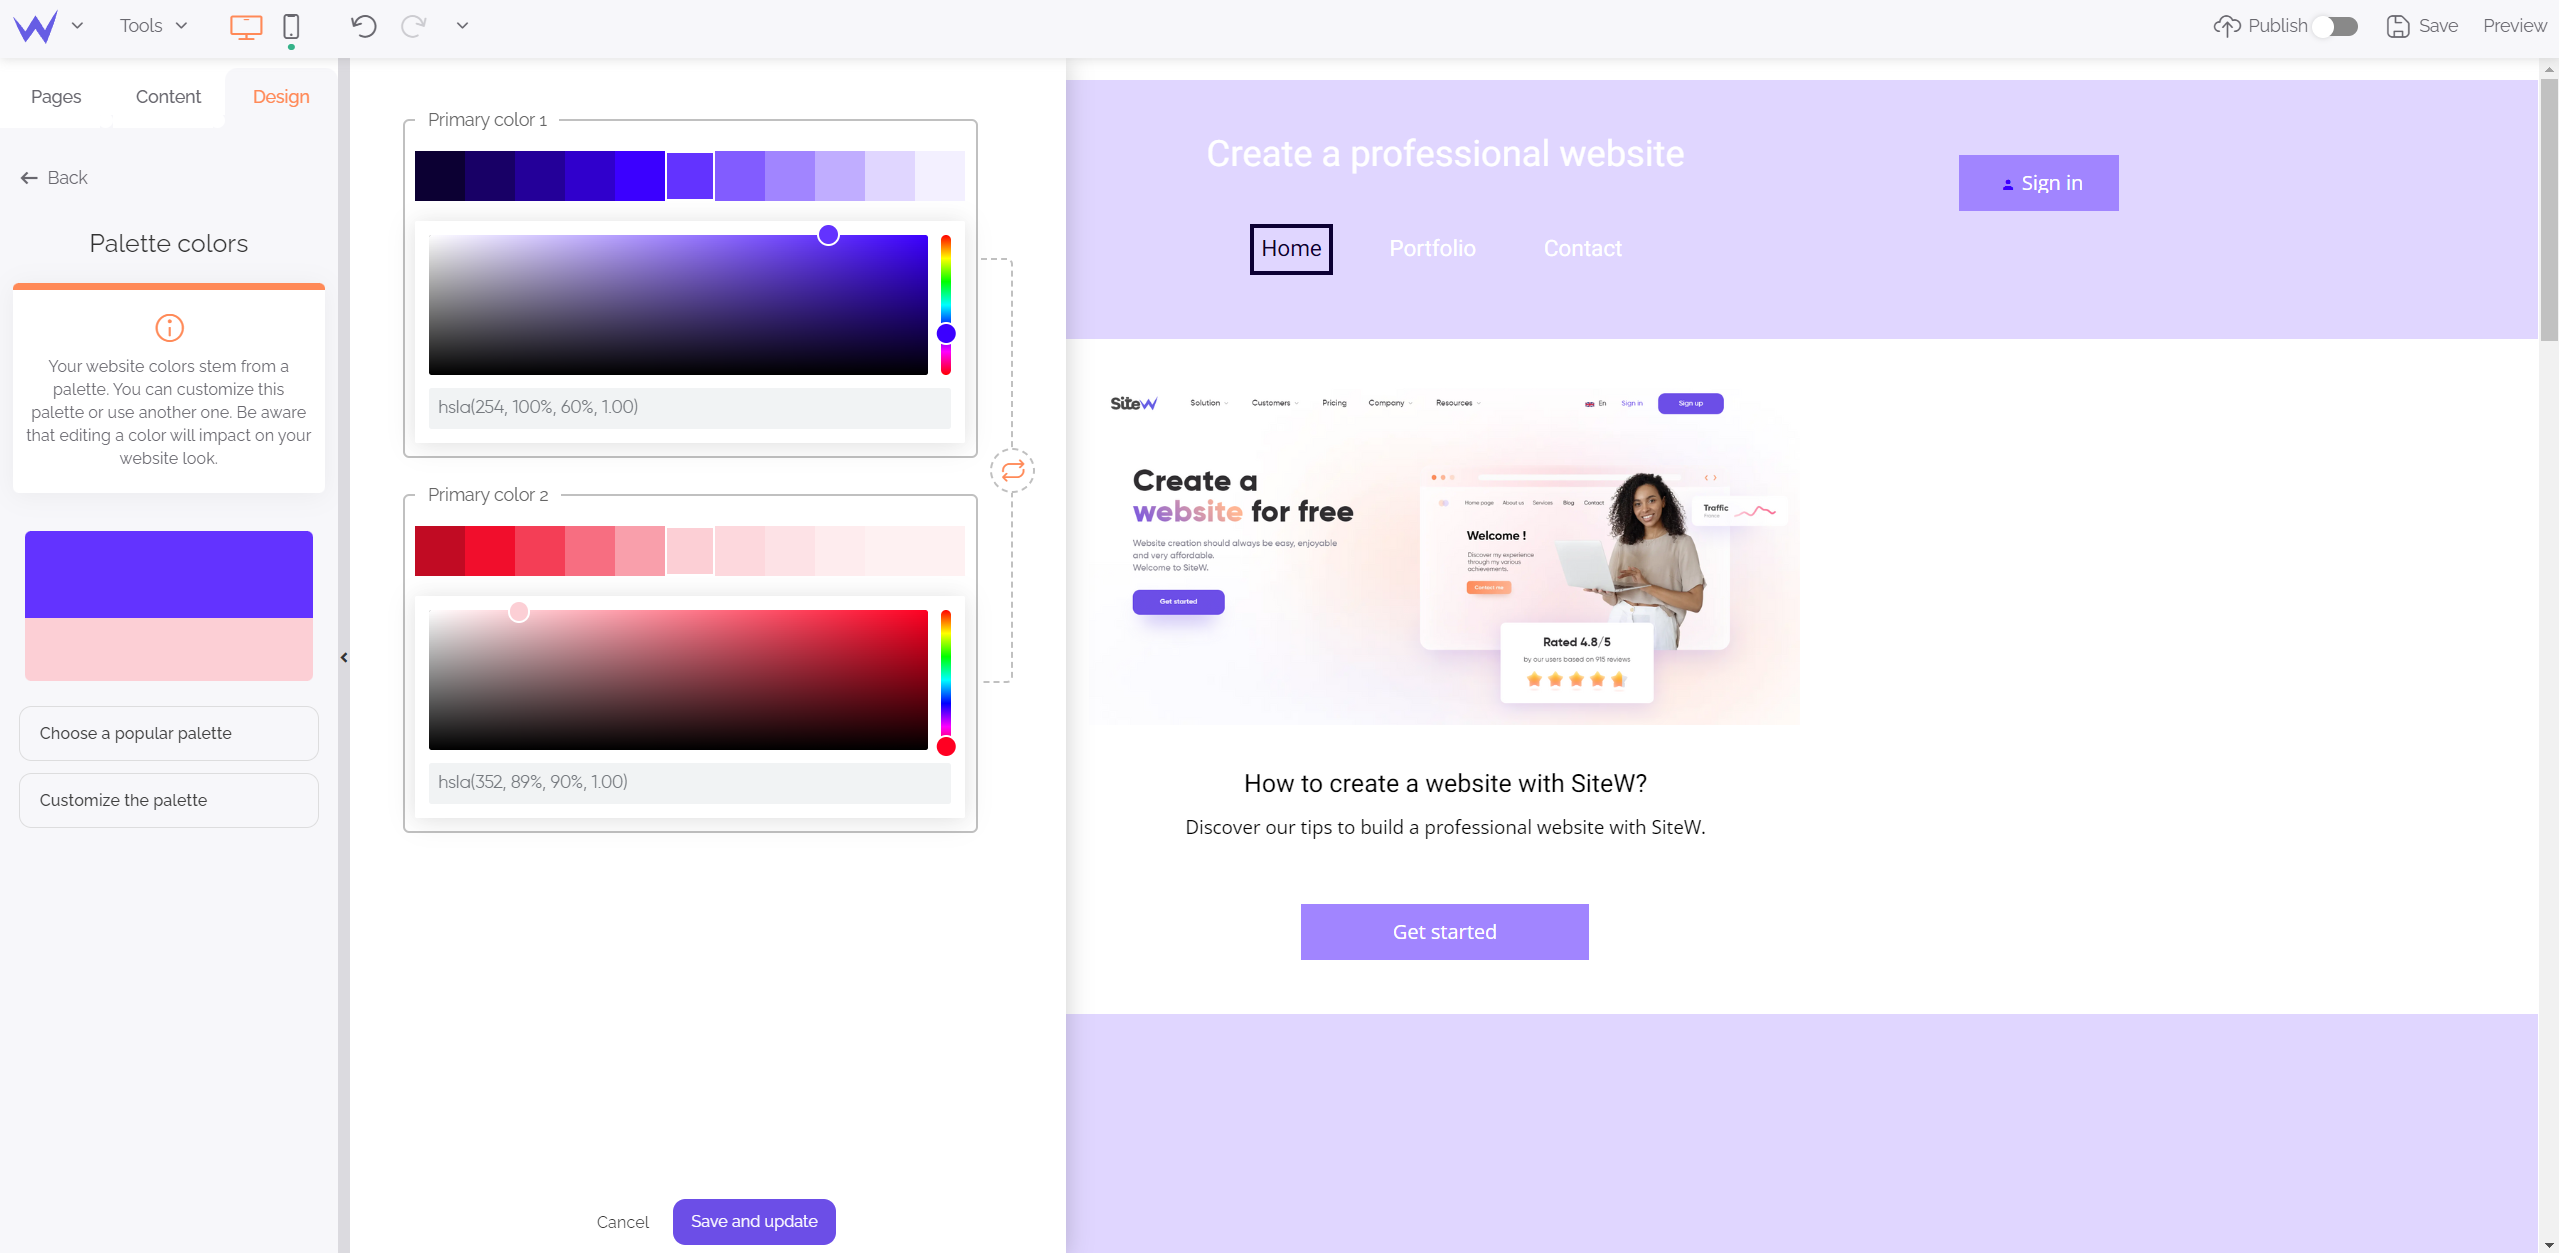
These colours are determined depending on the template you have chosen during your website creation. You enjoy a complete colour chart to be able to change your colours’ brightness.
What if you like the template, but not its colours?
You have two options: You can define your proper palette by clicking “Customize the palette”, or you can consult trendy coloured harmonies to find inspiration.
Such as for colours, you can determine your main fonts in advance to save time and not searching for your font each time you write content.
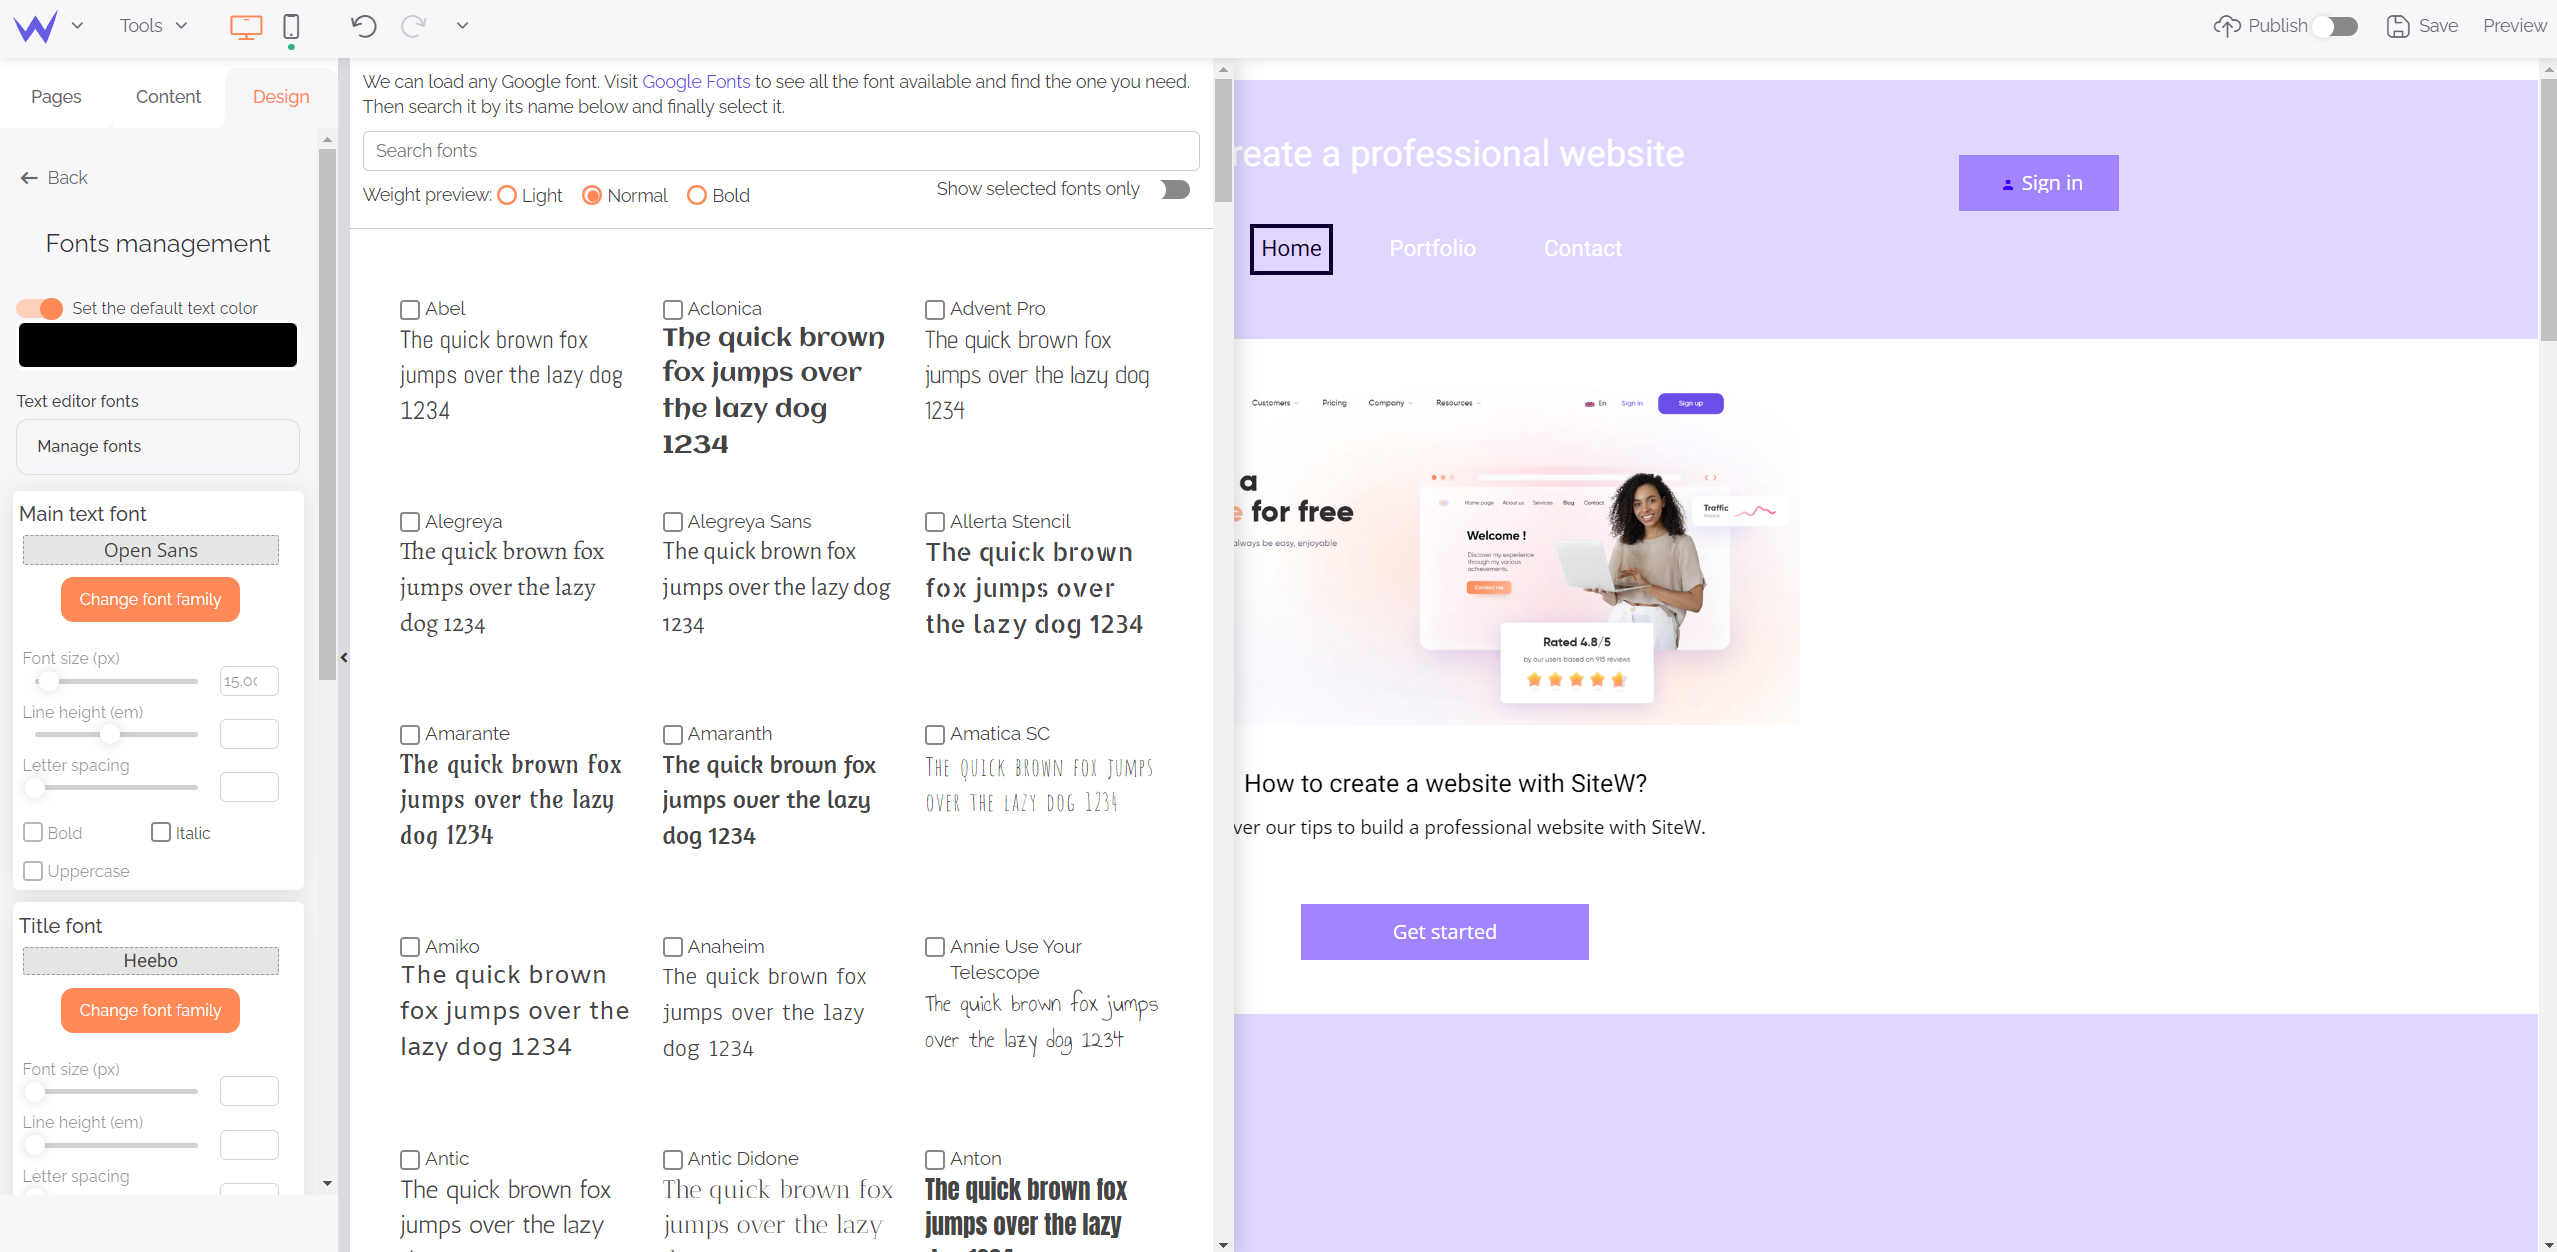
You have a wide range of fonts, as well as a search bar to find your favourite one.
You control the fonts of your titles, contents, menus and call-to-action buttons. If you go to “Manage fonts”, an overview of each font will be displayed.
To go further
If you want more fonts, visit Google Fonts to find other ones and load them on the SiteW editor.
By default, your website has no transition between pages.
However, you can add transitions to different pages thanks to the Transition block that offers different possibilities.
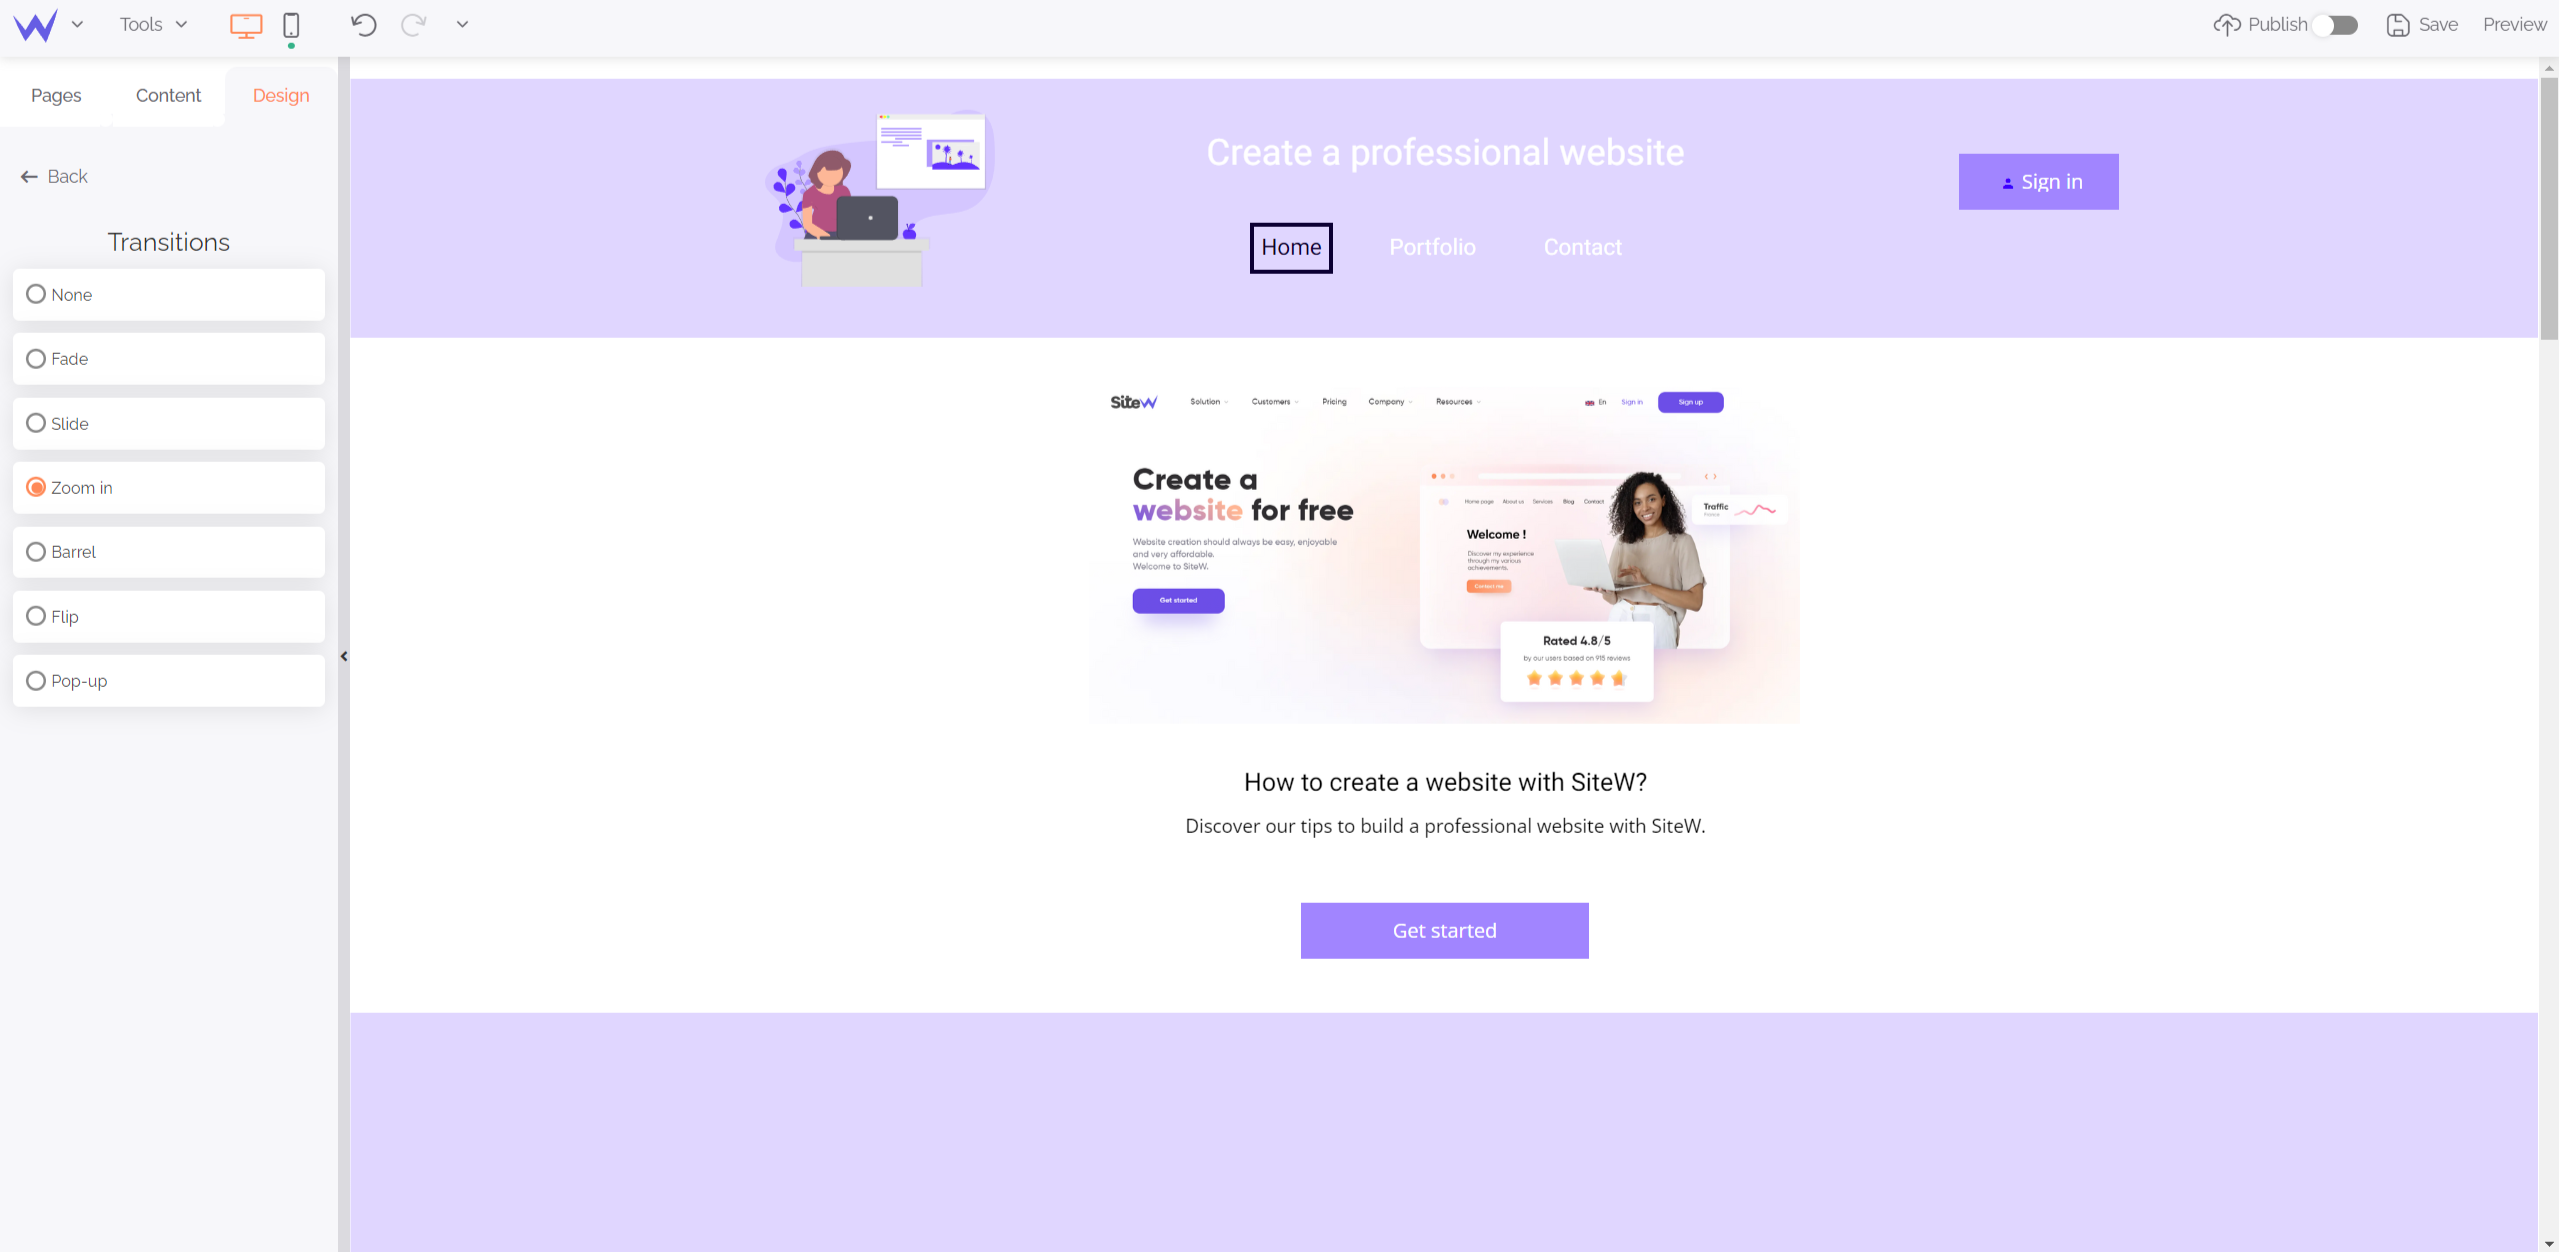
These transitions are dynamic and customizable.
Watch out
Don’t use too many transitions. They can make your website dynamic, but also slow it down if there are transitions each time users make an action.
You can also add dynamic effects such as hearts to your website.
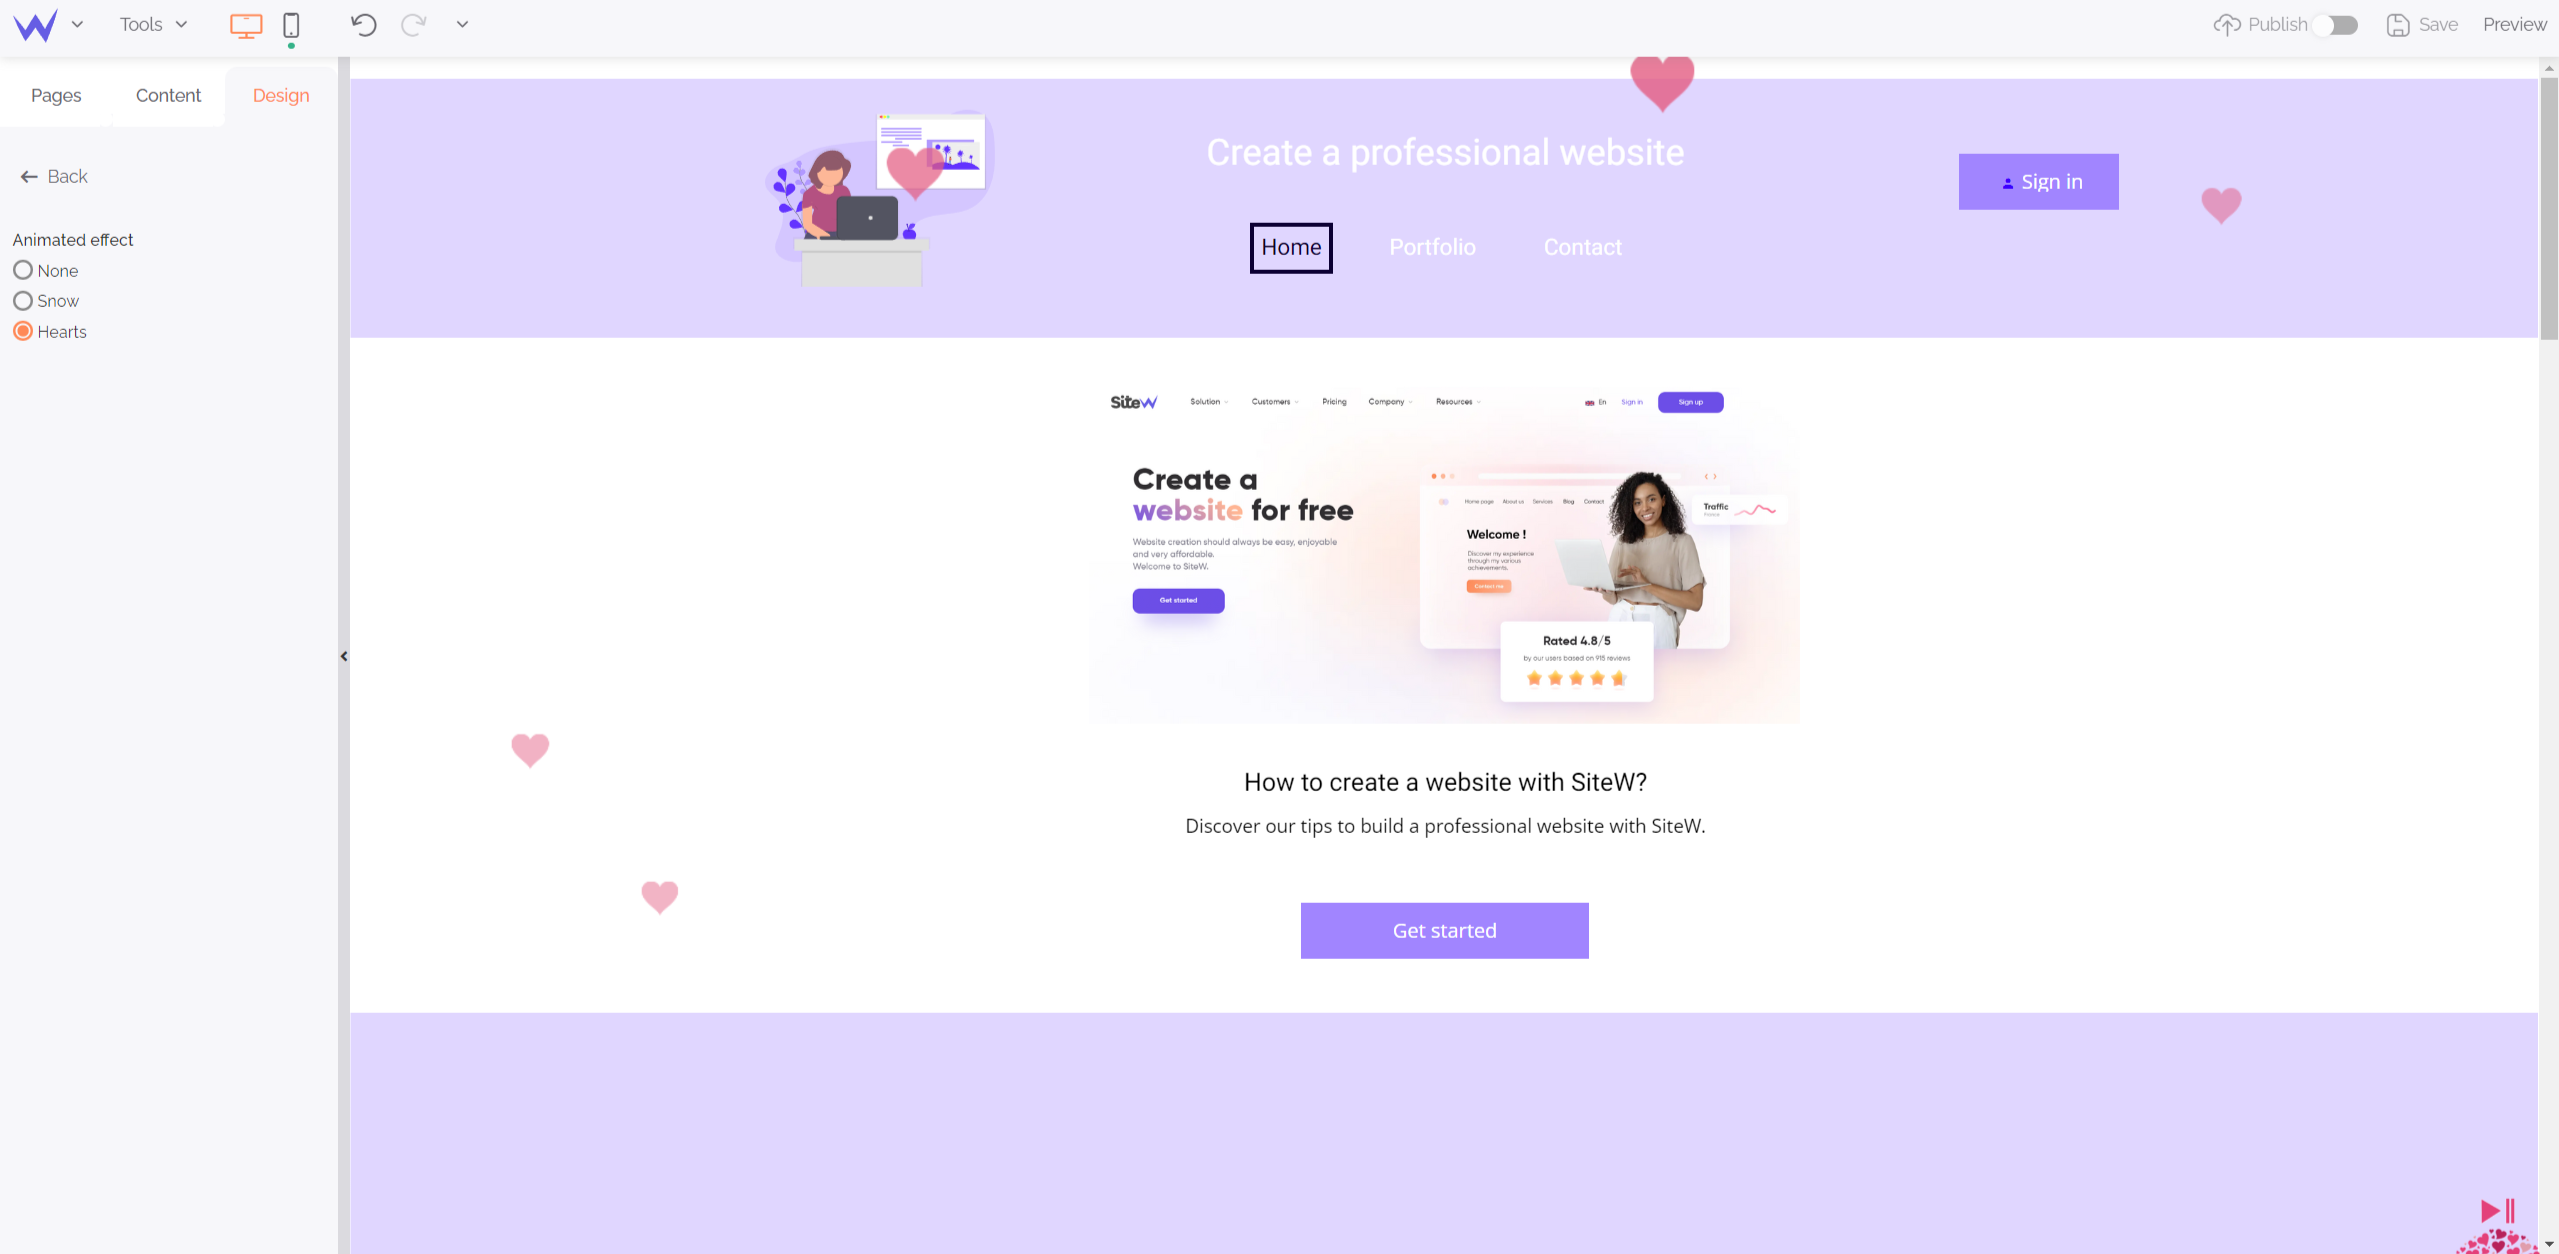
Users can directly disable these effects to not be disturbed during their visit. You can also ask the SiteW’s web design team to create your proper dynamic effect.
In this last part, you’ll also find the style sheet that enables you to add CSS code to customize your website even more. To that end, get in touch with our team to determine the CSS rules that correspond to you for a unique website.
Here is the last (but not least) final point of the editor: content protection. By enabling this feature, users will have difficulties to copy your content with a simple right-click.
Made it! Now you know all the secrets of the SiteW editor. Are you ready for creating a custom website? 🎨


